


5 Photography Tips for iPhone 12
Guide to iPhone Photography
For all the iPhone creators out there, the camera is the most important upgrade of each new iPhone generation. Consistent with previous models, the iPhone 12 camera is a dual-lens system featuring an ultra-wide and wide-angle lens. However, the new A14 Bionic chip built into all four iPhone 12 models brings iPhone photography to a new level.
Using a 5 nanoscale processor, the A14 Bionic chip allows for faster computational photography and machine learning. This means the iPhone 12 can take faster, clearer, and more dynamic photos than any previous iPhone. Here are 5 tips for shooting professional-quality content directly from your iPhone.

1. Lighting
The most fundamental element of photography is lighting. The desired lighting condition is often dependent on the subject and location. The iPhone 12 uses advanced night mode to control the exposure in low light environments.
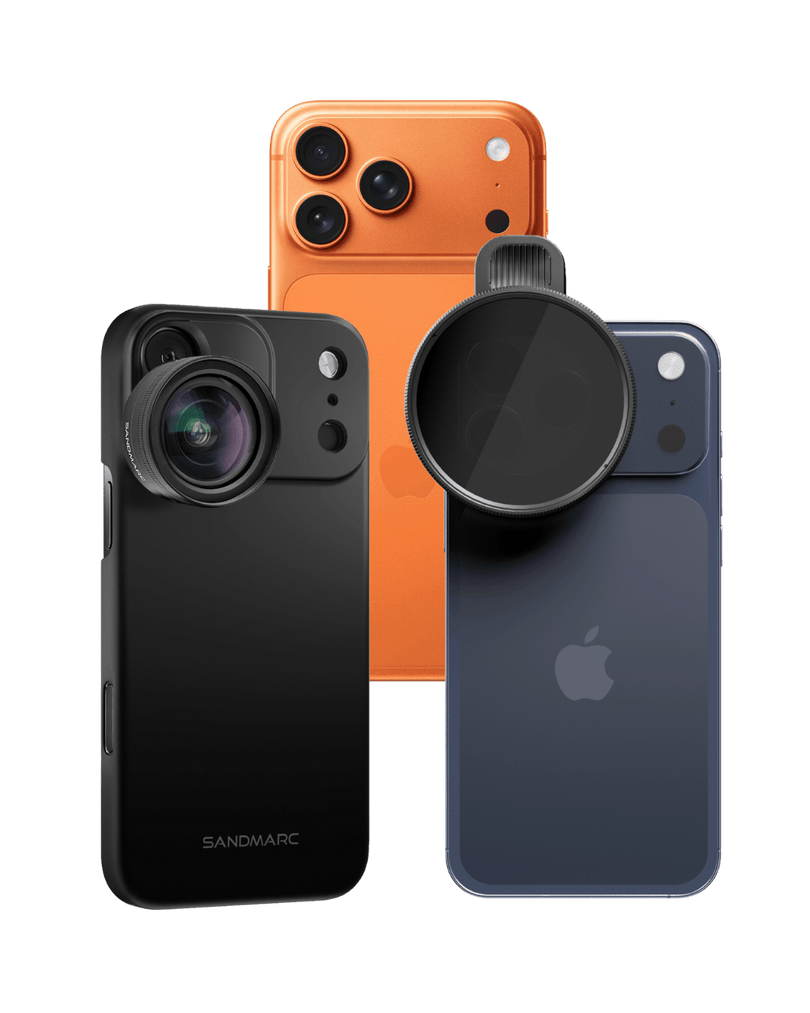
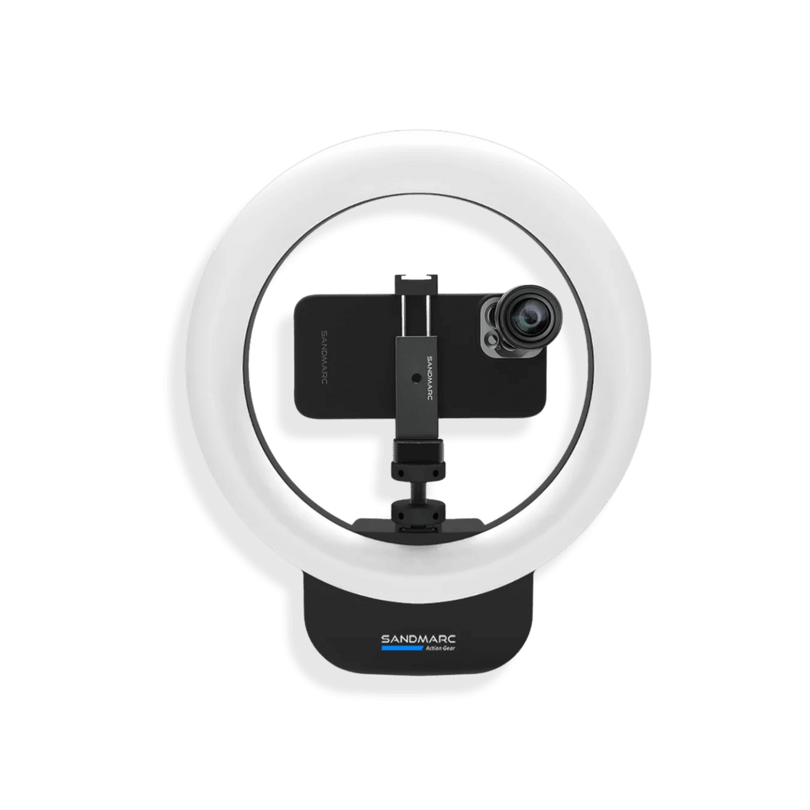
If you want to create more dramatic lighting effects I recommend using a three-point lighting effect. Three-point lighting is a standard method that includes a key light, fill light, and backlight. The Prolight Series by SANDMARC consists of one Bi-color and one RGB LED panel light and two silicone light diffusers. The Prolight is portable and rechargeable making it easy to set up and change locations.
The Prolight series also includes a universal mounting system that can be attached directly to any iPhone, iPad, or Laptop screen. It can also be mounted on a stabilizer like this Film Rig. These small but powerful LED panel lights make achieving a professional lighting setup simple.

2. Shoot in RAW Format
To improve the quality of your footage switch your iPhone camera to shoot in RAW format. By default, iPhone cameras compress the file size of images by saving them as a JPEG. But by switching to RAW format the iPhone can maintain a higher resolution.
Not every picture taken on an iPhone should be shot in RAW format. Otherwise, the all the iPhone storage space would be wasted solely on saving photos. Using RAW format is only necessary when the image is going to go through post-production editing. The RAW file will allow for the picture to be edited without compromising its quality.
The only downside to shooting RAW footage on the iPhone is that the camera can no longer use computational photography and machine learning. The iPhone 12 Pro and iPhone 12 Pro Max were both designed with new ProRAW technology which for the first time allows the iPhone camera to shoot raw footage while still using LiDAR, Smart HDR, and Deep Fusion.

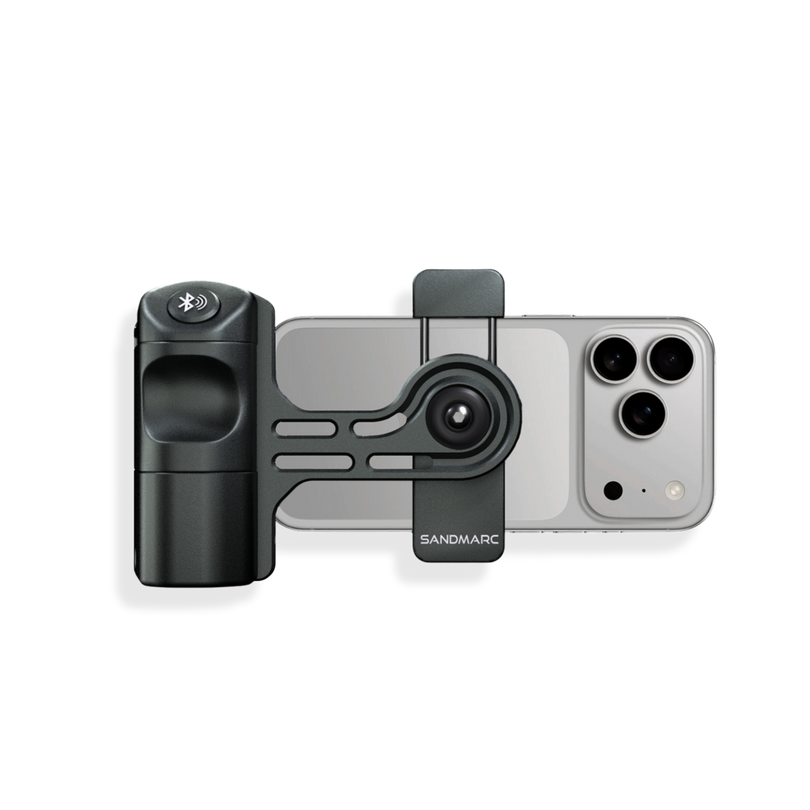
3. Stabilizer
It’s very common to see photographers use a tripod or other type of stabilizer when shooting. Mounting your camera allows it to maintain balance and eliminate any shakiness from holding it in your hand. A stabilizer can also bring the same advantages to iPhone photography.
The SANDMARC film rig is the ultimate unifying mounting system. Its design can support iPhones, compact cameras, GoPros, microphones, and even your LED panel lights. This stabilizer can be held by both sides and or mounted on a tripod. Plus, no counterbalance is needed!
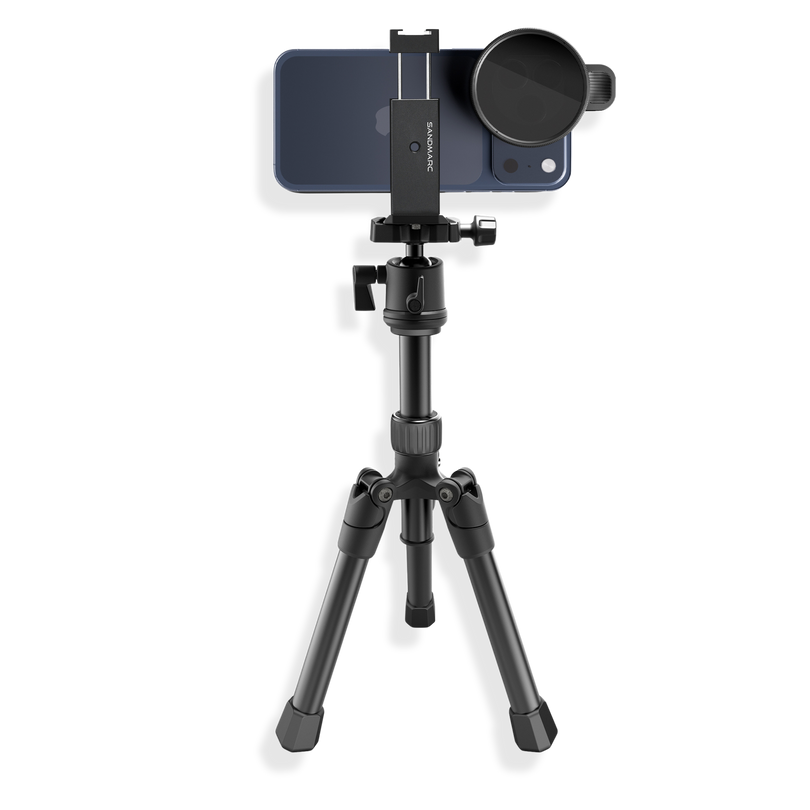
4. Telephoto Lens Attachment
When the iPhone 11 was released the standard model no longer included a telephoto lens. Now only the iPhone Pro models, which include a three-camera system, feature a telephoto lens. Many people were upset by the loss of the telephoto lens from the standard model.
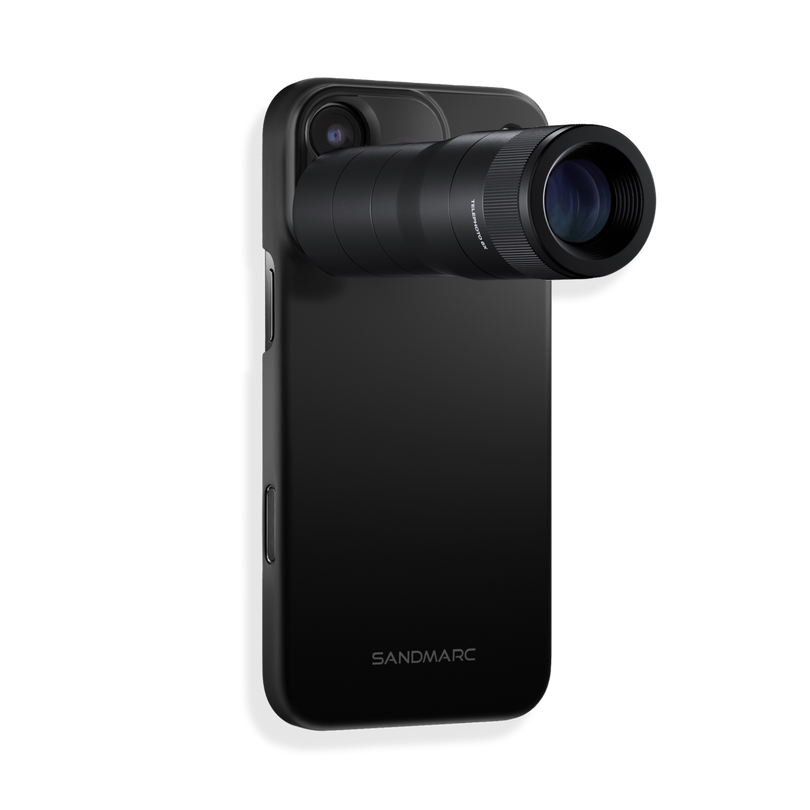
The Telephoto lens by SANDMARC is a 60mm lens with 2x optical magnification. This lens is especially handy for photographers who want to capture detailed landscape shots or shoot portraits right from their iPhone.
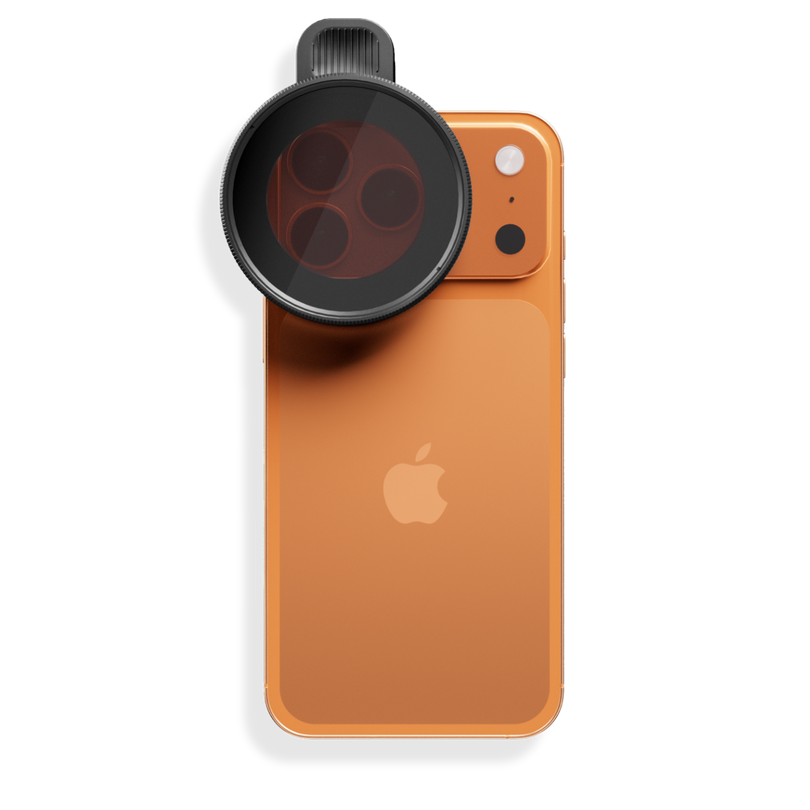
Using multi-element glass and aluminum hardware, the Telephoto lens is a lightweight attachment that can be clipped directly onto the iPhone camera. Every lens attachment from SANDMARC also comes with a case in which the lenses can be screwed onto.

5. Control Aspect Ratios
The iPhone 12 streamlines the process for creating, editing, and sharing content. Using the camera app you can now control the aspect ratio of your frame while shooting. This makes it even easier to shoot content for social media since you can choose the ideal frame for each platform.
Previous iPhone models also include a variety of aspect ratios to choose from. But in combination with the updated camera, the pictures shot from these frames are now much higher quality and optimized for uploading on social media.
Using these photography tips for the iPhone 12, creators can leave behind their heavy DSLR cameras and instead start shooting, editing, and uploading right from their iPhones.
Check out these blogs for more information on related topics:
- APPLE ANNOUNCES THE NEW IPHONE 12: IS IT WORTH THE UPGRADE?
- WHAT IS AN ANAMORPHIC LENS?
- WHAT IS A MACRO LENS?
- WHAT IS A TELEPHOTO LENS?
- HOW TO GET THE FISHEYE EFFECT ON IPHONE
- LED PANEL LIGHTS VS SOFTBOX LIGHTS: WHICH IS BETTER?
- 7 BEST VIDEO EDITING APPS FOR IPHONE 2020
- BEST VIDEO CONFERENCING EQUIPMENT