
How to Use Night Mode
on the iPhone Camera
Night photography can be challenging, especially for amateur photographers using smartphones. Many smartphones claim to have excellent camera features, but most fall short in night photography. However, the iPhone is an exception as far as night photography is concerned.
In this article, we cover the exceptional features on the iPhone camera that make these phones the perfect tool for night photography.
Enabling iPhone Night Mode
For the iPhone camera, no special Night Mode option is required. Like other smartphones, you don't have to go to the setting options to switch on Night Mode.
The iPhone camera reads the light-related data, and if it finds that the light available is not sufficient to take the shot, it automatically switches Night Mode on.
The symbol of the moon at the left corner of the iPhone indicates that the Night Mode is on. The yellow color in the moon icon indicates that the camera will go for a long-exposure picture. It is advisable to take photos when the moon icon is yellow ion color.
*To turn off night mode, click the moon icon again. A line will appear through it, indicating it's no longer in use.

Keep your iPhone Steady
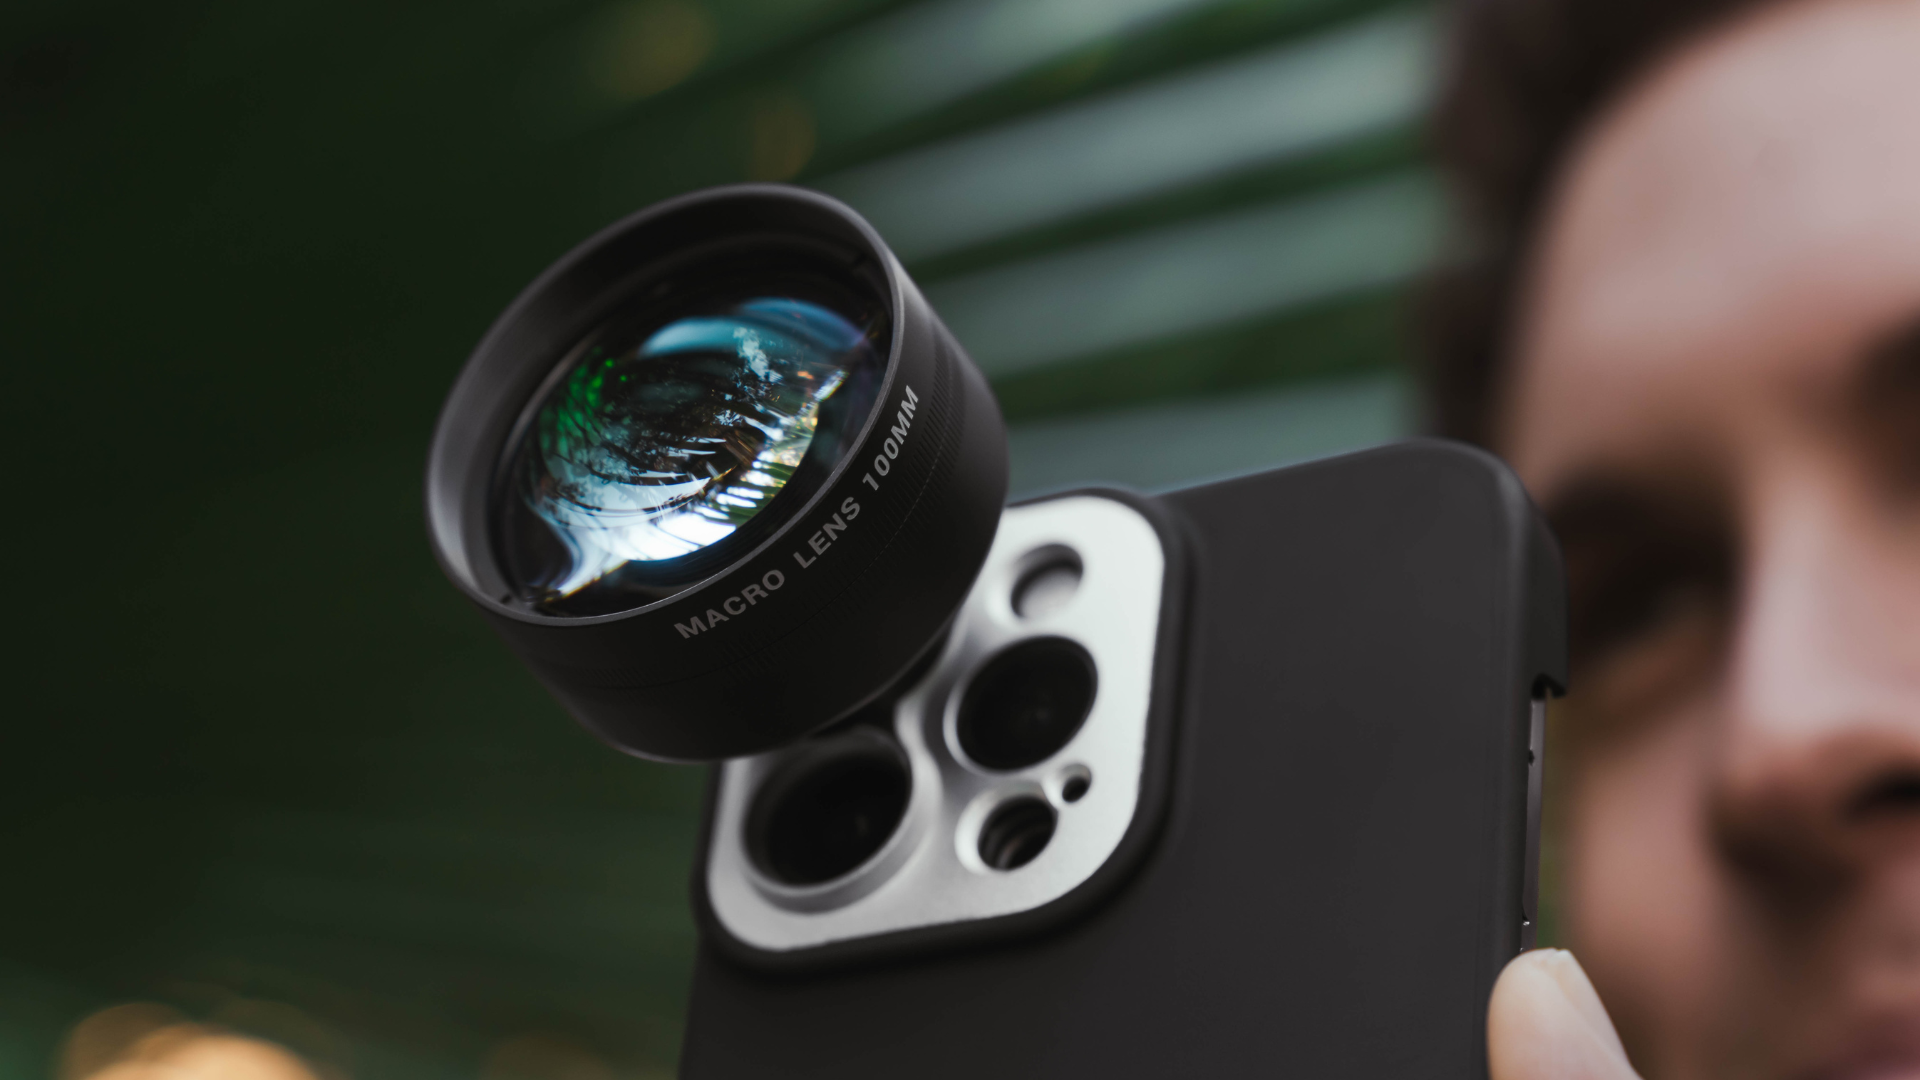
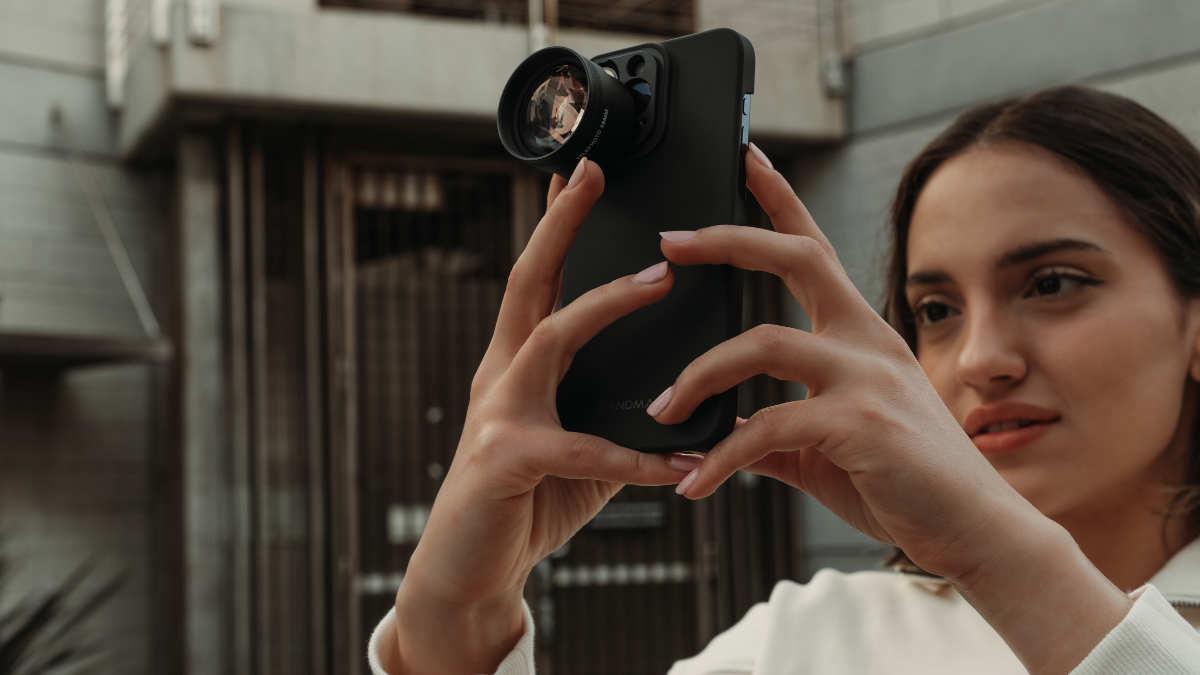
Night Mode is available on various iPhone cameras, including the ultra-wide lens on newer models like the iPhone 12 and later. Keeping the camera steady is crucial for low-light photography to avoid blur.
The ultra-wide lens typically has a smaller aperture (higher f-number) compared to the main camera, which means it lets in less light, potentially resulting in darker images if not stabilized properly.
On the left side, you will see the timer in seconds. It indicates the time for which you need to keep your iPhone steady to capture a night photo. Remember, keeping your iPhone steady is very important to avoid any blur.

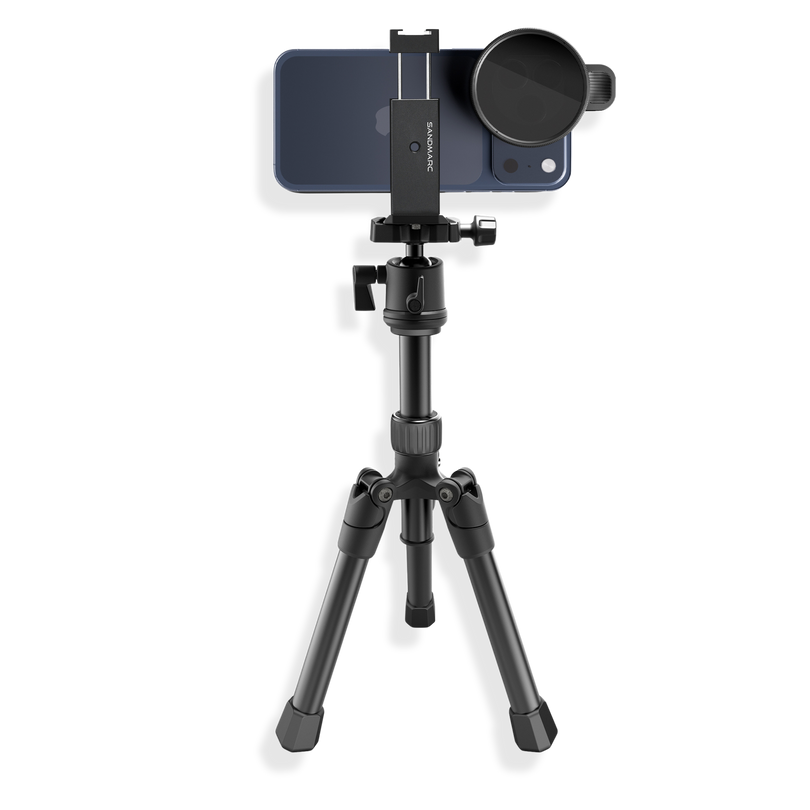
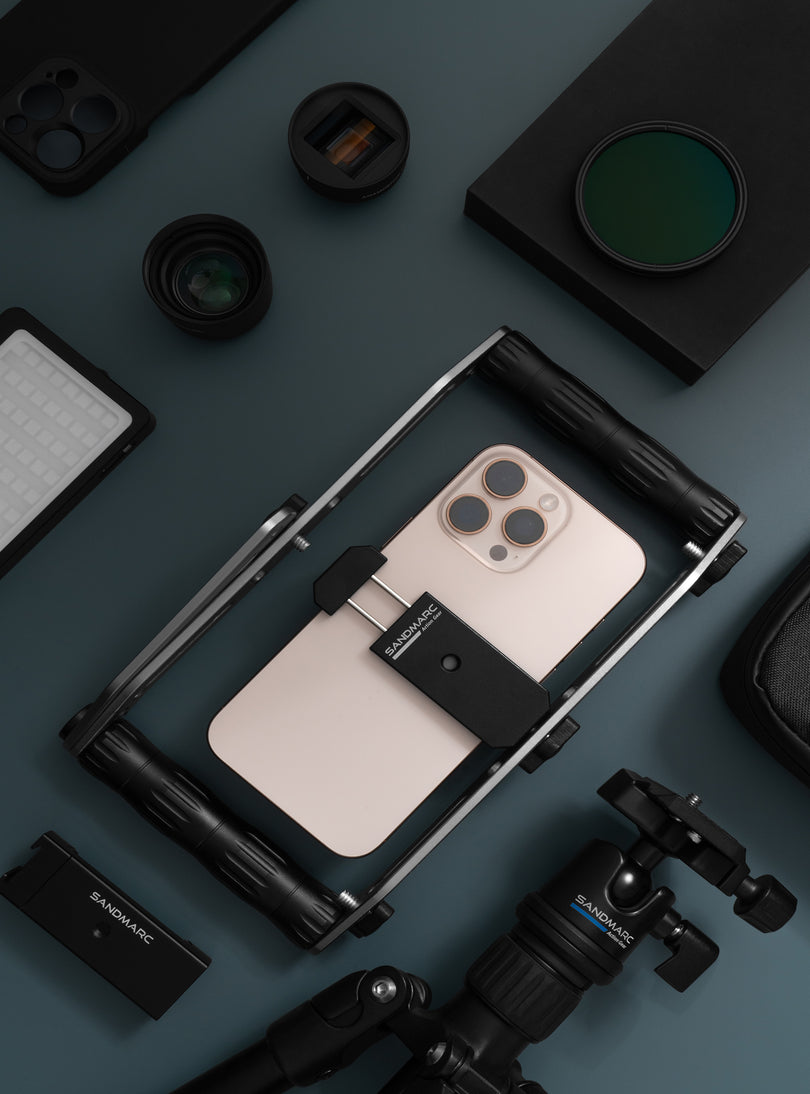
Pro Tip: Use a Tripod
To take your night photography to a professional level, capture photos by placing the iPhone on a tripod. iPhones come with a built-in gyroscope and accelerometer. As a result, the camera itself analyzes the light availability and detects the amount of exposure required. By keeping the phone on a steady surface, you can achieve an exposure of 30 seconds or even higher.
When we talk about night photography, a moment that every photographer dreams of capturing is the beautiful northern lights. It's something that seems to be out of this world, and hence it is positioned at the top of the list of 'must capture' moments by every professional photographer.
Night photography is quite tricky in itself, and capturing that beautiful and serene waving glow in the northern lights makes the task more challenging.

Tips for Northern Light Photography
1. Plan your composition and try to keep something in the foreground for a natural look.
2. Use the flashlight to check the focus.
3. Ensure Night Mode is on.
4. The aurora of the Northern Lights changes constantly, so take many shots.
5. Review your shots regularly to adjust camera settings like exposure and focus.
For a more detailed guide, visit the SANDMARC blog.
Author's Bio:
Dhaval has two passions: Travel and photography. Lucky for him they go hand in hand. At dhavalilama.com you can experience how nature and photography got him inclined to inspire and encourage other and follow the identical path. Through his meticulous experience he will coach you on various hacks to photograph Nature. Brace yourself for the world of photography!
Instagram: @dhavalilama
Instagram: @dhavalilama