


TOP 5 TIPS TO BECOME A BETTER IPHONE PHOTOGRAPHER
How to take Photos like a pro
TOP 5 TIPS TO BECOME A BETTER IPHONE PHOTOGRAPHER
How to take Photos like a pro
Entering your journey to iPhone photography doesn't have to be so hard. Whether you have the latest iPhone or not, you can capture stunning shots. Here are five tips on how to become a better iPhone photographer!
1. Utilize the Camera Settings
iPhone photography is all about utilizing the camera settings on the iPhone, like the three listed below:
- Portait Mode: Swipe right in the iPhone Camera app to enter Portrait mode, select a light filter, focus on your subject, and capture your shot. Filters can be applied before, during, or after, with a blurred background adding a professional touch.
- The Rule of Thirds: Enable the 3x3 grid in your iPhone Camera settings under Composition. Use the grid's intersections to frame your subject for well-aligned, professional shots.
- Burst Mode: The iPhone's Burst mode is perfect for capturing action shots. In the Camera app, hold the shutter button and slide it left to activate Burst mode, capturing multiple photos in rapid succession with a counter showing the total.
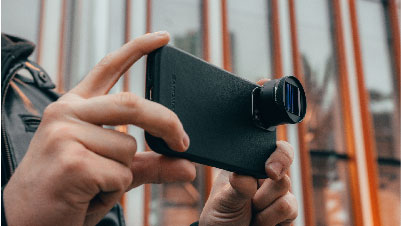
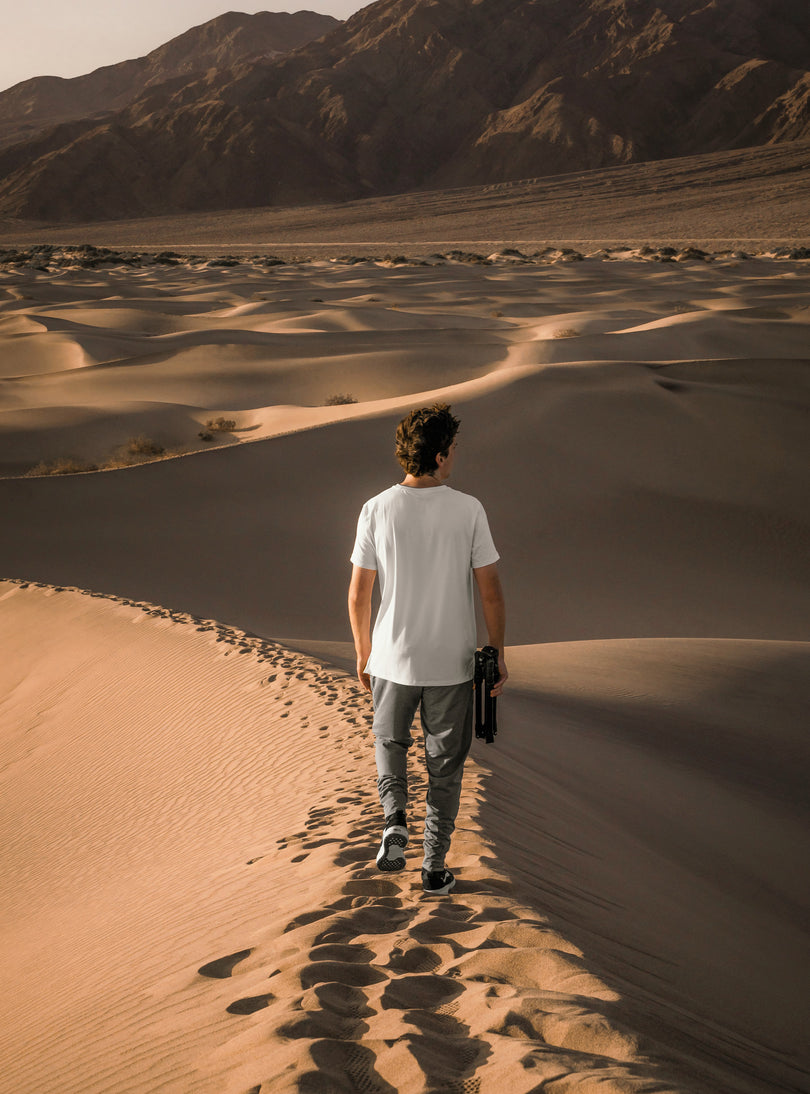
Shot on iPhone + SANDMARC Fisheye Lens
2. Work with Your Enviroment
- Make your Own Studio at Home: Pick the room with the most lighting, like a well-lit kitchen or by a window. Grab some props; a baking sheet tray for the background, and a wood stump or table. Place the object in the center on the stump/table and with the baking tray behind the object, go into portrait mode and capture your shot.
- Angles: Consider your angles before taking a shot. Spend a few seconds thinking about how the subject might look best from different perspectives. Experiment by capturing the subject from various angles.
- Lighting: Whether it's the natural light in your living room or the way the sun hits a wall at sunrise or sunset, embrace these diverse lighting options.
Peter McKinnon a professional photographer from Toronto, who shares his insights on photography in the video below.
3. APPS
Apps are a great way to elevate your photography on iPhone by using filters, or other camera settings that may not be available on the native iPhone camera. The video below shares apps to download:
4. Attachable Filters
iPhone filters like the Retro Filter or Drama Filter can make your photos more engaging, and the best part is that you won't need extra time editing! Explore the different types of iPhone filters HERE.
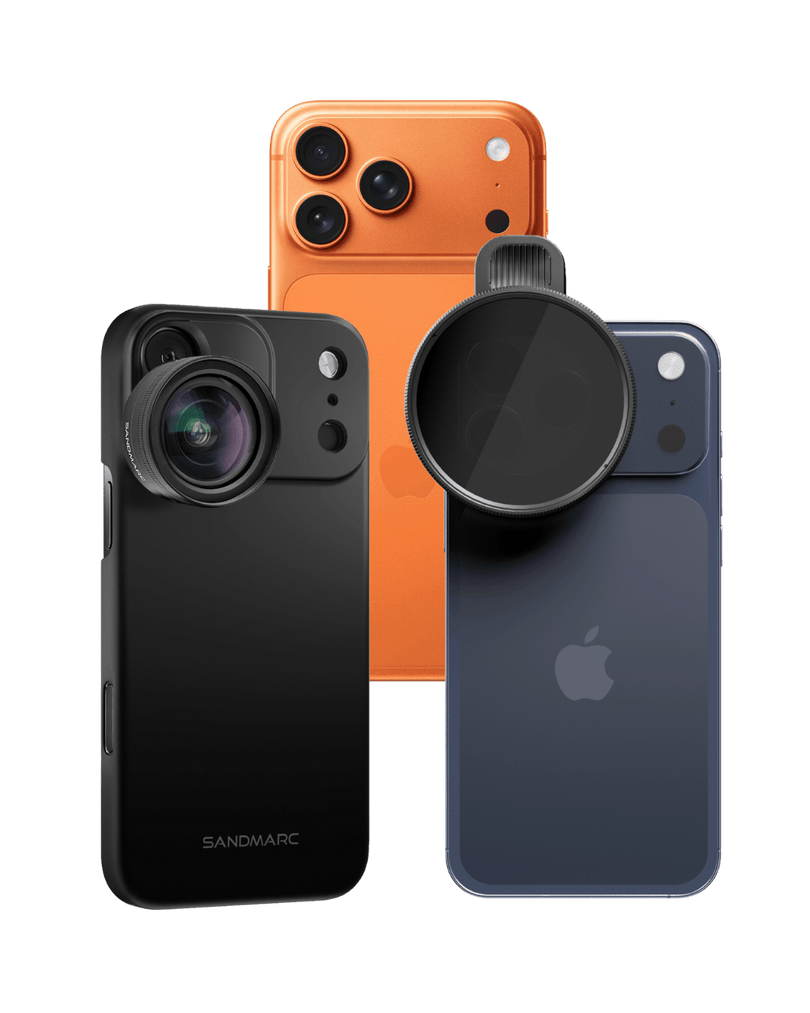
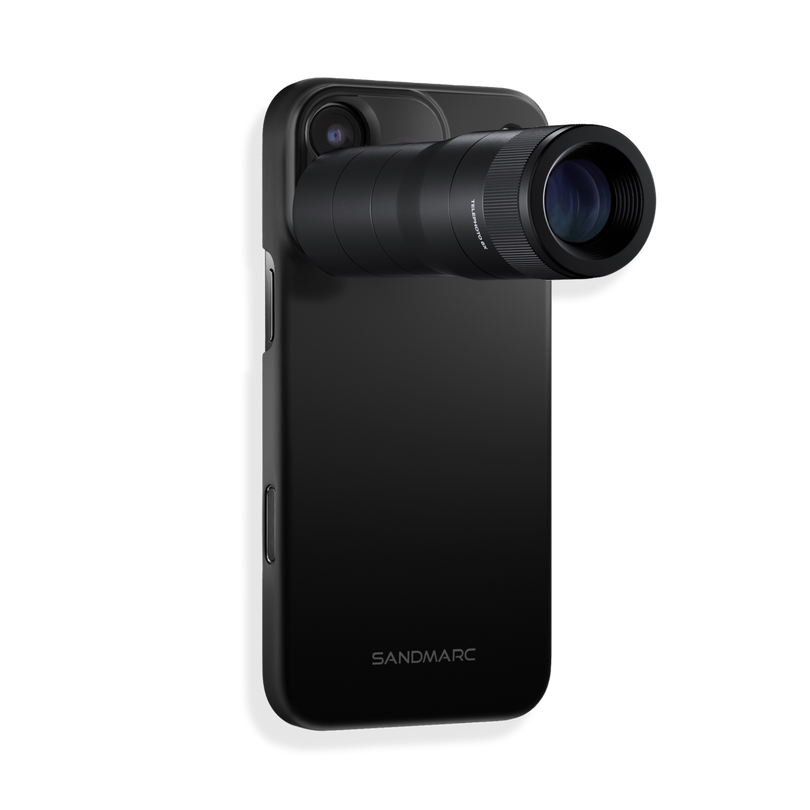
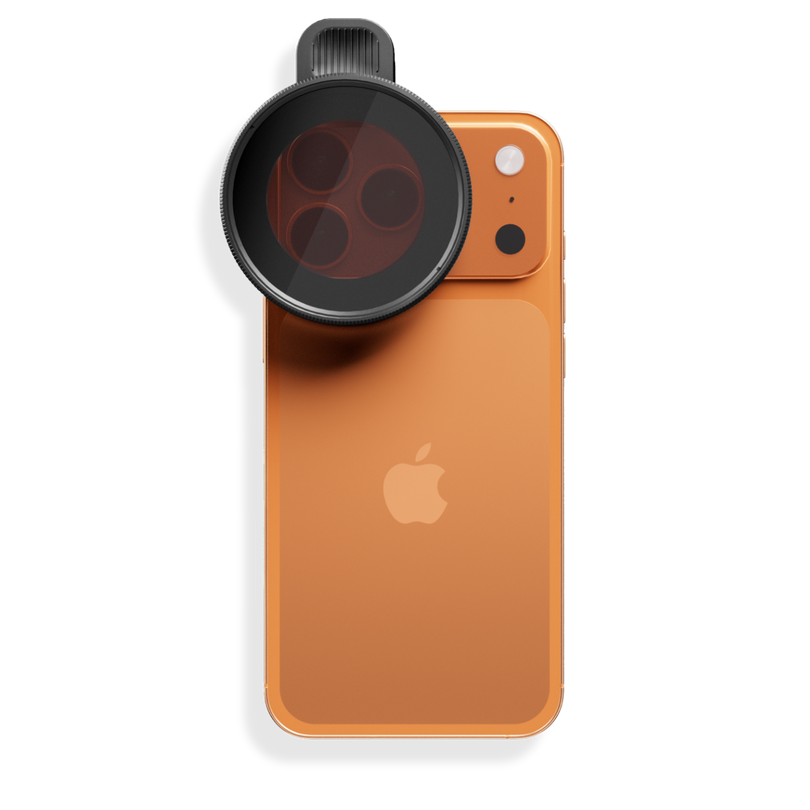
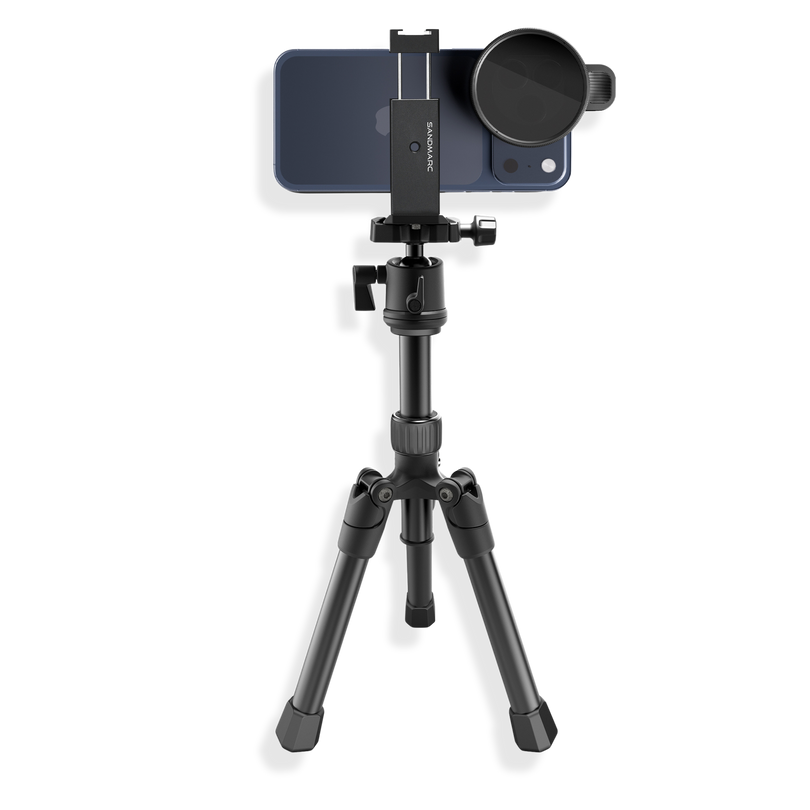
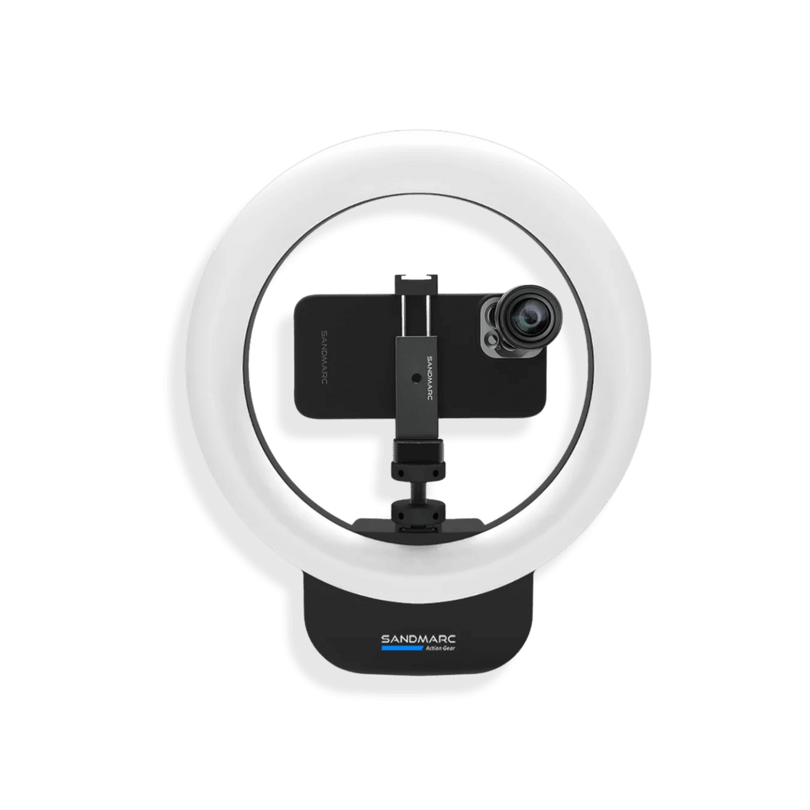
5. Attachable Lenses
Attachable lenses, like the Telephoto 2x lens, offer 2x optical zoom for sharper portraits, while the Wide Lens provides an ultra-wide angle without the distortion of the iPhone's 0.5x lens. Check out more of the SANDMARC lenses HERE.
Author's Bio
SANDMARC offers photography gear for mobile creators, including top-tier lenses, filters, and accessories that elevate iPhone photography. Trusted worldwide, our products help users capture stunning visuals in any setting. Our blog provides tips, guides, and inspiration to enhance your creative journey, with advice and industry updates from our passionate team.