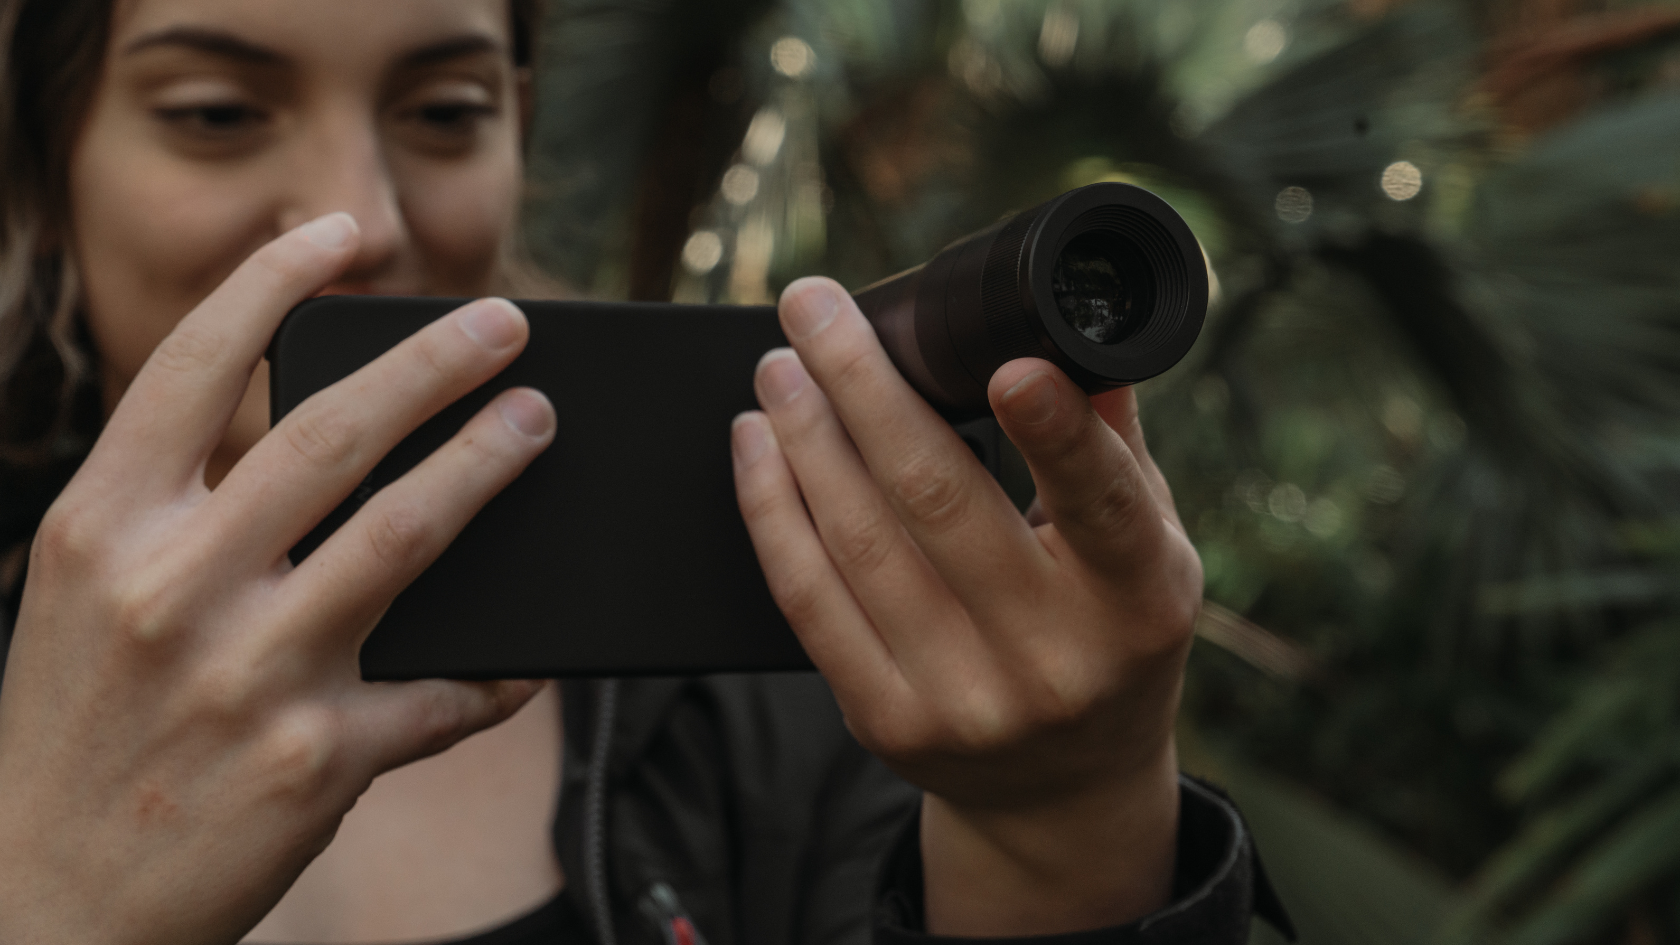
How to Shoot a Time-lapse on iPhone
Your quick guide on how to accomplish the best time-lapse.
What is a Time-lapse?
A time-lapse is a short video that shows the evolution of a series of events in a short span of time. It's a technique in cinematography in which the creator takes a series of still pictures at regular intervals over time and then plays the whole sequence back in fast succession.
Examples of What Looks Great on a Time-lapse:
- Clouds
- Urban
- Cityscapes
- Boats on water
- Sunsets
Three Essential Items for Shooting a Time-lapse
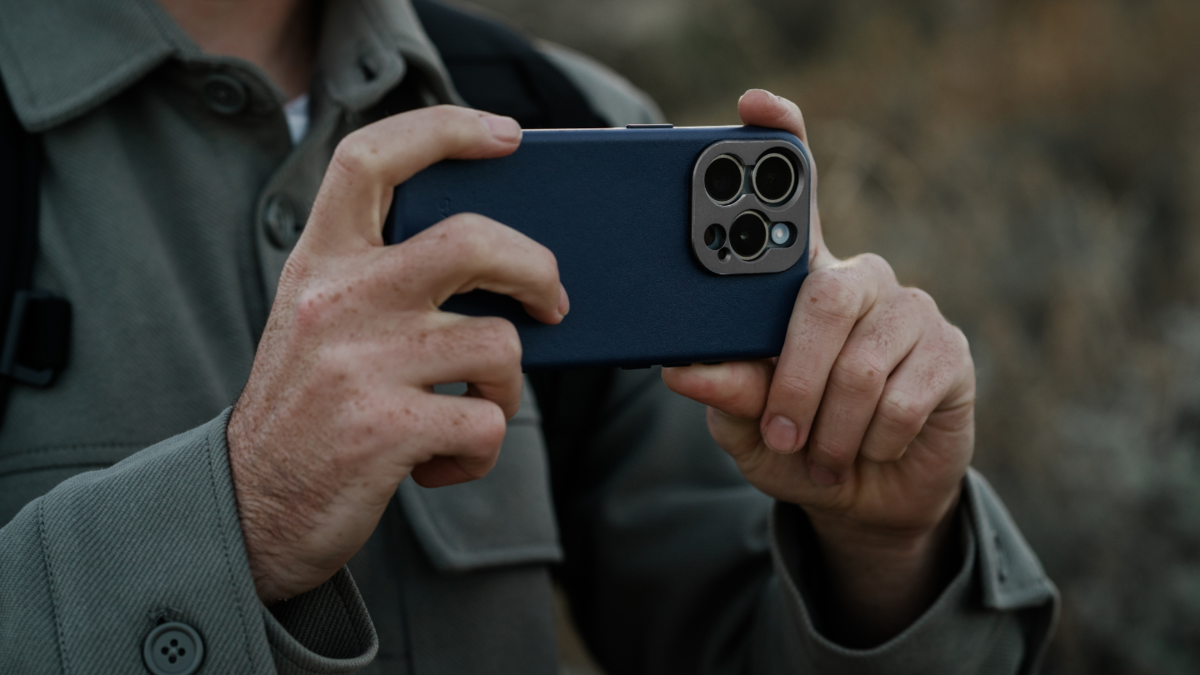
1. iPhone
An iPhone camera allows for quality video when capturing a time-lapse.
An iPhone camera allows for quality video when capturing a time-lapse.
2. Tripod
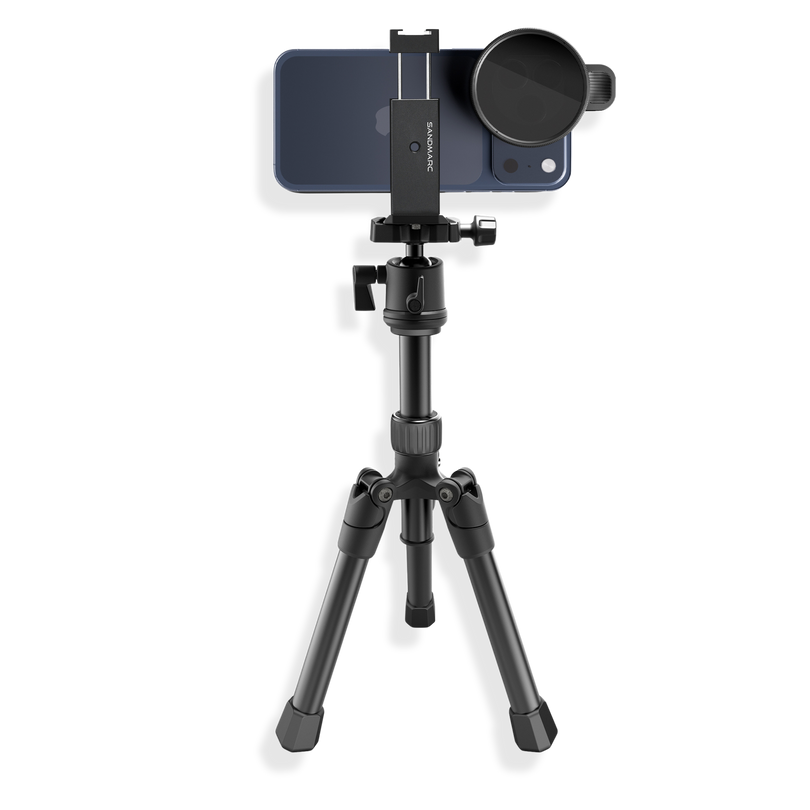
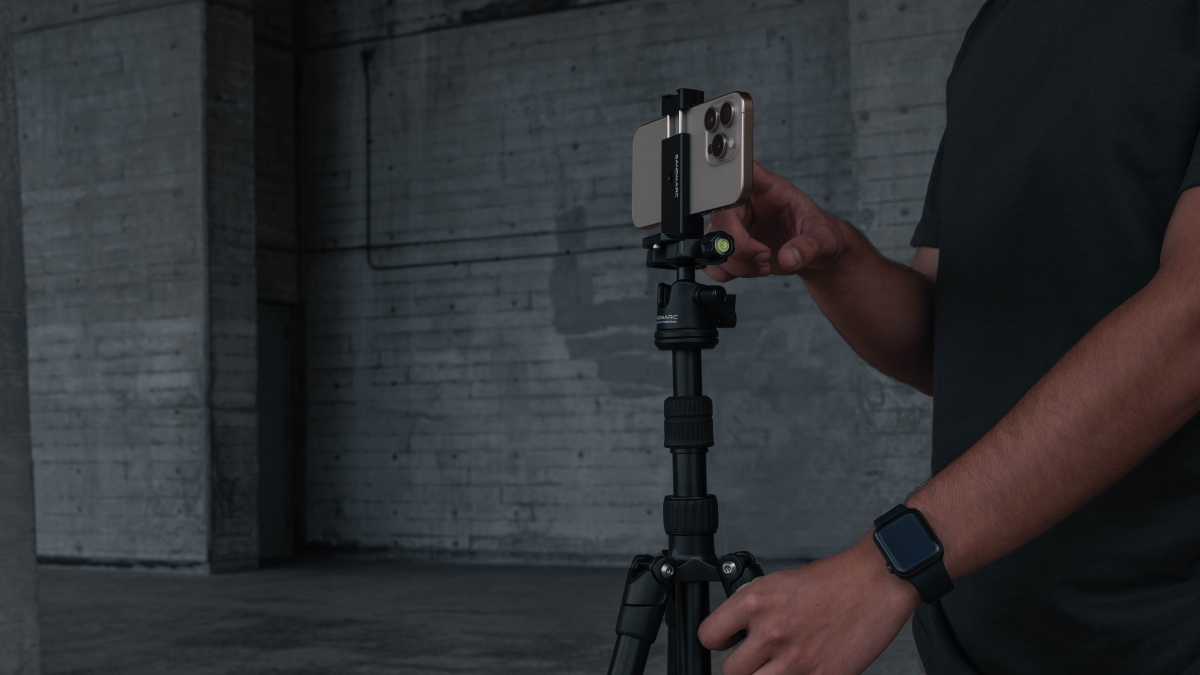
You will need a tripod because your iPhone will have to be still for long periods of time. Any movement or slight bump can ruin the time-lapse.
You will need a tripod because your iPhone will have to be still for long periods of time. Any movement or slight bump can ruin the time-lapse.
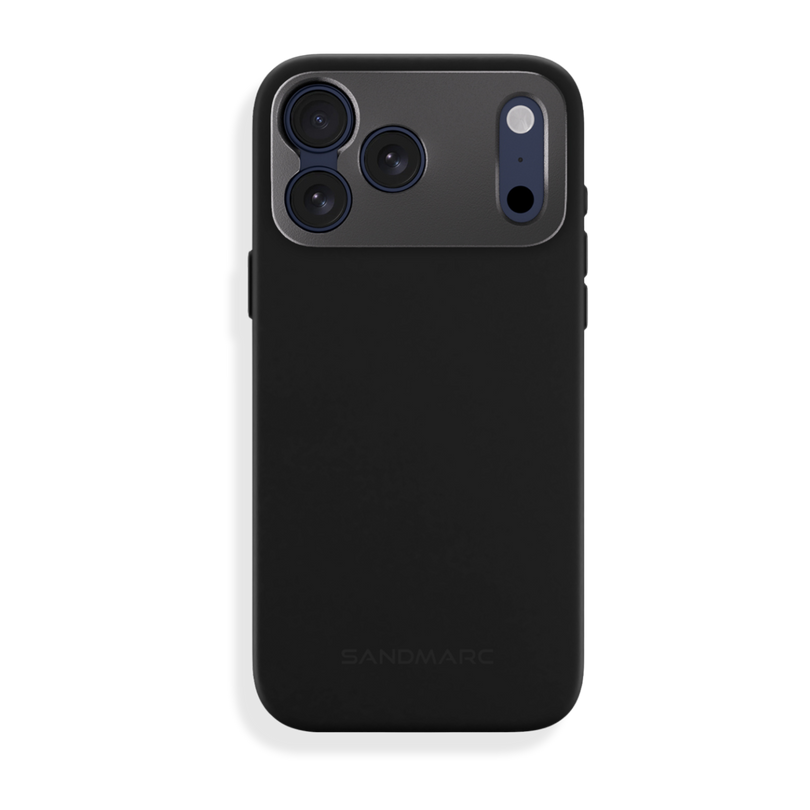
3. SANDMARC Lenses and Filters
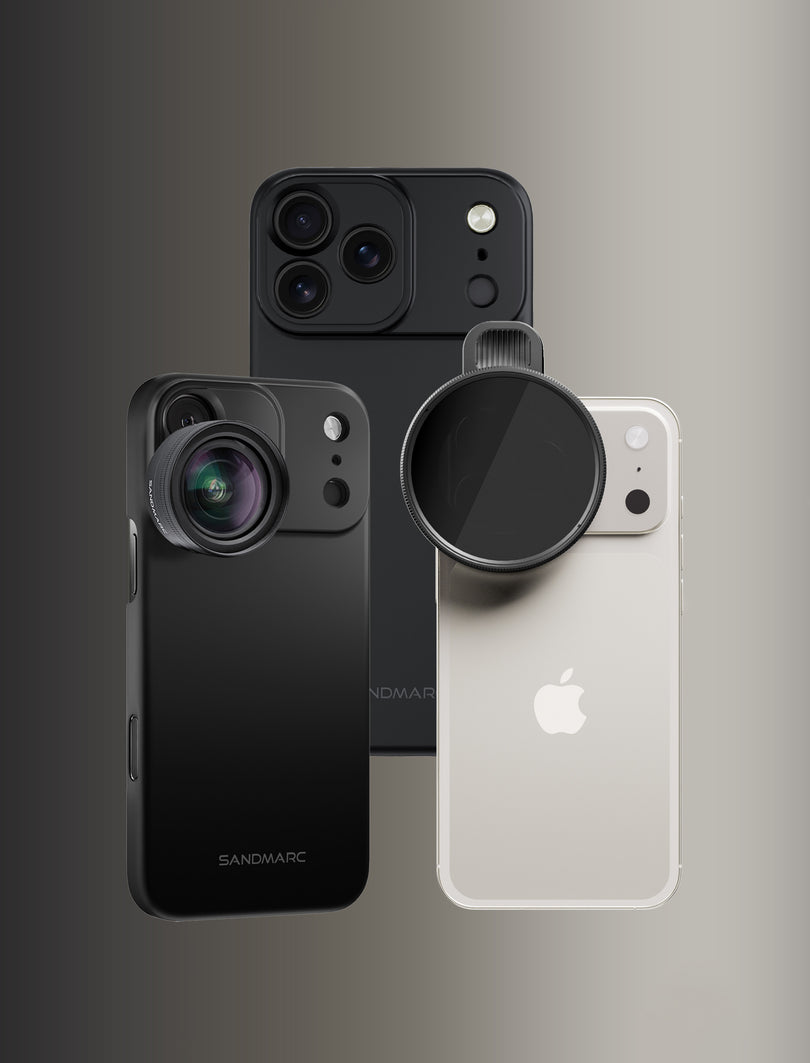
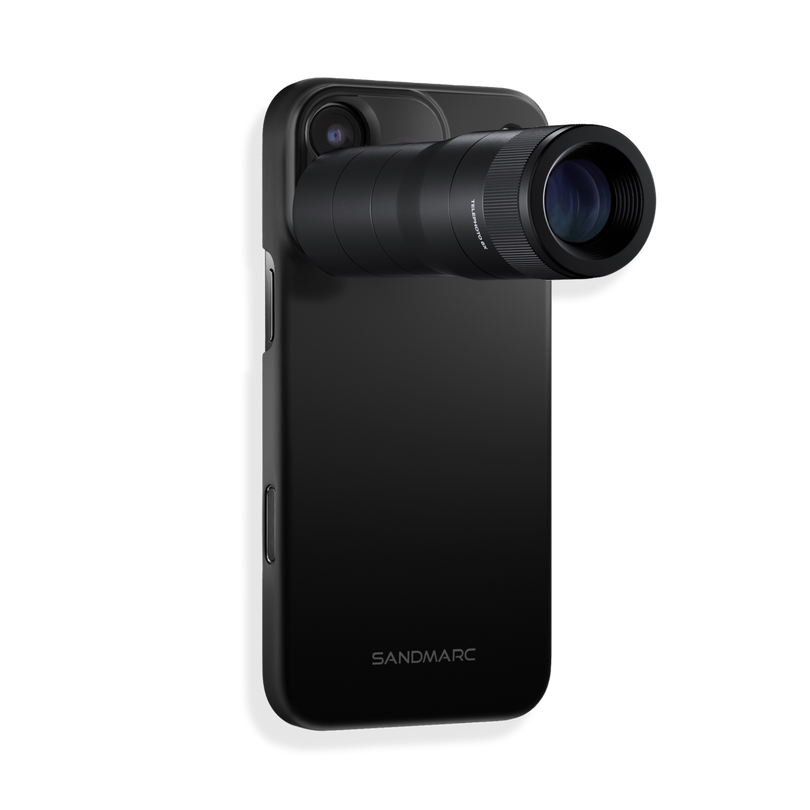
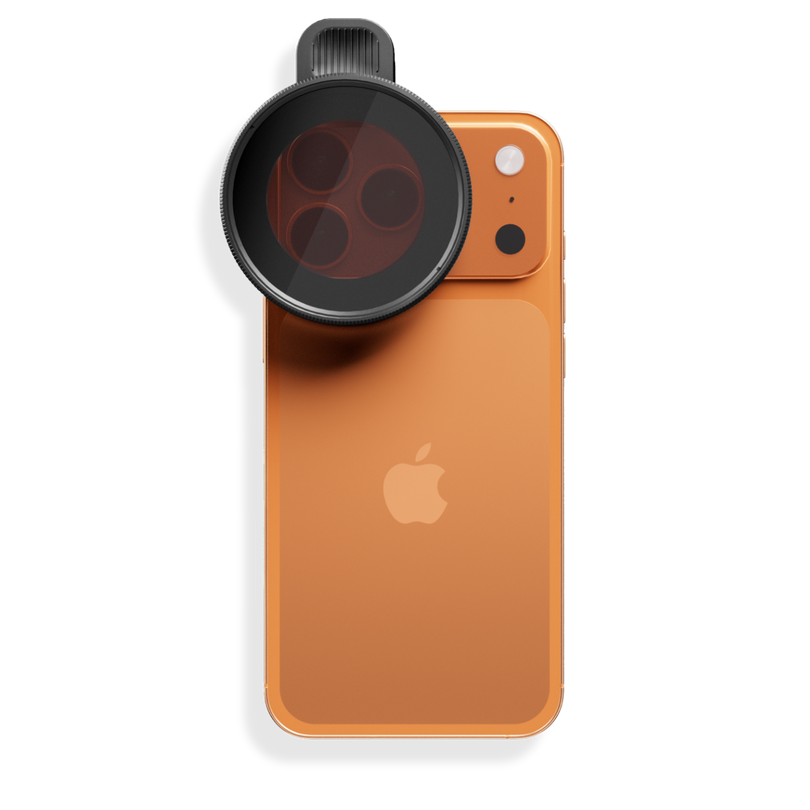
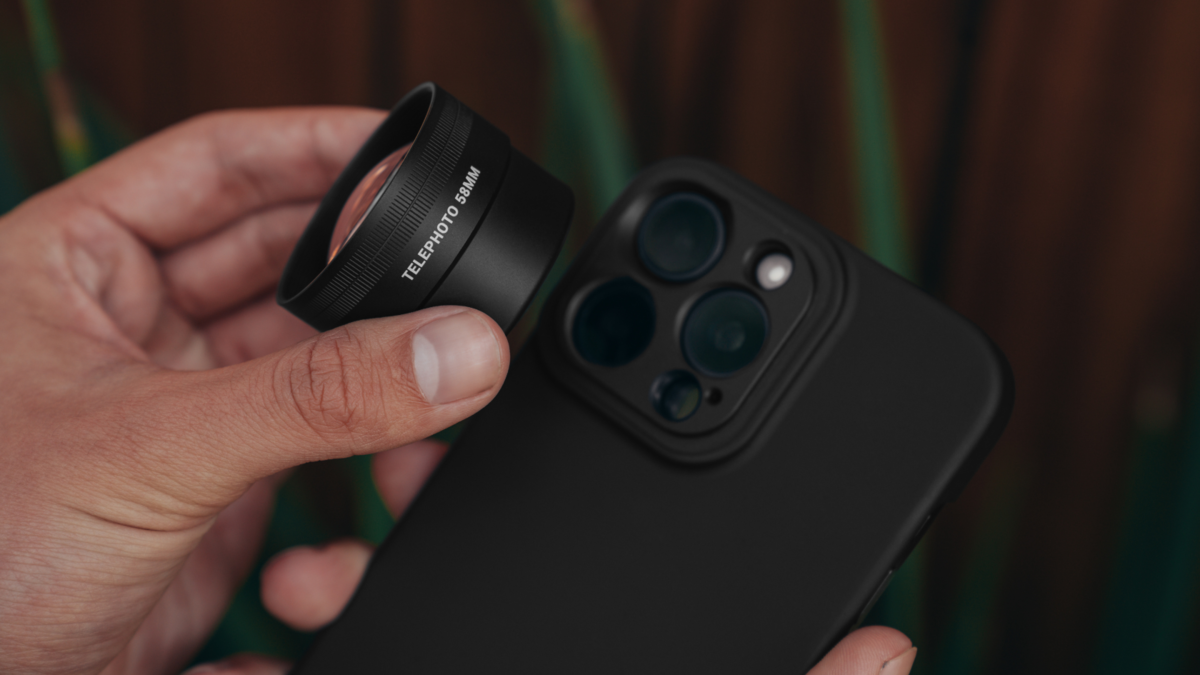
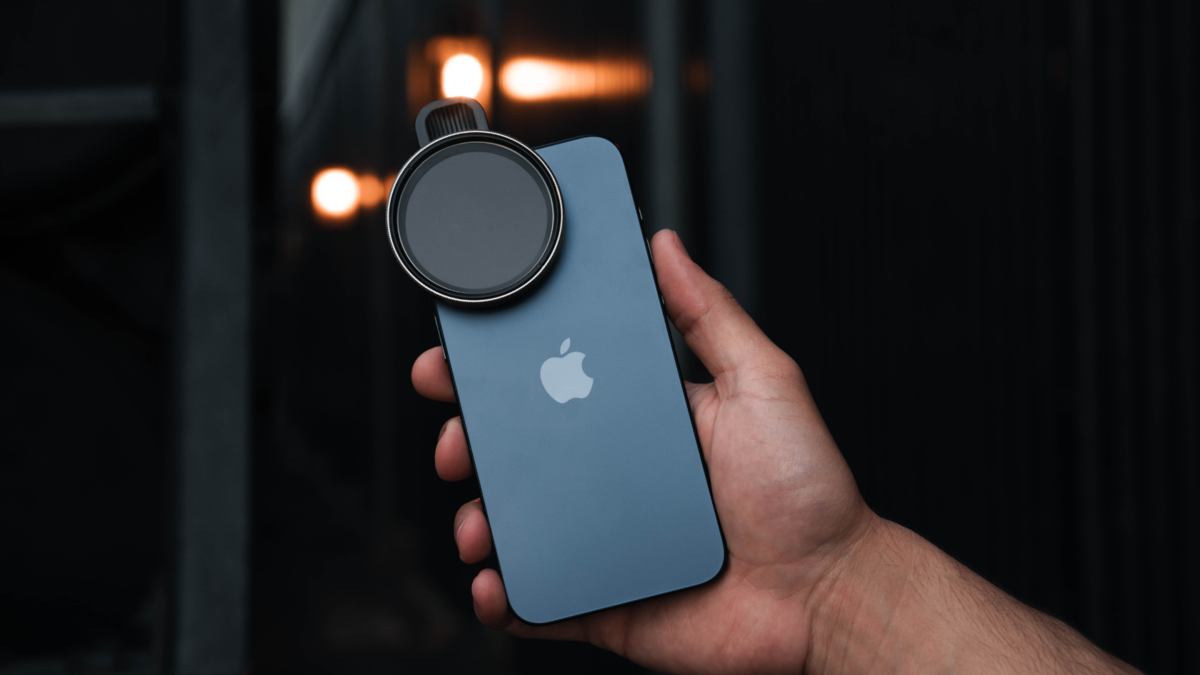
Our lenses and filters are great for elevating any video footage captured on the iPhone. Listed below are the best filters and lenses to utilize when shooting a time-lapse on the iPhone:
Our lenses and filters are great for elevating any video footage captured on the iPhone. Listed below are the best filters and lenses to utilize when shooting a time-lapse on the iPhone:
Lenses
Filters
Shooting a Time-lapse
Now that you've got the gear it's time to capture a time-lapse. Below is a step-by-step on how to get started:
Step One
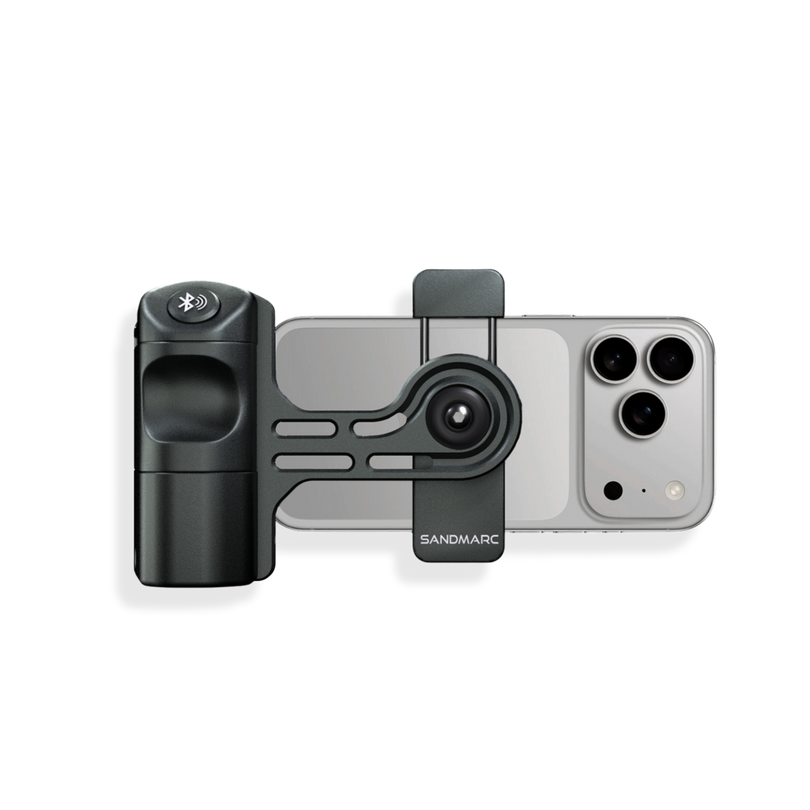
First, securely attach your iPhone to a tripod to ensure the camera stays completely still. This will ensure the best viewing experience when the time-lapse is stitched together.
Next, attach your lens or your filter to the iPhone. For example, if it was a time-lapse of the clouds, a fisheye lens would be perfect. The fisheye lens gives a snow globe effect that will create a panoramic view of the clouds.
Next, attach your lens or your filter to the iPhone. For example, if it was a time-lapse of the clouds, a fisheye lens would be perfect. The fisheye lens gives a snow globe effect that will create a panoramic view of the clouds.
Step Two
Now that you've gotten your iPhone on your tripod, it's time to set up the shot. To capture the expanse of the clouds during a time-lapse, you'll shoot upward to get the most Sky.
Step Three
The first thing you're going to want to do is open the camera app and then select time-lapse mode. Shoot in the 1X lens because it is the sharpest lens that the iPhone has and it will use the highest quality sensor in which the iPhone has so you get the best possible video in daylight or low light.
Step Four
Then, you're going to set up your iPhone where you want to capture the scene of motion. Pick an object that will be moving, like people, clouds, or cars that will show the passage of time. During the time-lapse with the SANDMARC lenses and filters you can customize the 1X camera utilizing the powerful sensor and don't have to compromise on the quality.
Step Five
Next, lock the exposure and focus by tapping and holding down the screen till the AE and AF locks appear, then tap the record button to start recording and tap it again to stop.
Understanding the Frame Rate and Time Recording
To figure out how fast the video and how long the video will actually be – you can look at this handy chart:
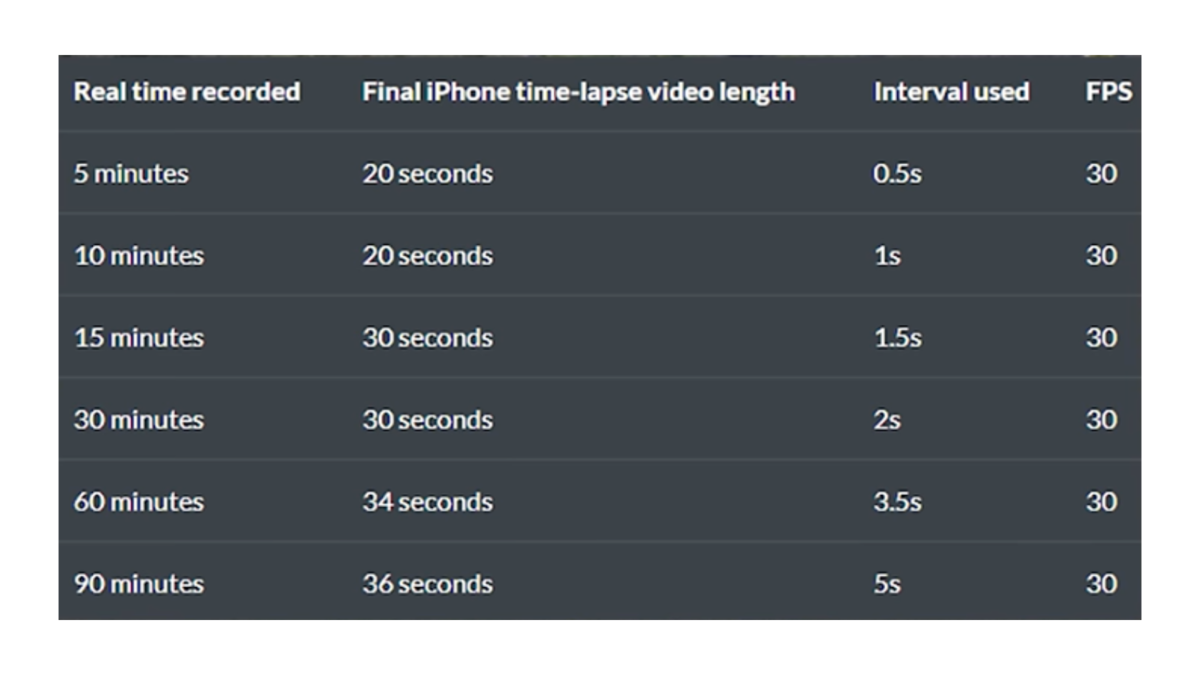
The iPhone uses “dynamic intervals” to automatically capture frames per second based on how long you are filming.
For the first 10 minutes, it shoots 2 frames per second, which later stitches together at 30 FPS. But after these 10 minutes, it doubles the interval (the amount seconds it waits between taking every shot) and deletes half of the already taken images, so it’s as if it had been recording at this new interval since the beginning.
The iPhone automatically does this process every 10 minutes, which results in final time-lapse videos that are always between 30 and 40 seconds in length.
Looking to Shoot on a Third-party App?
If you want to shoot on the third-party app, we recommend Blackmagic Camera App. It has proven to be the most sophisticated video camera app available, with a variety of customizable features to adjust for any environment.
To shoot a time-lapse you will go to settings, then Time-lapse Recording, toggle it ON.
Then, click on the capture x frame per second section. There you will see a variety of options.
Depending on how fast or how long you want your video to be, you will adjust your frame accordingly. By simply going to a time-lapse calculator online, you can find the proper frame per second for how long you'd like to film.
Time-Lapse Examples
When shooting time-lapses for the first time deciding on which gear is most appropriate can be overwhelming. We've provided time-lapse examples along with the best gear to use for each.
Sunset at Beach
Gear: Wide Lens + Drama Filter
Reasoning: The wide lens ensures that we will capture the whole beach, the rocks, the water, and the sunset. The drama filter is going to help to cut down on the overexposure and limit the reflections of the light on the water due the sunsetting.
Reasoning: The wide lens ensures that we will capture the whole beach, the rocks, the water, and the sunset. The drama filter is going to help to cut down on the overexposure and limit the reflections of the light on the water due the sunsetting.
Overlooking Traffic on a Freeway at Night
Gear: Telephoto 2x + Cloud Filter
Reasoning: The telephoto 2x does a great job of compressing the distance between the skyscrapers and the freeway. The cloud filter allows for artistic lighting on the traffic lights, while helping to amplify them.
Reasoning: The telephoto 2x does a great job of compressing the distance between the skyscrapers and the freeway. The cloud filter allows for artistic lighting on the traffic lights, while helping to amplify them.
For more examples check out the SANDMARC vlog below:
Happy shooting!

