


What Is Anamorphic Desqueeze? A Filmmaker's Guide to the Cinematic Widescreen Look
You're sitting in a movie theater as the film begins, the frame widens, thins out, and a blue flare appears. All familiar markings of an anamorphic lens. Inspired, you try one yourself, but when you review your footage, something looks off. What happened? Most people miss one critical step: you have to desqueeze it.
Anamorphic desqueeze is the process of stretching horizontally compressed footage back to its intended widescreen aspect ratio. Anamorphic lenses squeeze a wider field of view onto a standard sensor, and desqueezing reverses that compression in post-production or in-app, producing the ultra-wide cinematic format seen in major films. This guide covers what desqueezing is, why it exists, how to do it on iPhone and in editing software, and the mistakes to avoid.
Anamorphic desqueeze is the process of stretching horizontally compressed footage back to its intended widescreen aspect ratio. Anamorphic lenses squeeze a wider field of view onto a standard sensor, and desqueezing reverses that compression in post-production or in-app, producing the ultra-wide cinematic format seen in major films. This guide covers what desqueezing is, why it exists, how to do it on iPhone and in editing software, and the mistakes to avoid.
Why Anamorphic Footage Needs to Be Desqueezed
An anamorphic lens captures a wider horizontal field of view than a sensor's native aspect ratio can normally fit. This creates "squeezed" footage that appears tall and narrow, which you then "desqueeze" in post-production to stretch it back to its intended widescreen ratio.
A great way to picture this is to imagine trying to fit a massive, wide mountain range into a small, square picture frame. Normally, the mountains would be cut off on the sides, but the anamorphic lens acts like an optical "funnel," squishing that entire wide landscape horizontally so it fits perfectly inside the square frame of your camera sensor. When you edit the footage later, you are simply pulling those "squished" mountains back out to their natural, grand width, restoring the full scale of the range without ever losing the top or bottom of your shot.
Another important note about anamorphic lenses is their physical design; they are shaped more like an oval, which projects an elliptical image onto the camera sensor. In contrast, standard spherical lenses project a circular image, and the rectangular sensor simply captures the middle portion. The unique shape of an anamorphic lens allows the sensor to record more horizontal detail, maximizing every pixel to create a beautifully wide, cinematic frame without sacrificing resolution.
Another important note about anamorphic lenses is their physical design; they are shaped more like an oval, which projects an elliptical image onto the camera sensor. In contrast, standard spherical lenses project a circular image, and the rectangular sensor simply captures the middle portion. The unique shape of an anamorphic lens allows the sensor to record more horizontal detail, maximizing every pixel to create a beautifully wide, cinematic frame without sacrificing resolution.
Mastering the Anamorphic Setup on iPhone
For a deeper look at these mechanics, check out our video guide below.
We go beyond the "squeeze" to show you exactly how the anamorphic lens’s unique oval glass and multi-element optics capture that ultra-wide field of view without losing resolution. You’ll also get a hands-on walkthrough of the essential setup, from aligning the mounting dashes for a distortion-free shot to a step-by-step look at desqueezing your footage in real-time or post-production.
It’s the ultimate primer for anyone ready to master the cinematic look on iPhone!
5 Common Desqueeze Mistakes to Avoid
There can be a learning curve when working with an anamorphic lens, avoiding these 5 common mistakes will ensure a seamless workflow and help you troubleshoot any visual inconsistencies.
1. Exporting first, desqueezing second: Avoid exporting your footage before de-squeezing; it is essential to de-squeeze first and then export. Stretching the image after it has already been compressed into a final video file can severely degrade image quality and lead to scaling issues.
2. Applying 1.55x desqueeze to a 1.33x lens: Always ensure you match the de-squeeze ratio to your specific lens; for example, a 1.33x lens must be de-squeezed at exactly 1.33x in your settings to maintain the correct proportions.
3. Desqueezing twice: Sometimes your camera may de-squeeze the image in real-time. If it does, be careful not to apply a second de-squeeze in post-production, as this will result in an incorrectly stretched image. Always double-check if your footage was already processed in-camera.
4. Cropping the top and bottom to 'desqueeze': Cropping the top and bottom of your footage won't recreate the anamorphic effect; in fact, it degrades your image by sacrificing vertical resolution. In contrast, desqueezing maintains your original quality by utilizing the full sensor area
5. Ignoring edge distortion: All anamorphic lenses create distortion at the edges of the frame, and desqueezing makes it more apparent. If you don't like the look, you can apply 'lens correction' in post-production to automatically adjust it.
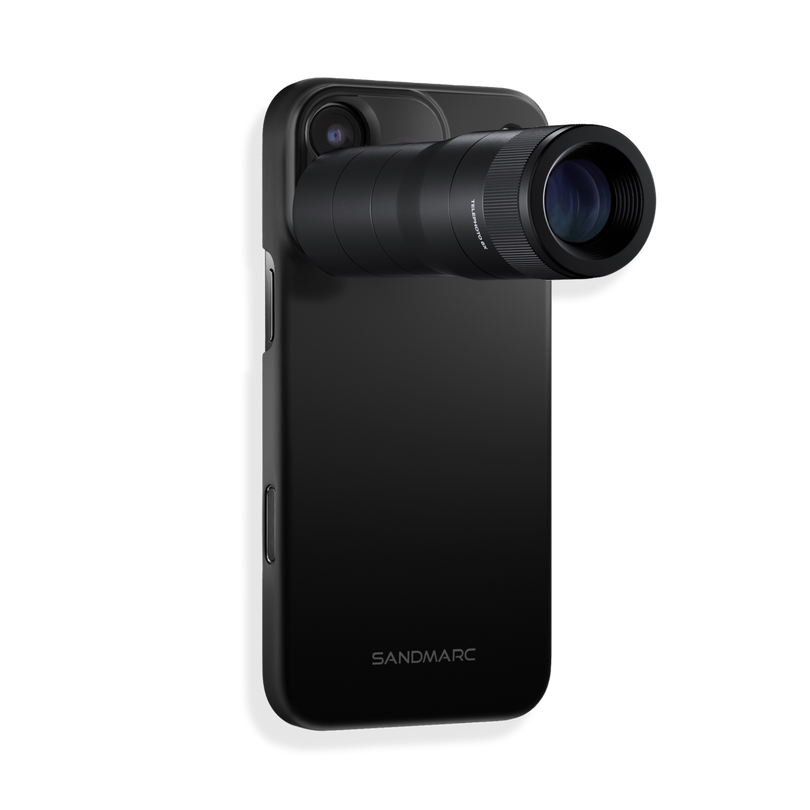
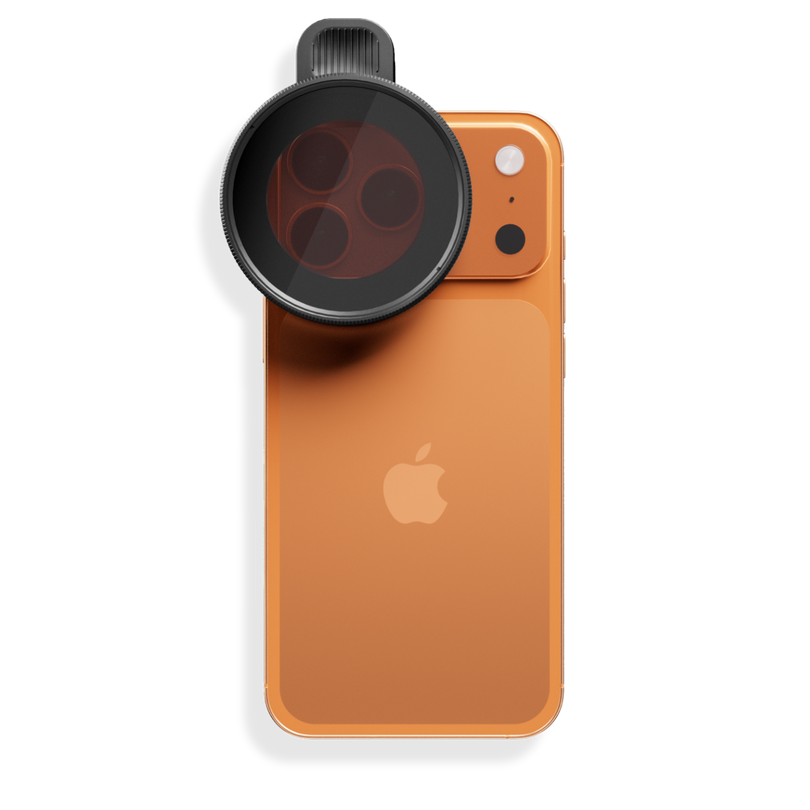
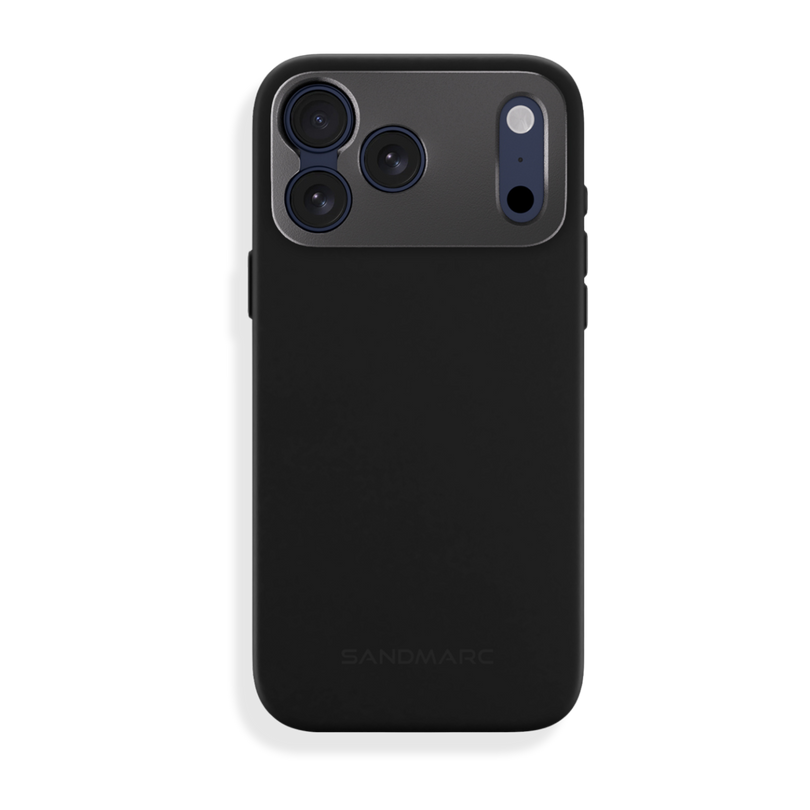
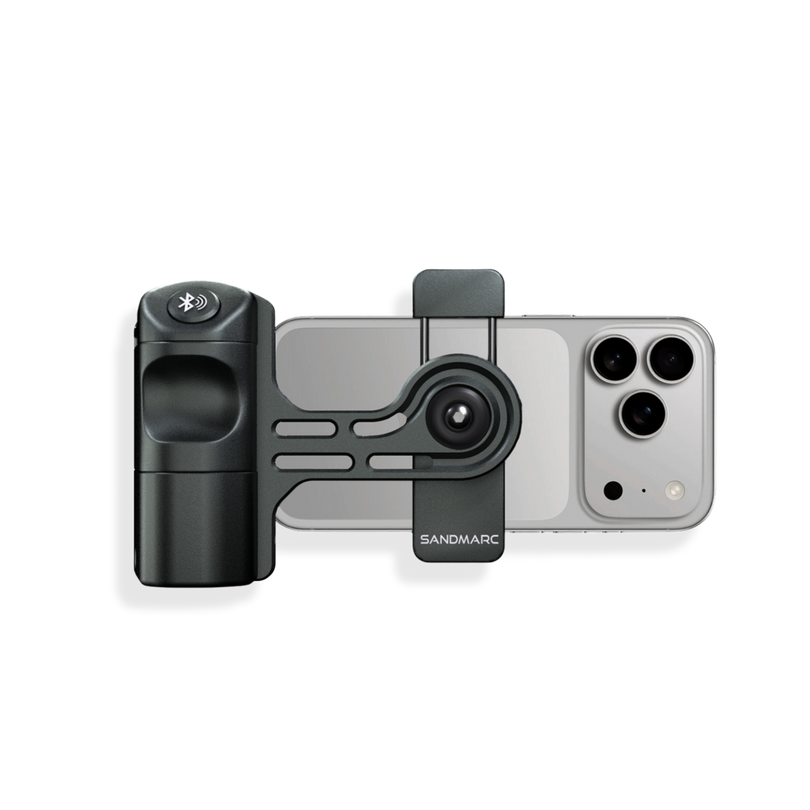
Gear for Anamorphic Filmmaking on iPhone
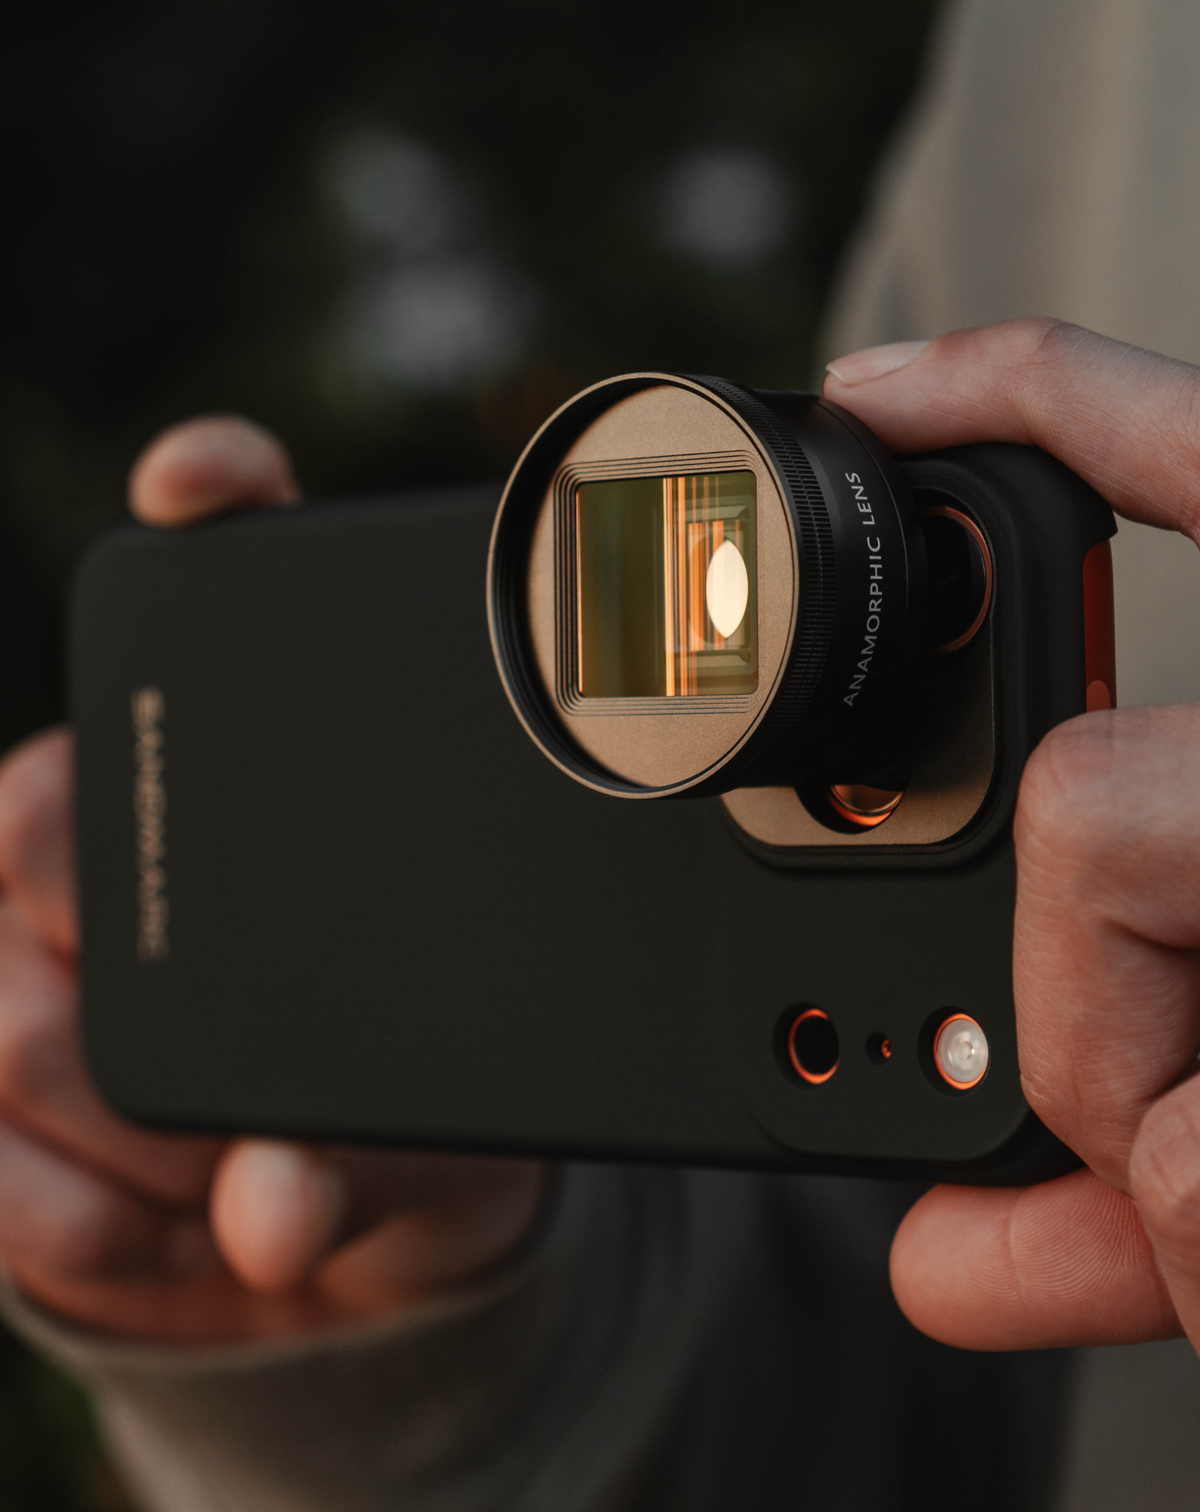
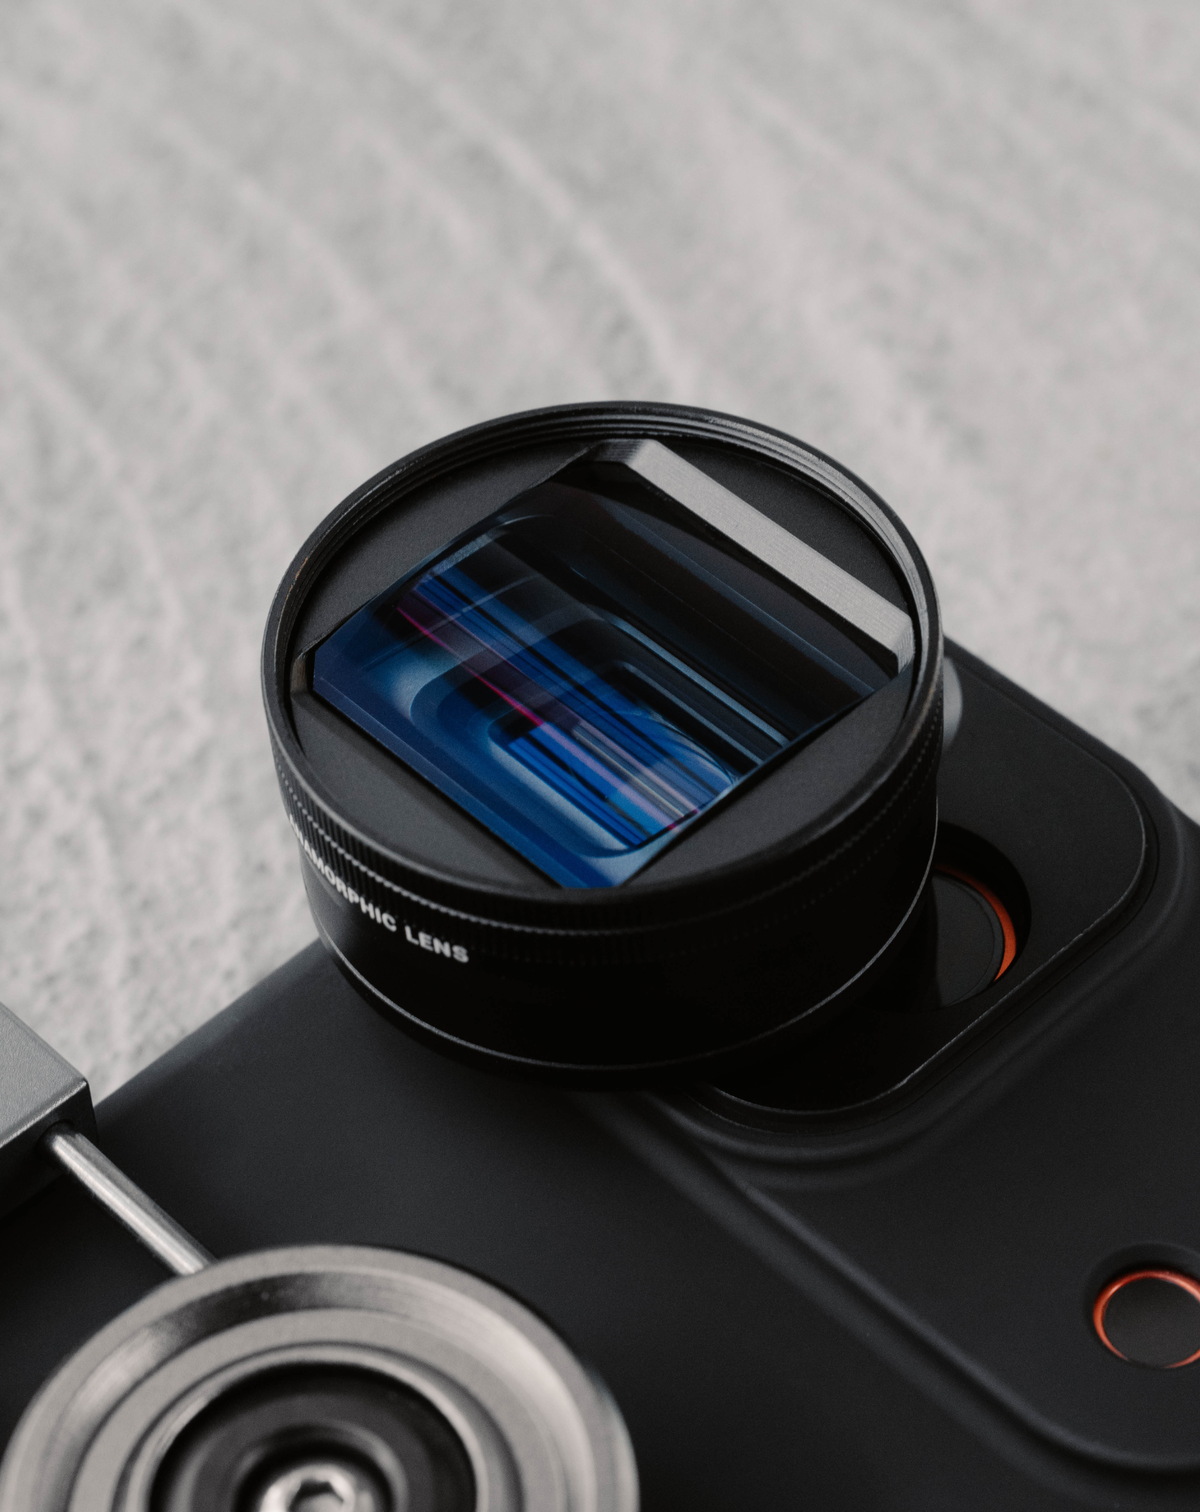
Level up your iPhone filmmaking with SANDMARC lenses, filters, and rigs. Choose our 1.33x Anamorphic Lens for warm gold flares or the 1.55x Anamorphic Lens for a cinematic blue look. Our Film Rig adds ergonomic comfort and mounting points for lights and SSDs, while the Cinema Slider and tripod setup delivers perfectly stabilized, sweeping panoramic shots.


Attaching an anamorphic lens to your iPhone is the ultimate way to elevate your cinematography. It’s incredible that today’s technology allows such a compact lens to transform a mobile device into a professional filmmaking tool. For creators who demand a top-tier, cinematic look, the anamorphic lens is a game-changer. Once you master the desqueeze, the sky is the limit for your storytelling.
SANDMARC Anamorphic Lens Review
Don't just take our word for it, see what creators think of the SANDMARC Anamorphic Lens:
Author's Bio
Born on the California coast, SANDMARC designs gear for those who live life in motion—travelers, photographers, and filmmakers. Every SANDMARC product is thoughtfully designed to elevate how you capture, carry, and experience the world. With a focus on quality and functionality, their blog offers tips, guides, and inspiration to enhance the creative journey.
