


How to Use VSCO Like a Pro: iPhone Editing Tips for Stunning Photos & Videos
VSCO is one of our favorite apps for capturing and editing iPhone photos and videos. It offers a wide range of filters and post-shoot editing tools that deliver fast, cinematic results. When you combine the simplicity of VSCO with the portability of the iPhone, it becomes the perfect creative setup, especially when paired with SANDMARC gear. In this guide, we’ll share our top tips and tricks for getting the most out of VSCO.

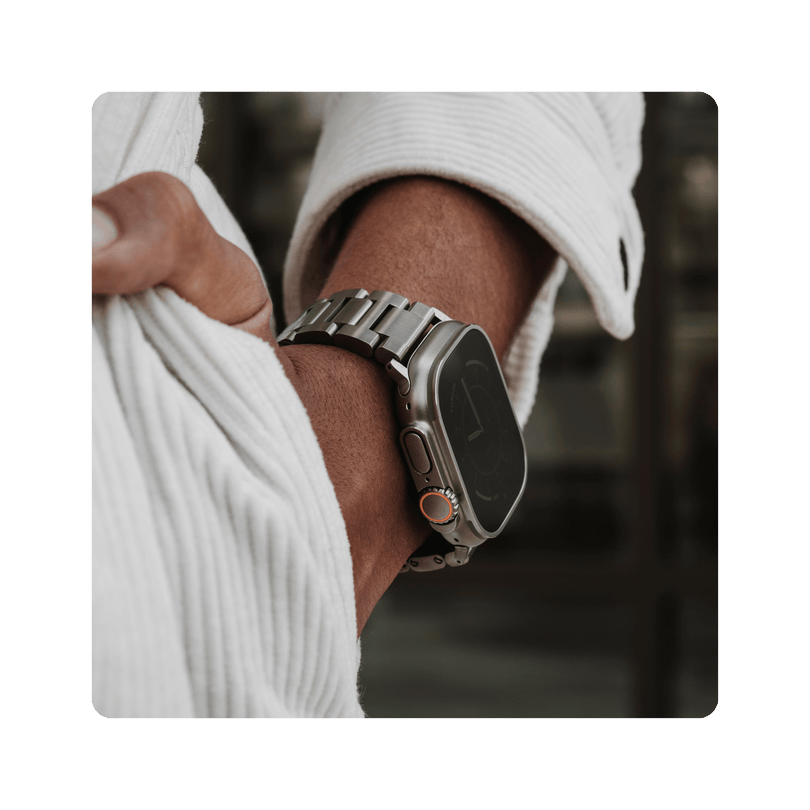
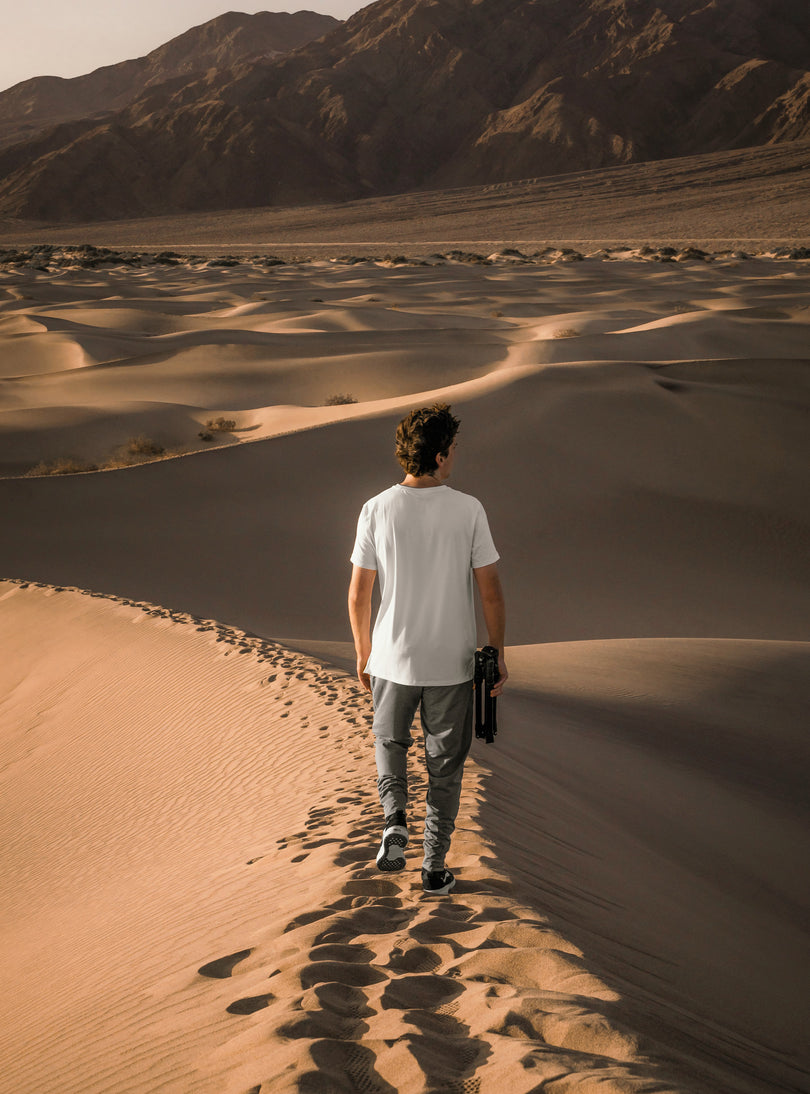
Shot on iPhone + Retro Filter, Captured on VSCO Capture
What is the difference between VSCO Capture and VSCO Editor?
VSCO Capture is VSCO’s new standalone camera app that lets you apply filters, film effects, and manual controls before taking a photo or video. Instead of guessing how your edit will look later, Capture allows you to preview presets, adjust exposure, and fine-tune details in real time. You can shoot in RAW for maximum flexibility or save both filtered and unfiltered versions for post-editing. The app is ideal for creators who want more control at the moment of capture, especially when shooting with external lenses like SANDMARC’s Wide or Telephoto options.
VSCO Editor, on the other hand, is the companion app designed for post-shoot editing and color grading. It offers VSCO’s full suite of presets, filters, and adjustment tools for refining tone, lighting, and mood after shooting.
4 VSCO Editor Tips for iPhone Photography
- Master Presets, Don’t Overuse Them: Choose presets that align with your style so they complement your photo rather than overpower it. It’s okay to adjust the intensity for a more subtle finish.
- Fine-Tune with Editing Tools: Once you capture your photo, adjust the exposure, contrast, and white balance. Focus on achieving clarity and sharpness to enhance detail.
- Crop & Straighten for Better Composition: Take the time after to align horizons, center subjects, and refine symmetry.
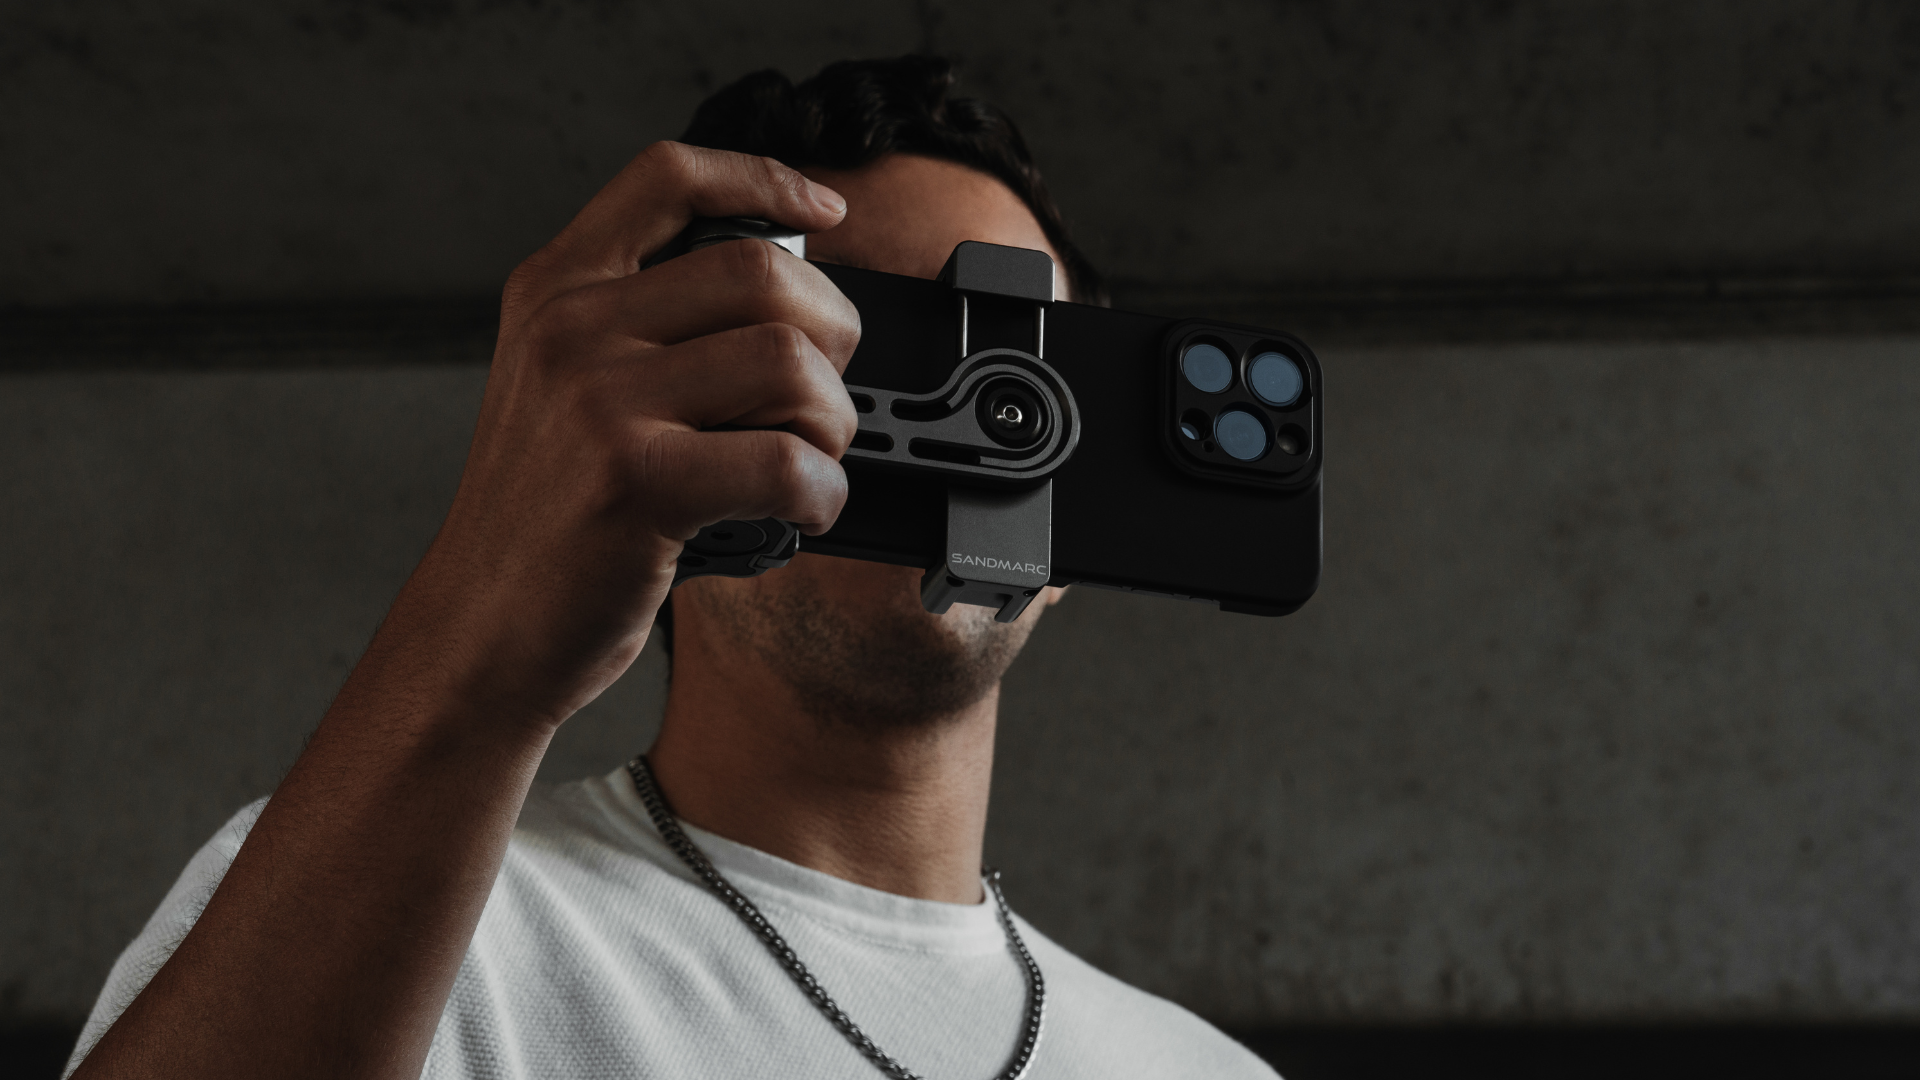
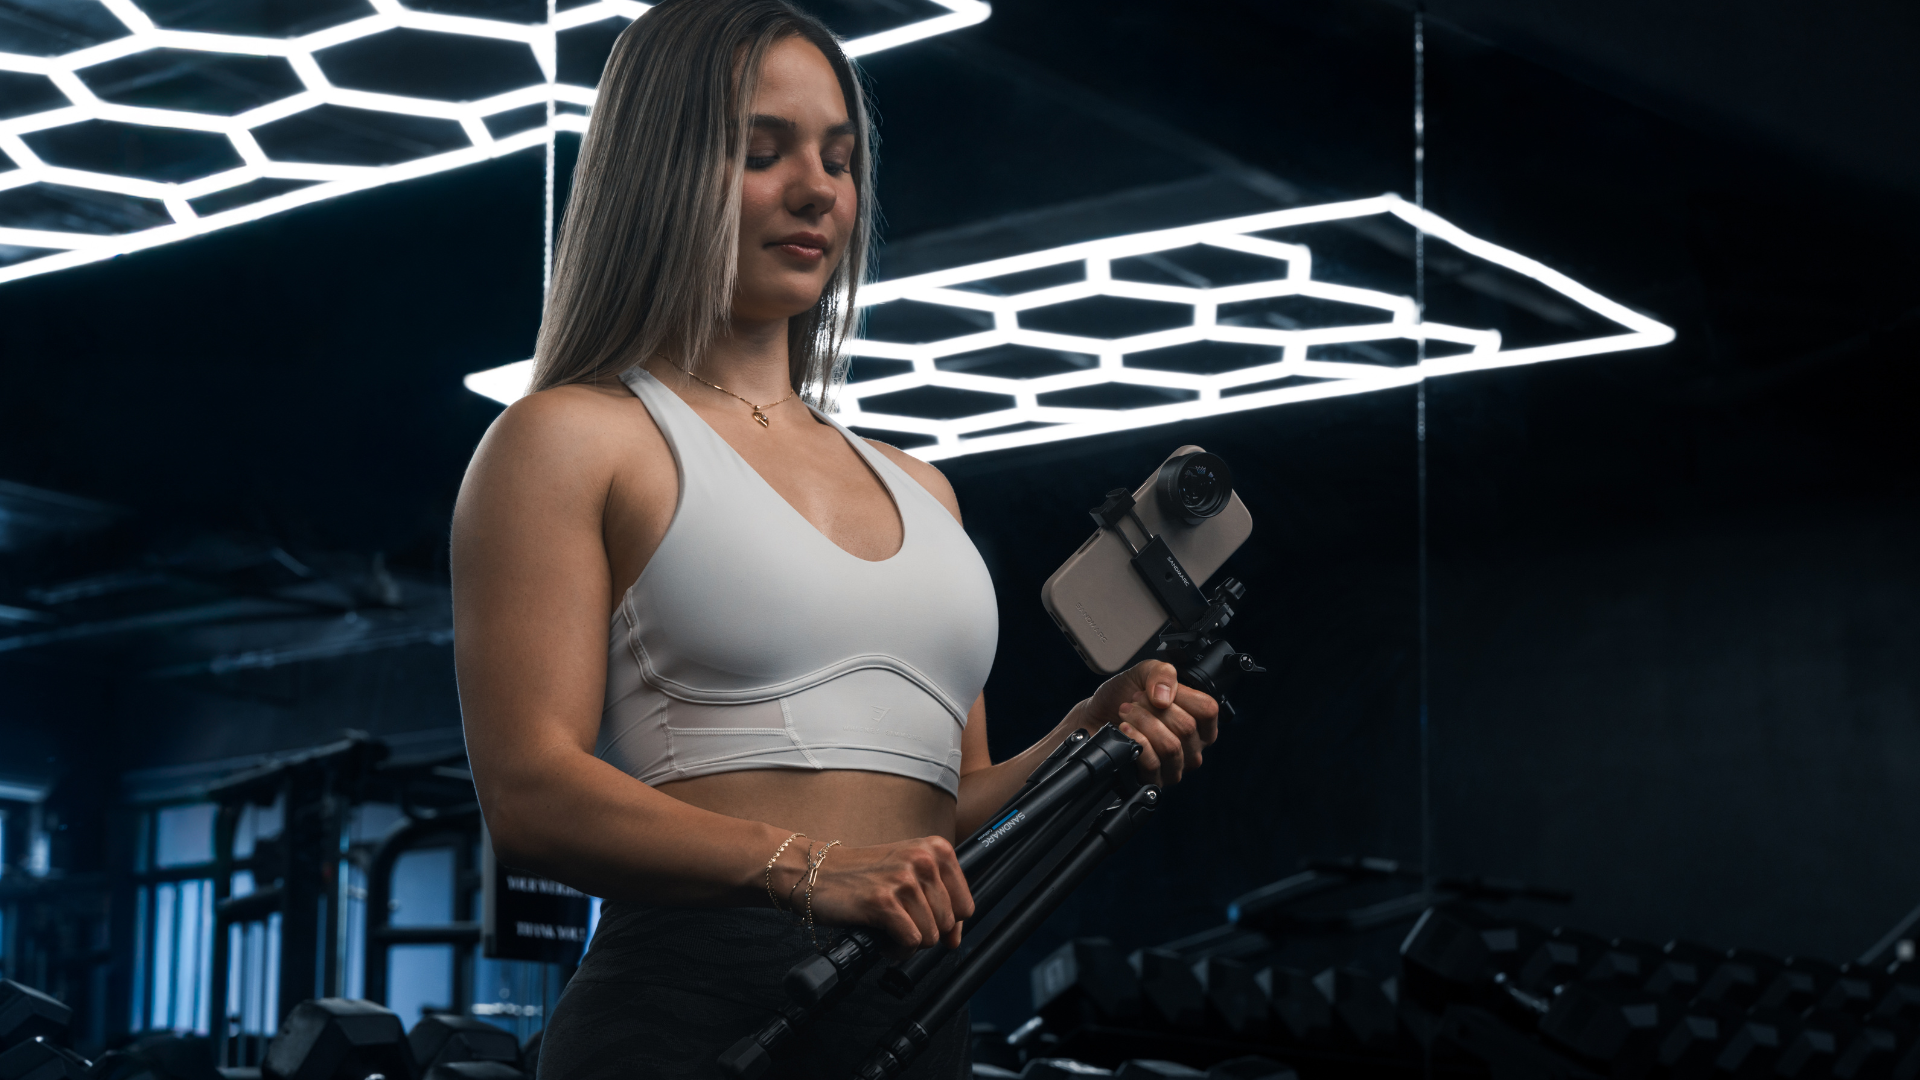
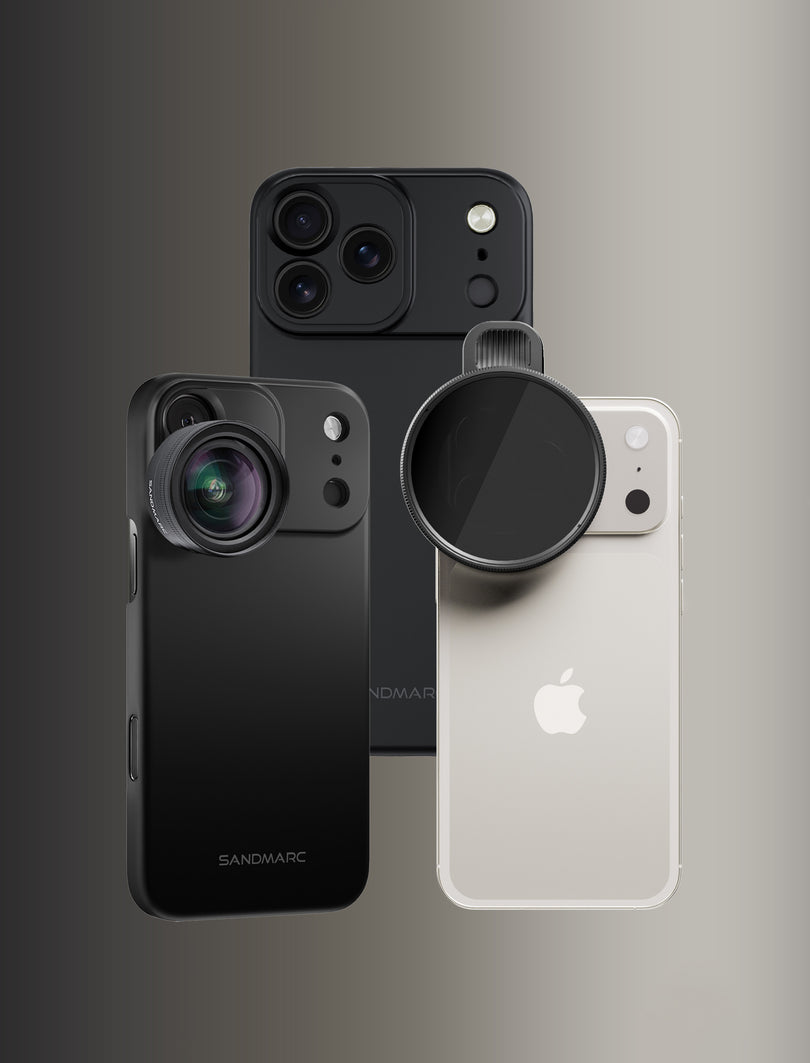
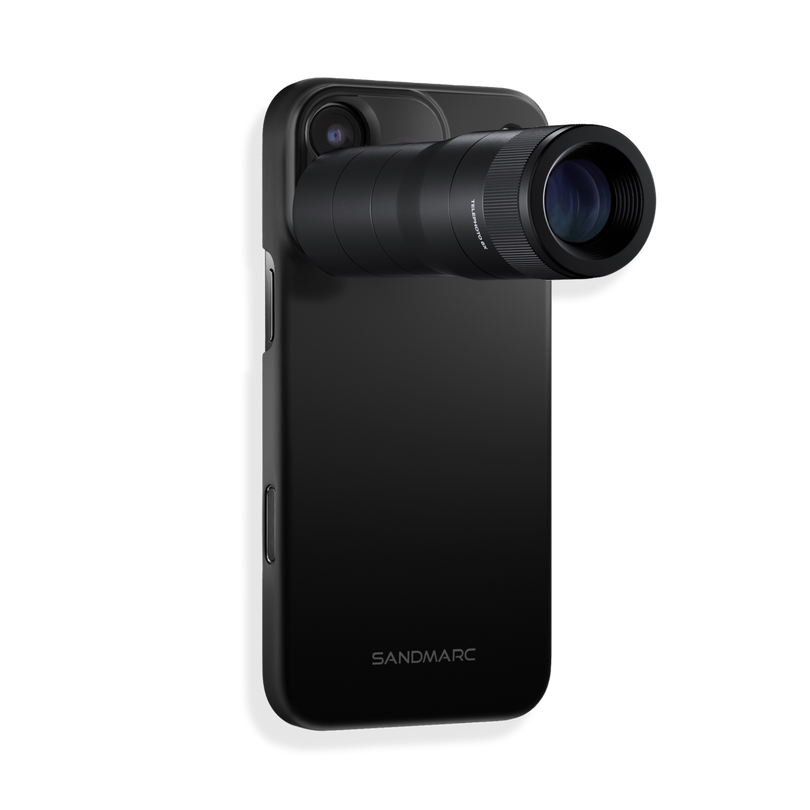
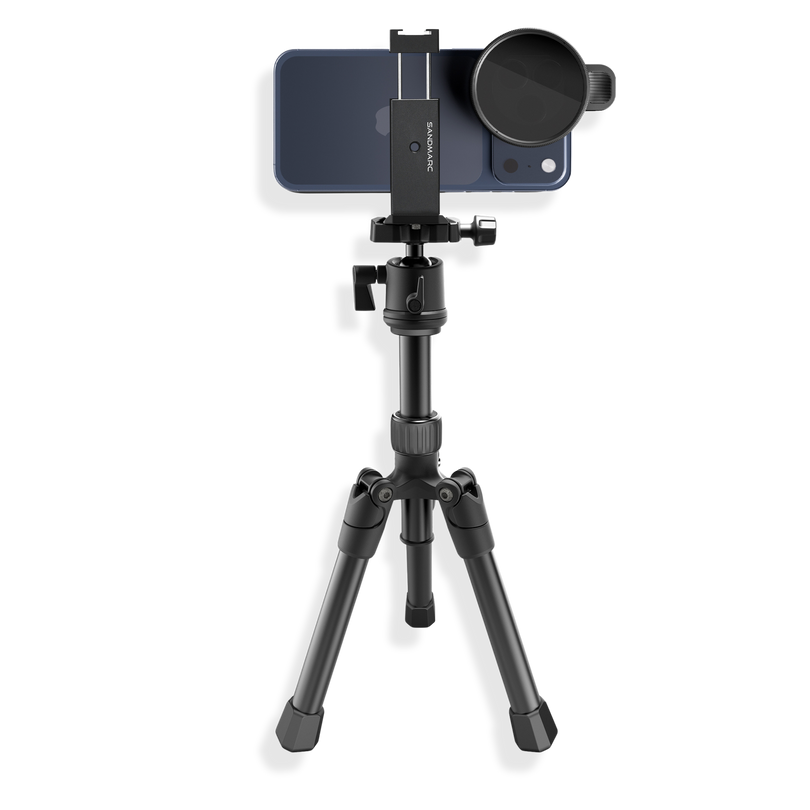
- Leverage SANDMARC Lenses & Filters: The Telephoto 2x Lens is perfect for capturing portraits, while the Wide Lens is ideal for landscape shots, and adding the Drama Filter will allow for more balanced highlights.
3 VSCO Editor Tips for iPhone Filmmaking
- Use VSCO’s Video Editing Tools: VSCO offers presets for videos similar to those for photos, but be sure to adjust the exposure, contrast, and tones for aligned consistency.
- Color Grading with Style: Match tones across multiple clips by creating your own custom filter to maintain a cohesive look throughout your project.
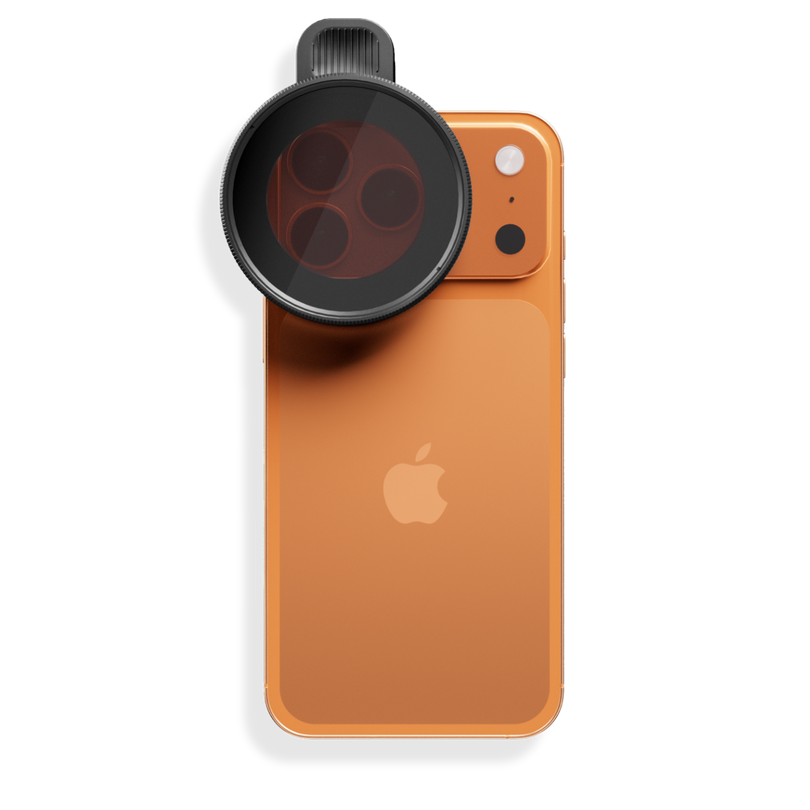
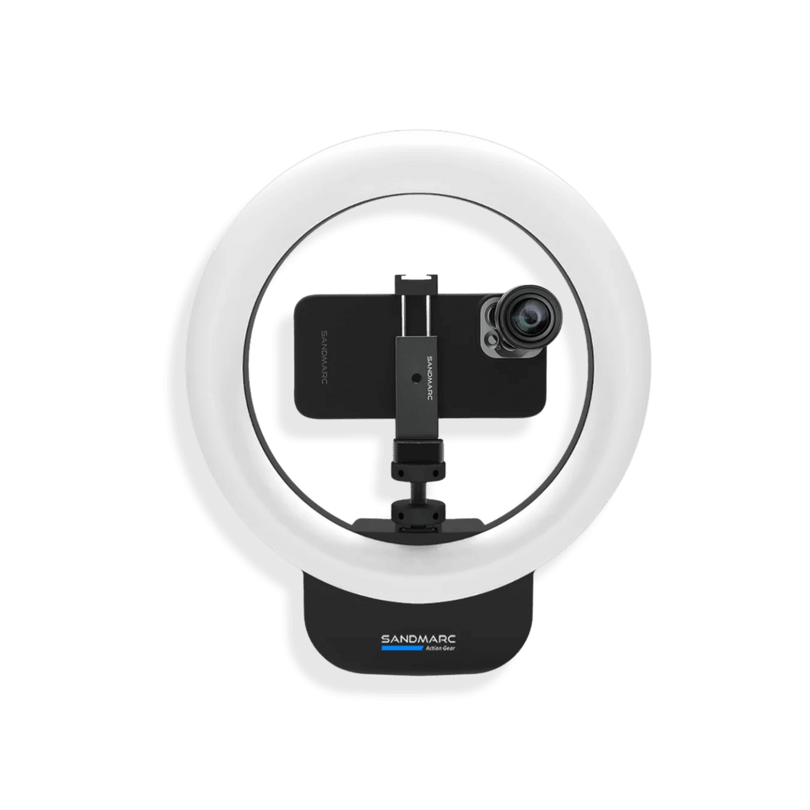
- Pair with Gear for Pro Results: The Anamorphic Lens adds a blue lens flare and wide aspect ratio, while the Motion Filter creates a cinematic motion blur. For better lighting, attach the Prolight Mini.
While VSCO allows editing of longer clips, each scene in its Montage feature is limited to one minute. For more advanced or extended video editing, we recommend using the Blackmagic Camera app.
Advanced VSCO Tricks
VSCO allows you to get creative by making your own presets. Custom presets not only streamline your workflow but also help you maintain a consistent visual identity across all your content, one that’s uniquely yours. Add character to your shots using the Grain tool, it’s a simple way to achieve that timeless, film-inspired texture.
Don’t be afraid to experiment with Shadows Tint and Highlights. Tint to develop unique color palettes that reflect your personal style or project mood. Finally, save time and ensure visual consistency by stacking edits, copy and paste your settings across multiple photos or videos to tie your entire series together seamlessly.
Don’t be afraid to experiment with Shadows Tint and Highlights. Tint to develop unique color palettes that reflect your personal style or project mood. Finally, save time and ensure visual consistency by stacking edits, copy and paste your settings across multiple photos or videos to tie your entire series together seamlessly.
Common Mistakes to Avoid
Avoid over-editing your photos or videos with too many filters, as it can distort natural tones and details. Be careful not to crush the blacks or blow out the highlights, which can result in lost texture and depth. Lastly and most importantly, maintain consistency across your photo series or video sequence to ensure a professional and unified aesthetic.
VSCO is the perfect option for anyone looking to take their iPhone editing skills to the next level. Its presets offer flexibility and plenty of room for creativity, making it easy to craft a style that feels unique. And when paired with SANDMARC lenses, filters, and lighting gear, your visuals go from simple edits to professional-grade storytelling.
Author's Bio
Born on the California coast, SANDMARC designs gear for those who live life in motion—travelers, photographers, and filmmakers. Every SANDMARC product is thoughtfully designed to elevate how you capture, carry, and experience the world. With a focus on quality and functionality, their blog offers tips, guides, and inspiration to enhance the creative journey.