


Top 5 ways to take professional photos on iPhone
Becoming a better iPhone Photographer
Top 5 ways to take professional photos on iPhone
Becoming a better iPhone Photographer
iPhone photography has been the latest trend occurring during the last few years. Get the most out of your iPhone by stepping up your photo game. With the right techniques, tools, and guidance you'll be capturing photos like a pro in no time.
Here's your guide to shooting next-level content.
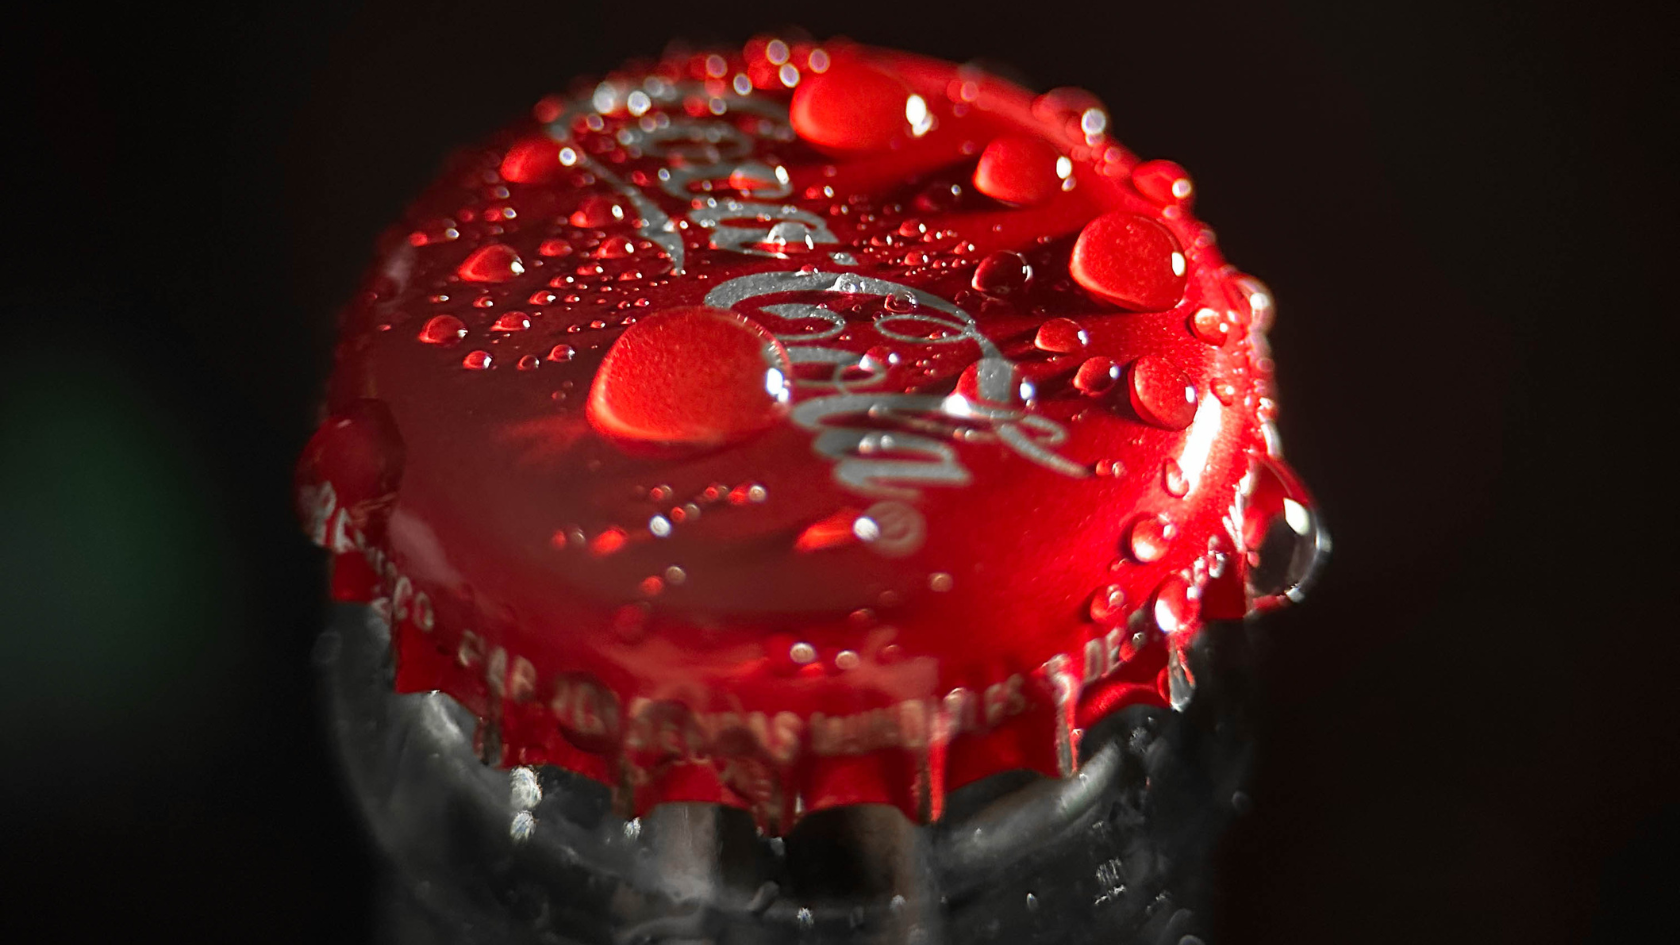
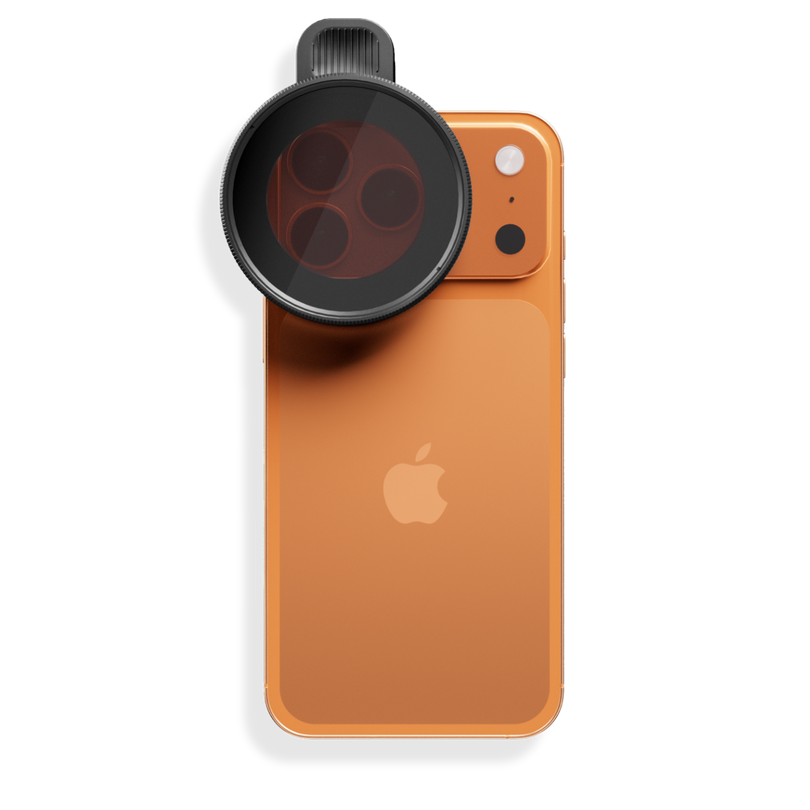
The iPhone Camera
The iPhone camera enables many features and settings that allows you to capture photos like a pro.

Credit: gsmarena
Portrait Mode
The key to taking professional photos is to first learn about the iPhone's Portrait mode. Open your camera and swipe right to enter Portrait mode.
Here's how Portrait mode works: the iPhone's camera will instantly create an effect called depth-of-field.
This effect allows users to capture photos with a sharp focus on their subject simultaneously blurring out the background.
This effect allows users to capture photos with a sharp focus on their subject simultaneously blurring out the background.
Make sure that your iPhone is up-to-date with the latest version of iOS. iPhone model's 7 plus through the 13 pro max will all support Portrait mode.

Credit: Apple
Portrait Lighting
Lighting is very essential to capturing professional photos. In Portrait mode, there's a feature called Portrait Lighting in which you can apply studio quality lighting to your photos. The Portrait Lighting feature consists of six lighting effects.

Credit: Forever
The first effect is Natural Light, which is the default effect in Portrait mode, is great for having that golden hour look or taking selfies. Swipe right to the second effect, Studio Light, which brightens facial features. The third effect, Contour Light focuses on directional lighting and is more dramatic.
The fourth effect, Stage Light, is used to isolate the subject in a spotlight. The fifth effect, Stage Mono, is a classic black and white effect that incorporates a stage light. Lastly the sixth effect, High-Key Light Mono, focuses on a white background with the subject in grayscale.
The cool thing about the Portrait Lighting feature is that it can be applied before or after the photo was taken. It is recommended to initially take your photos from the Natural Light effect and then apply the other effects after, if desired.
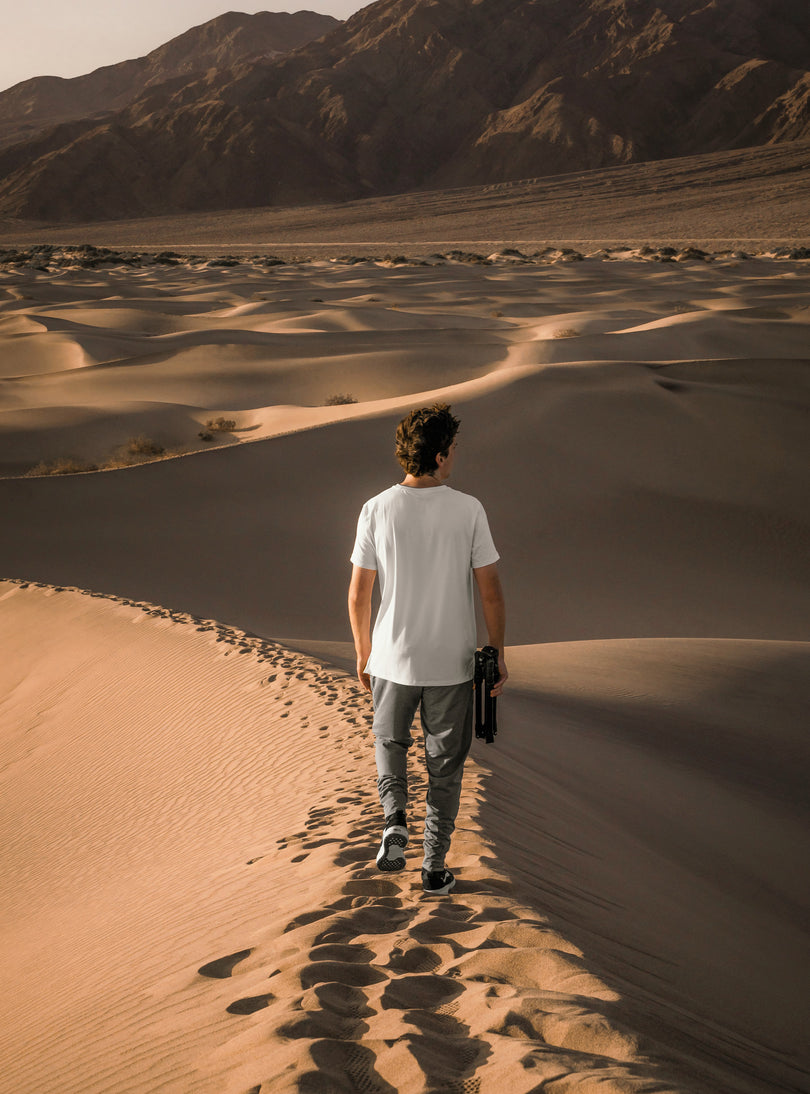
Photo Staging
Taking a few moments to plan out your photo and thinking what should go into it will improve the end results of the image. When it comes to professional photos setting a stage is key to capturing the photo you wanted. Have a good composition and place elements surrounding the subject.
Another way of achieving your professional photo is capturing the subject in the moment. Focus on the subject and have the background staged with the desired elements as your subject moves through and poses begin capturing multiple shots.

Credit: We Eat Together
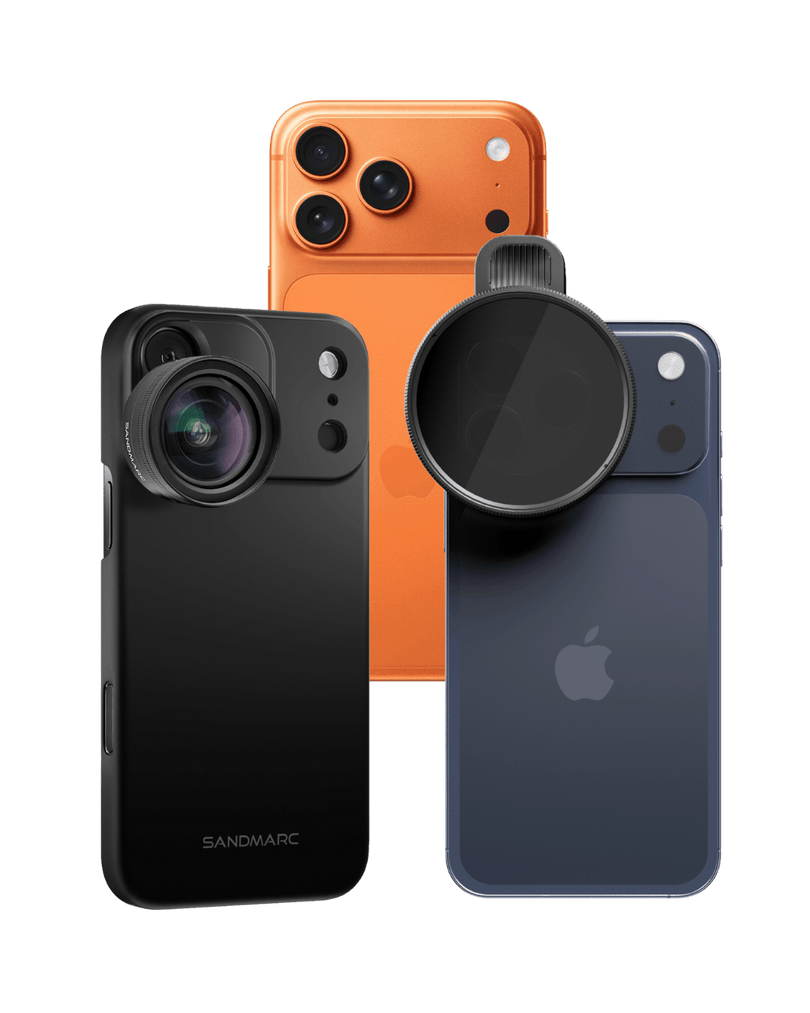
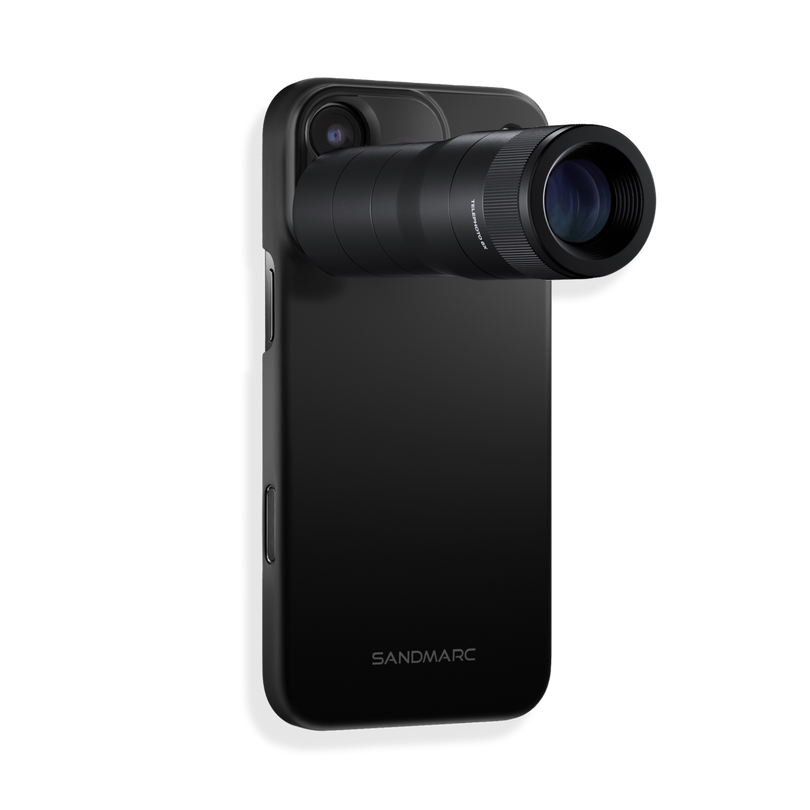
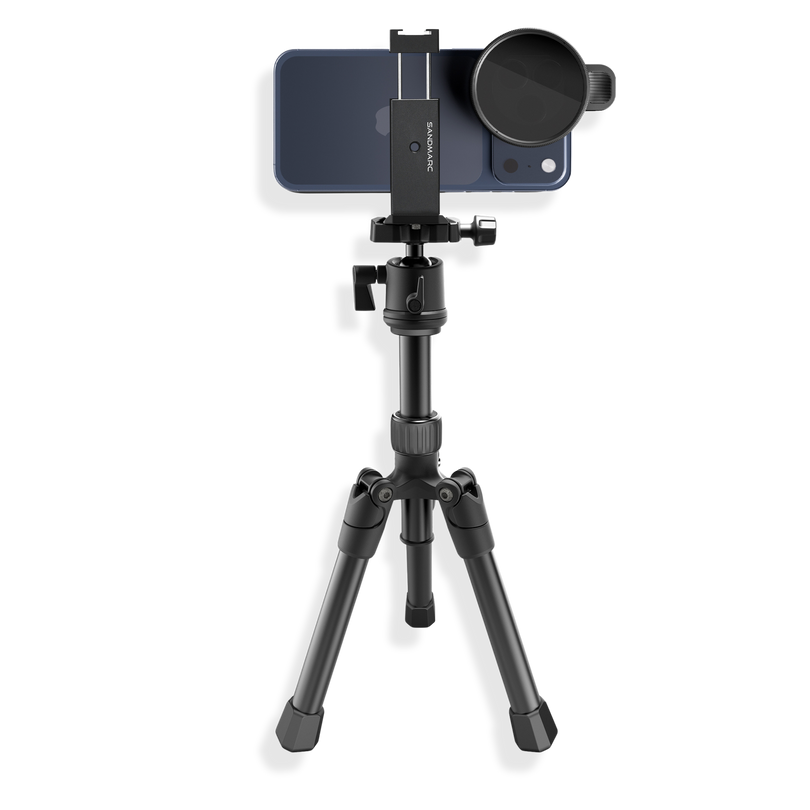
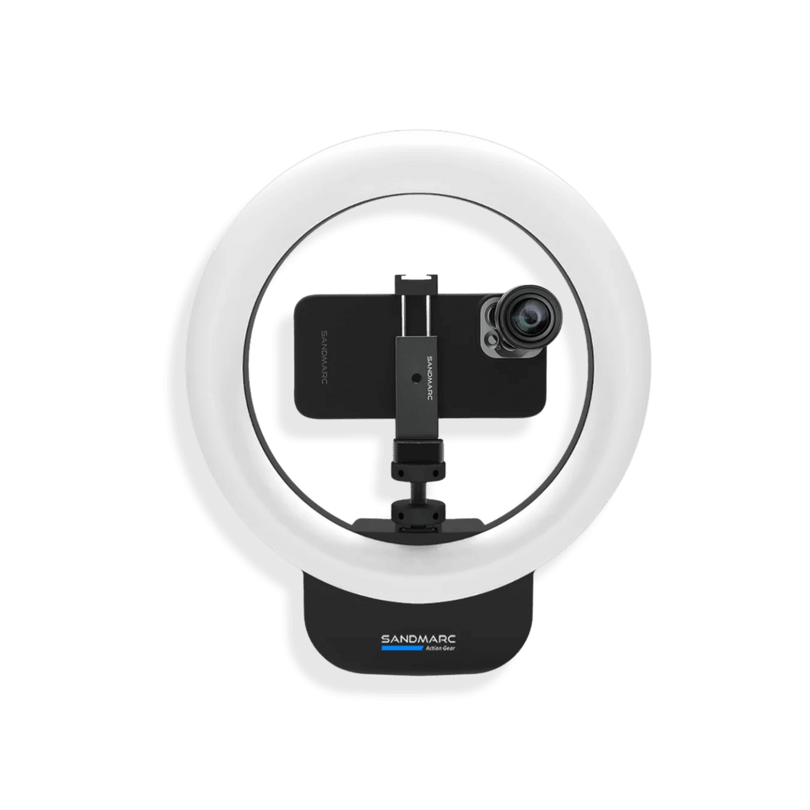
iPhone Tripod
Using a tripod is great to help take shots of yourself, others, and of a place or object. Tripods help give the photographer control of angles and steadiness which is very crucial to professional photos.
Once the iPhone is secured and your angles are covered, the only thing you need to focus on is having a subject to focus on, adding elements to the composition if needed, and the lighting.
The video below demonstrates how an iPhone tripod can be effective in capturing next-level content.
Photo Editing on Photoshop
Simple edits on photoshop to make your photos look more professional.
Photoshop Tools
Using the Blur tool to blur out the background behind the subject is a great effect for making your photos look more professional. The Sharpen tool is another great effect for sharpening the subject can keeping the focus there. Using the Dodge tool to lightly brighten the subject and the Burn tool to slightly darken the background ends up making your photo that much better.

Credit: digitaltrends
ProRes RAW
Apple ProRes RAW uses compression technology to RAW image data from the camera sensor. What this means is that users are able to capture RAW images, meaning images filled with all the color and details in that one shot. These RAW images would usually take up a lot of space due to all the details and colors a single image incorporates. However with Apple’s ProRes Raw, these RAW images are able to be compressed storing all the details within them, making them perfect to edit. As ProRes RAW adjusts the compression to hit a target quality. Allowing the file size to decrease, but maintain its performance.
It also does the same with RAW videos, as ProRes delivers amazing performance and is the ideal format for High-Dynamic-Range content creations. Footage can now be imported, edited, and stored without slowing down your edits.

Credit: Apple