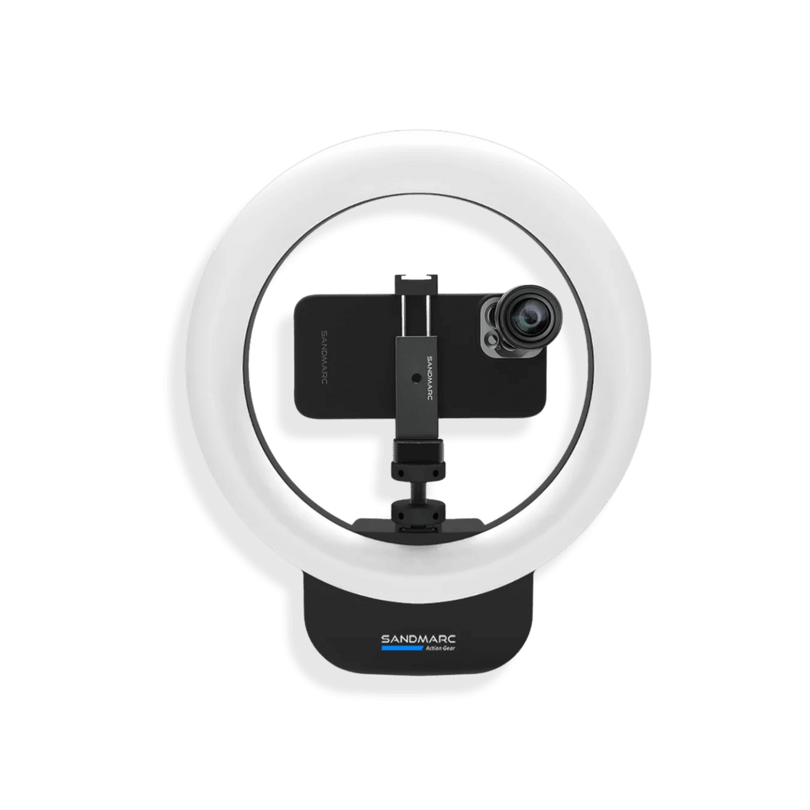


How to Focus the SANDMARC Macro and Microscope Lens
Macro photography gives you the ability to see objects in a whole new perspective. With a steady camera, good lighting and high quality lenses you'll be amazed at what you capture! Today we are talking about how you can get sharp photos and videos with the SANDMARC macro 25mm, 100mm and microscope lens.
An Overview of the Lenses
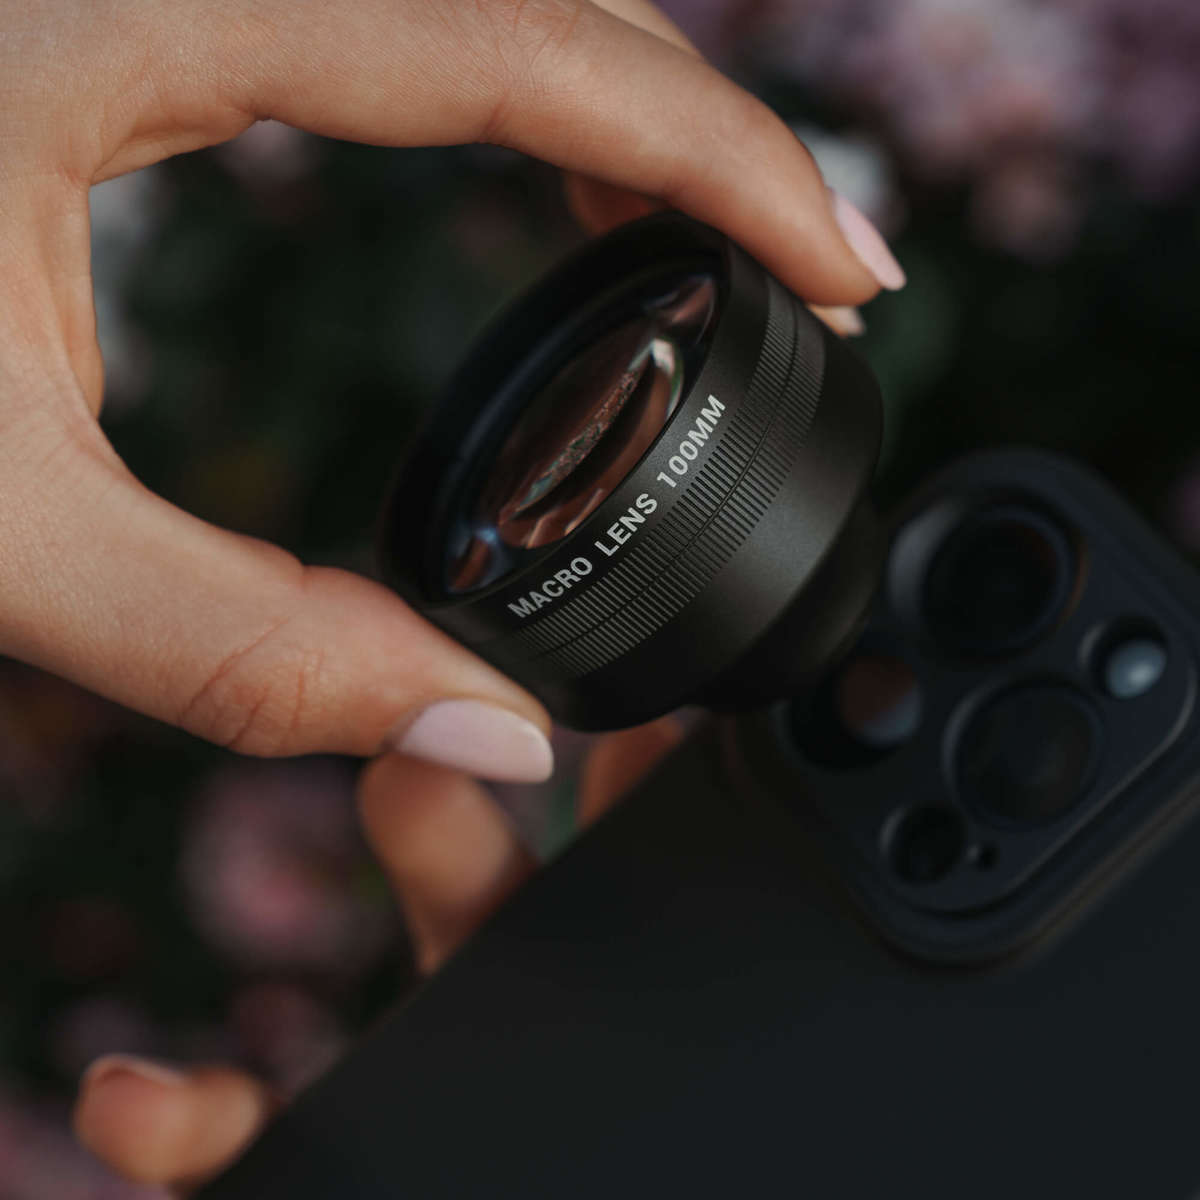
Macro Lens
A macro lens is a specialized lens that allows you to focus extremely close to a subject, giving you the ability to capture intricate details. From nature photography to branded content, the macro lens gives your audience an immersive experience.
A macro lens is a specialized lens that allows you to focus extremely close to a subject, giving you the ability to capture intricate details. From nature photography to branded content, the macro lens gives your audience an immersive experience.
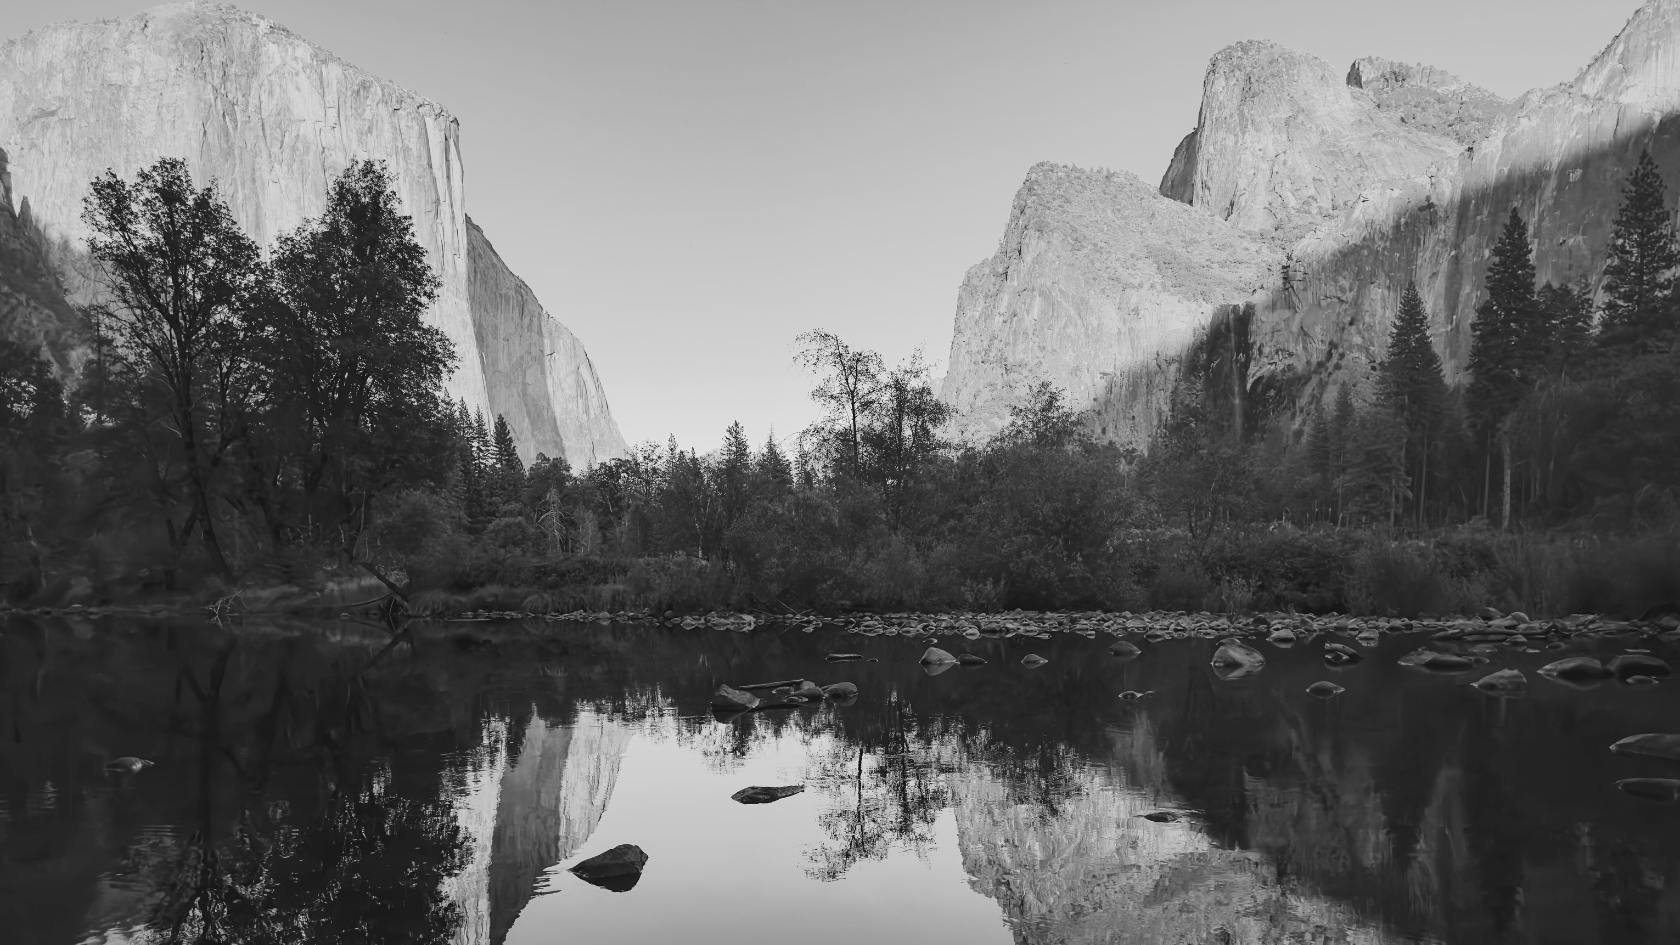
On the native iPhone lens, you can take beautiful macro shots. But if you look at the photos, you can see that everything in the frame is in focus. With the SANDMARC Macro lens, you will get a shallow depth of field in your photos, typically seen in professional macro photography. This organic look feels like it was shot with a professional DSLR camera rather than an iPhone. As you see from these examples, one isn't better than the other, but simply allows you the variety and flexibility while shooting.
We offer two different focal lengths for our Macro lens. The 25 mm lens, perfect for up-close shots, stationary objects, and the 100mm offering the same intense sharp, macro view, but offering a little more space for moving objects, videography, and experimental mediums.

Shot in iPhone + Macro Lens
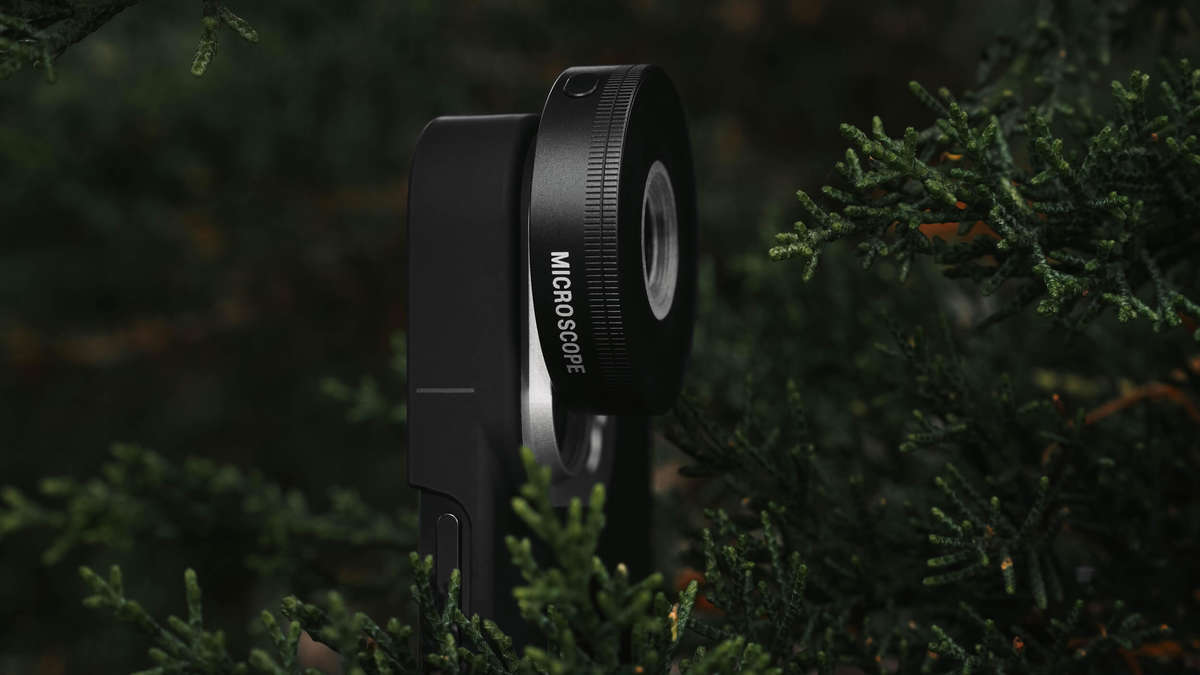
Microscope Lens
The microscope lens is a highly magnified lens, produces a 40x zoom, enabling you to capture details never before possible with an iPhone. At such an extreme magnification, you make our individual details of your subjects, observing wildlife, fabric, everyday items, and much much more. The SANDMARC microscope comes with a built-in lighting that is USB-C chargeable on-the-go so you have enough light when focusing close to your subject.

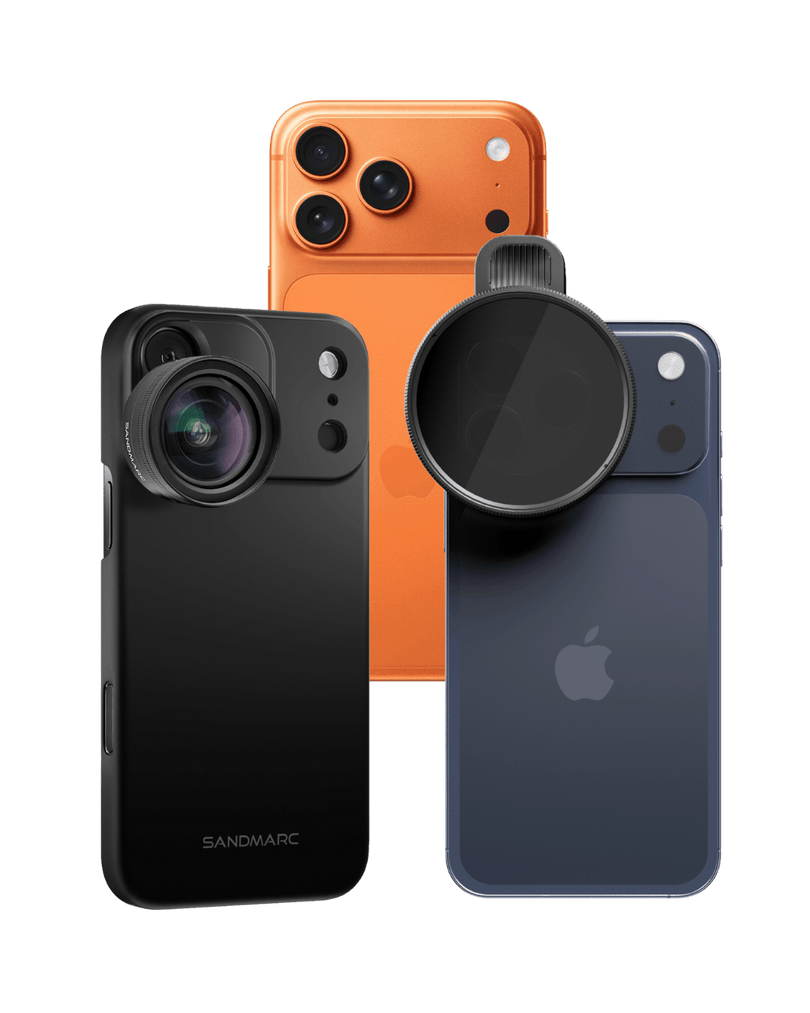
How to Attach the Lens to your iPhone
Before you begin make sure your lens and camera lens are clear of any smudges, dust, or debris. With every SANDMARC lens kit you receive a microfiber cleaning cloth that you can use to clean the surfaces. You'll want to do small circular motions to clean off any dust that could hinder the focus of the camera.
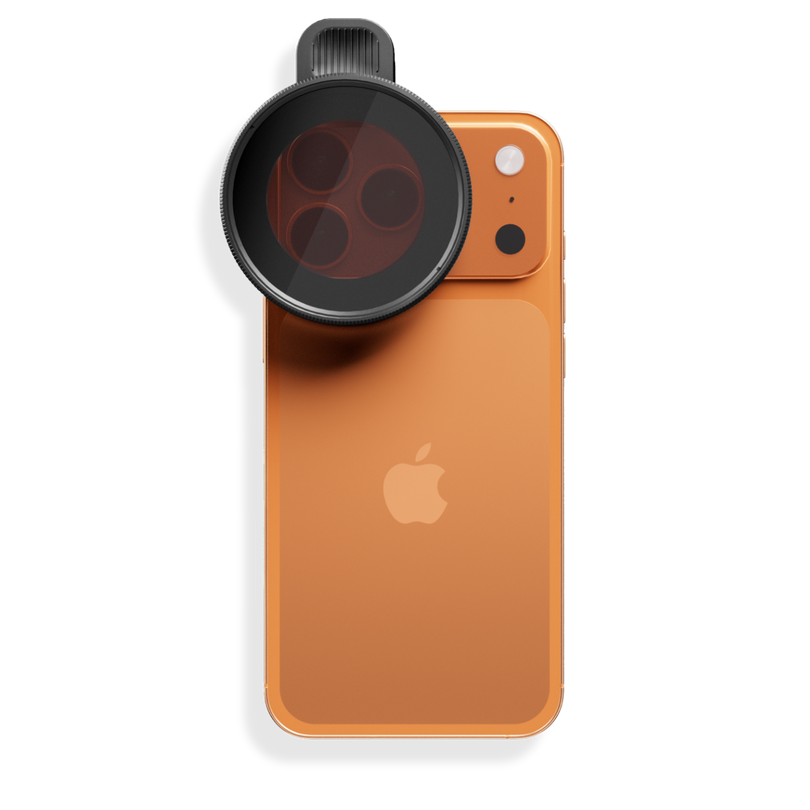
The next step is to securely attach your SANDMARC case to your iPhone. When attaching the SANDMARC lens to your iPhone, you are going to make sure that your lens is screwed on properly, aligned evenly with the threading of the camera mount. The specialized case perfectly aligns with the camera lens based on whatever model of iPhone you have, creating clean, crisp images. Press deeply into the mount and then screw it in till it is pretty tight. It can take a few times for the lens to thread correctly, and that is normal.
If you are getting double vision or all-over blurry images, we recommend you reattach the lens unit the image is clear. With macro and micro photography, some of the subject will be blurry because of the depth of field, but you want the in-focus portion of the shot to be extremely sharp. Once your macro or microscope lens is properly attached on your iPhone, you are ready to shoot.
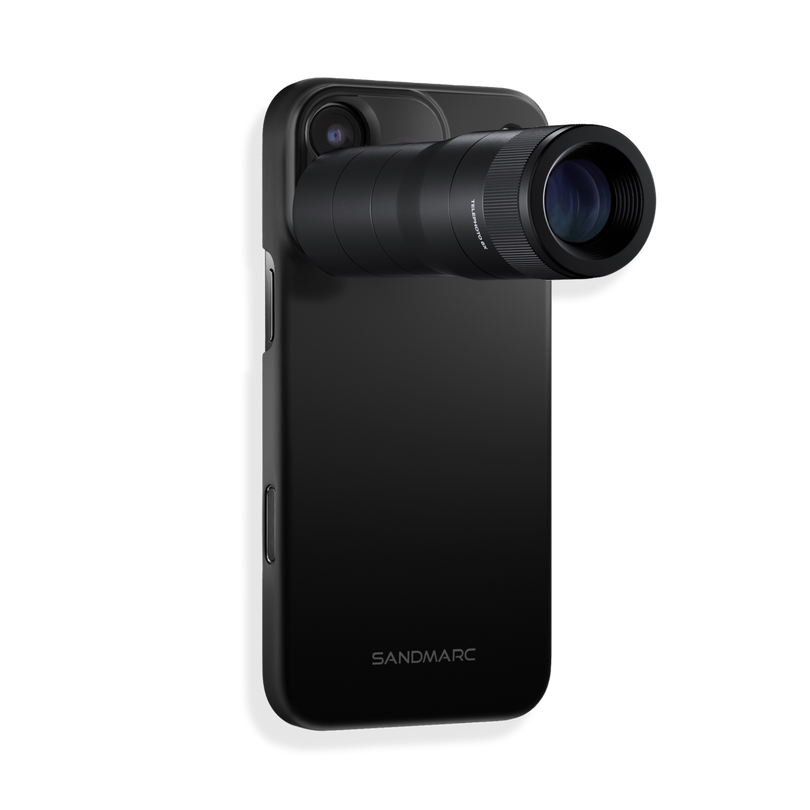
SANDMARC 100mm Macro Lens
Lighting
When shooting with a macro lens or a microscope lens you need a lot of light.
You don't want too much light because you don't want to overexpose your image-
but you do need a lot of light in order to capture all the details. If
the lens is super close to the subject, you will especially want light.
If you have direct sunlight on a object it's going to become overexposed and while your phone does have settings to under expose an image or take down the highlights when you're editing, it's just not going to be the same as shooting in perfect or near perfect conditions. In those cases where the sun is going down or you're in a shady spot, sometimes it's really useful to bring a portable light like the SANDMARC bicolor and RGB light. These lights will give a really nice subtle diffused fill light on your subject.
SANDMARC Microscope Lens
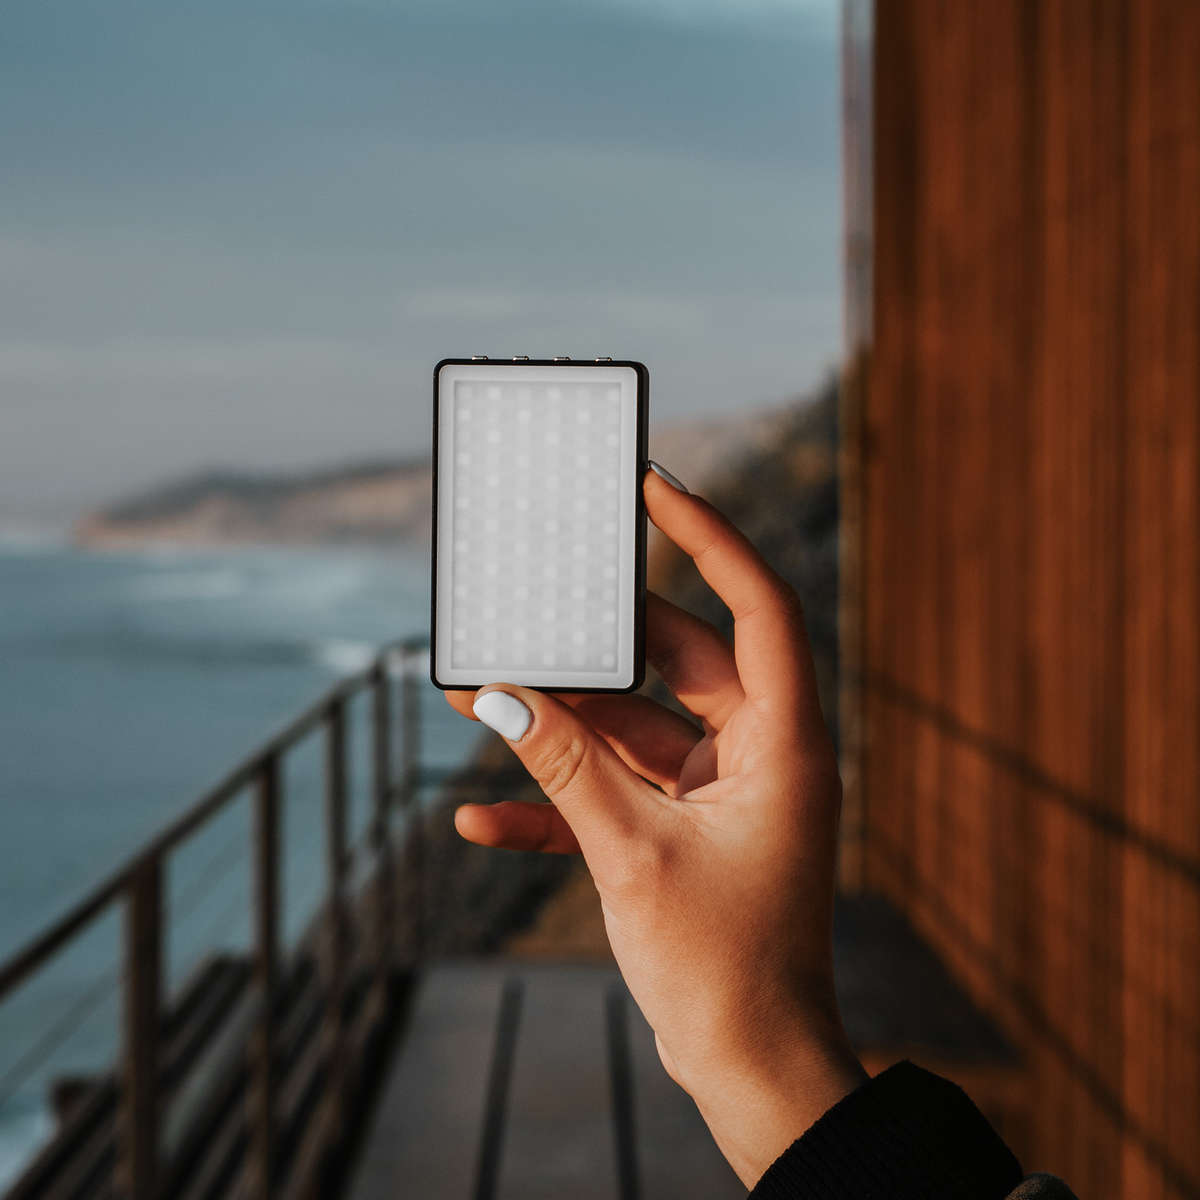
SANDMARC RGB Light
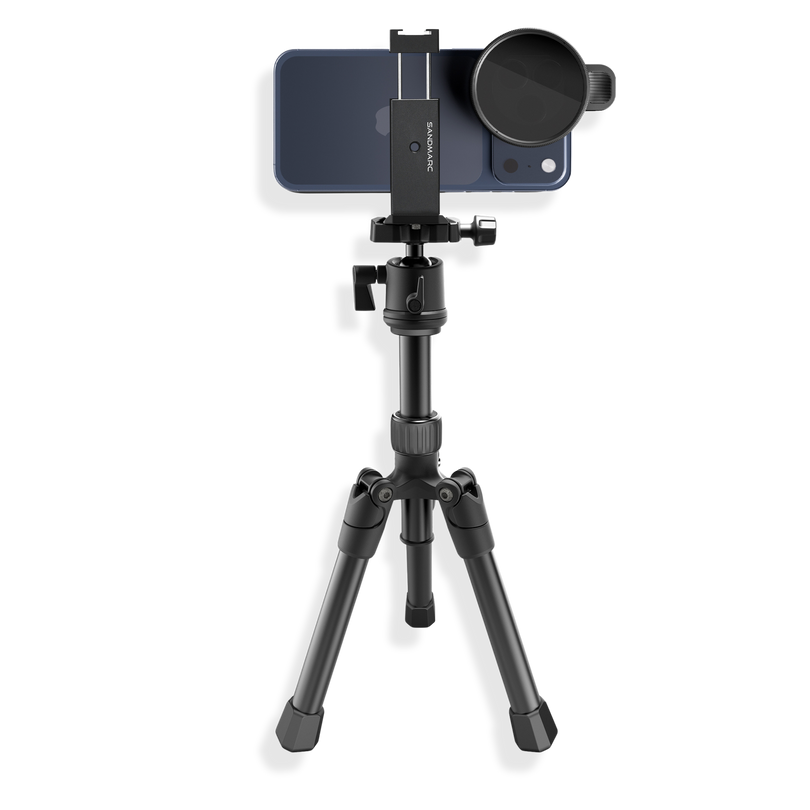
How to Stabilize Macro and Microscope Shots
In order to get stabilized shots there's a few options; you can either
shoot handheld based on the position of your subject and your ability to hold
the camera steady or you could shoot with a tripod, a creator grip or even a film rig. It's really up to your personal preference and how close or far away you
need to be from your subject.
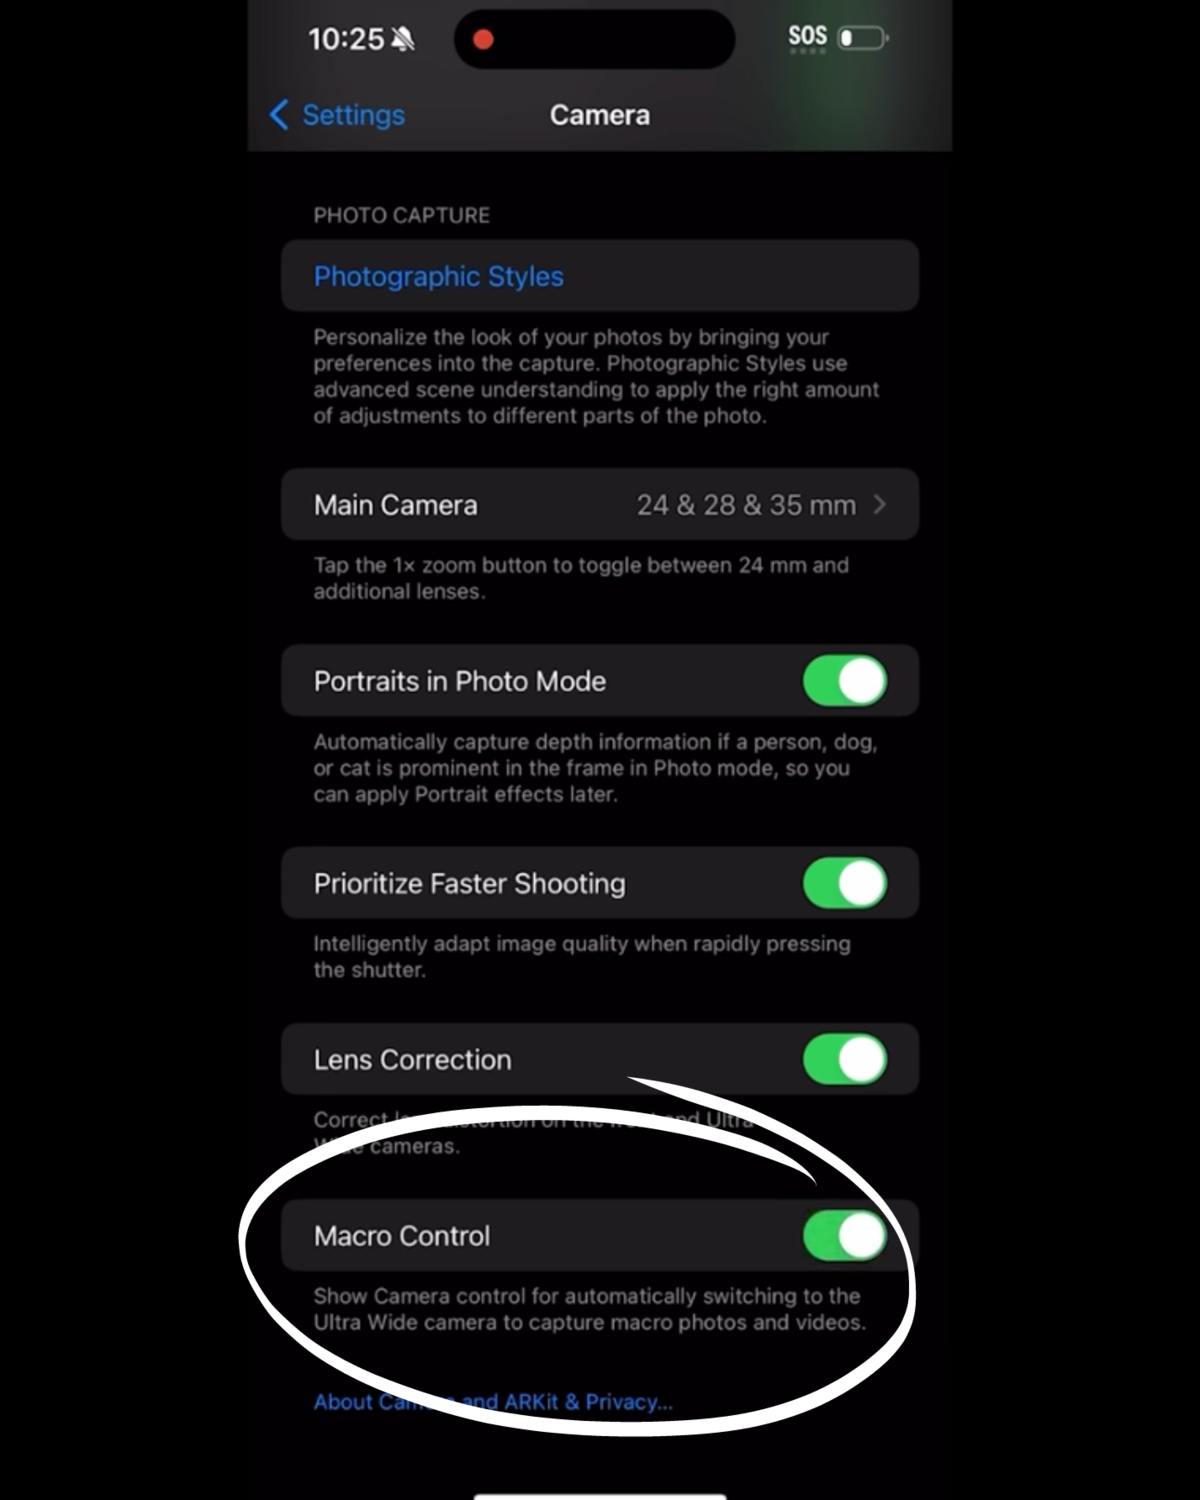
Don't Forget Macro Control
Another quick tip is make sure you Macro Control is on! That way you can can easily turn off macro mode when it turns on.
Go to setting, then camera, then macro control. Toggle it on- then when shooting, press the flower icon to disable the iPhone from switching to macro mode.
Go to setting, then camera, then macro control. Toggle it on- then when shooting, press the flower icon to disable the iPhone from switching to macro mode.
With all these lenses, their minimum focusing distance is different. Meaning, each lens needs to be a specific distance away from the subject in order to get sharp, clear photos. So be sure to pay special attention to where each lens has to be for shooting. When moving your lens, or if the subject moves, the focus will change on your subject. So it is important to keep as still as possible when shooting.
Focus Distance
Macro 25mm: you have to move your iPhone extremely close to your subject in order to capture those details. Typically, 10-15mm. In most cases, this isn't a problem if the subject is stationary or accessible.
Macro 100mm: you have a minimum focusing distance of "53mm" giving you more space to photography or film your subject. This is perfect for moving subjects or subjects that need some space! So gives you space when shooting around pointy objects (like a cactus) so you want get injured or damage the nearby area when shooting.
Microscope: you need to have your lens gently touching your subject in order to have it focus properly and capture all the details.
Your microscope comes with a light built in. There are two brightness levels. Depending on whether is dimly lit or shiny, you might have to experiment between the two brightness levels to see which one best fits your subject.
Native Camera App
Focusing the camera on an iPhone is a simple process, and you can do it in a few different ways:
Tap to focus: To focus on a specific object, tap on that object on the screen. A yellow square will appear around the object to indicate that it's in focus. Here you see where it is in focus it is sharp, and the background gets gradually softer.
Next, swipe up/down to adjust exposure: You can also adjust the exposure by swiping up or down on the screen while in camera mode. This will make the image brighter or darker.
Use the "AE/AF Lock" feature: You can also lock the focus and exposure by tapping and holding on the object you want to focus on until a yellow box appears. Then, swipe up or down to adjust the exposure. The focus and exposure will stay locked until you tap the screen again.
Use the "Portrait" mode: If you have an iPhone with a dual-lens camera system, you can use the "Portrait" mode to get even more magnification. Here we can see the difference between the two photos.
Use the "Portrait" mode: If you have an iPhone with a dual-lens camera system, you can use the "Portrait" mode to get even more magnification. Here we can see the difference between the two photos.