


Helicopter Los Angeles: What We Captured Flying Over the City with Our iPhones
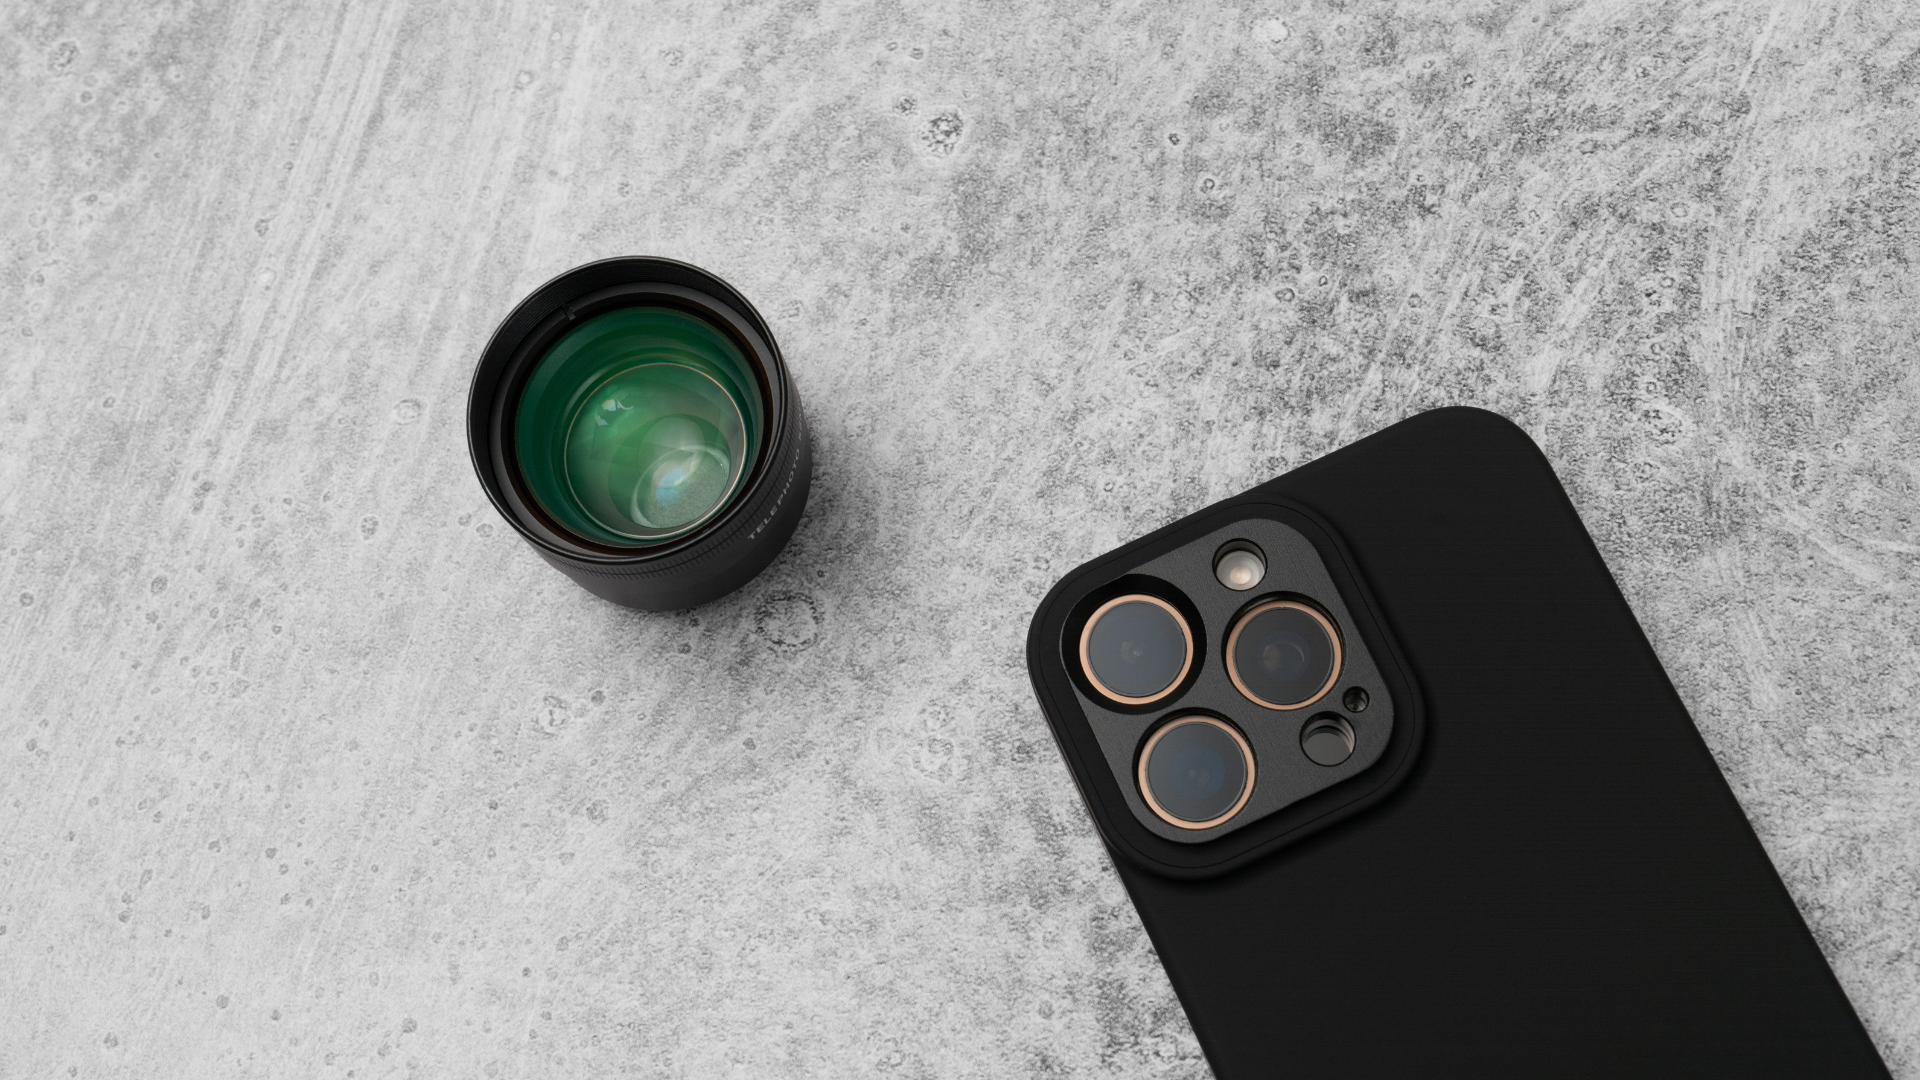
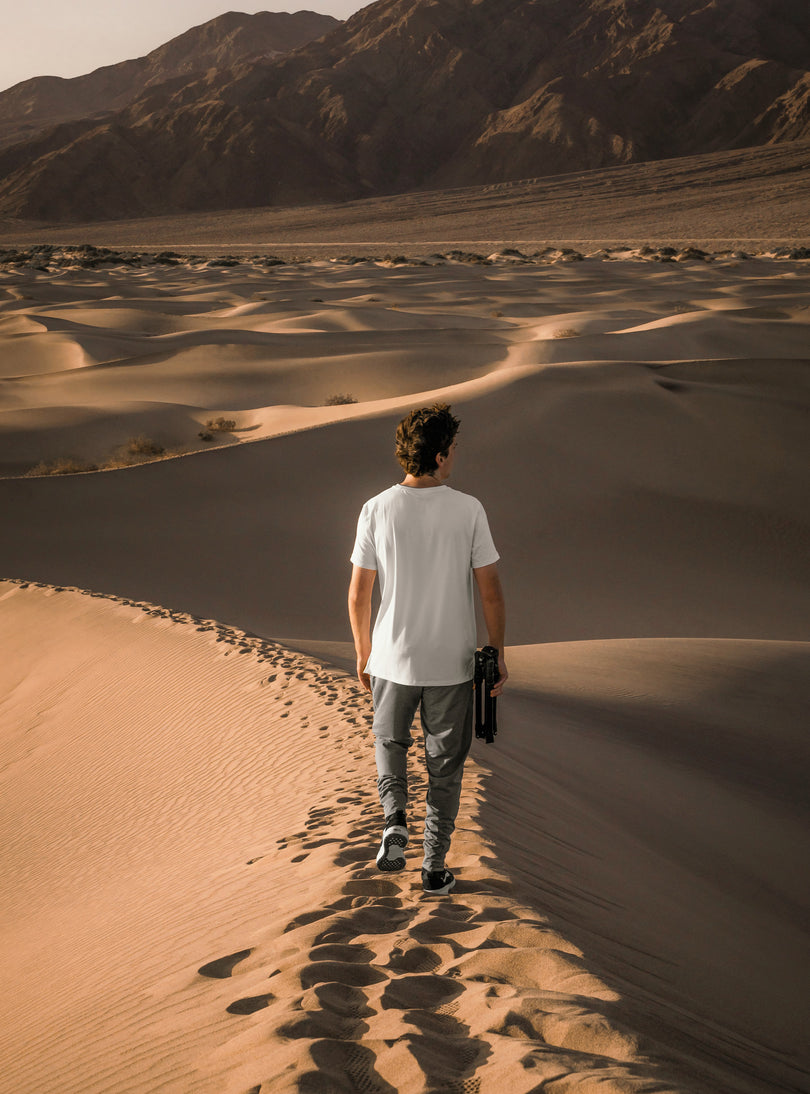
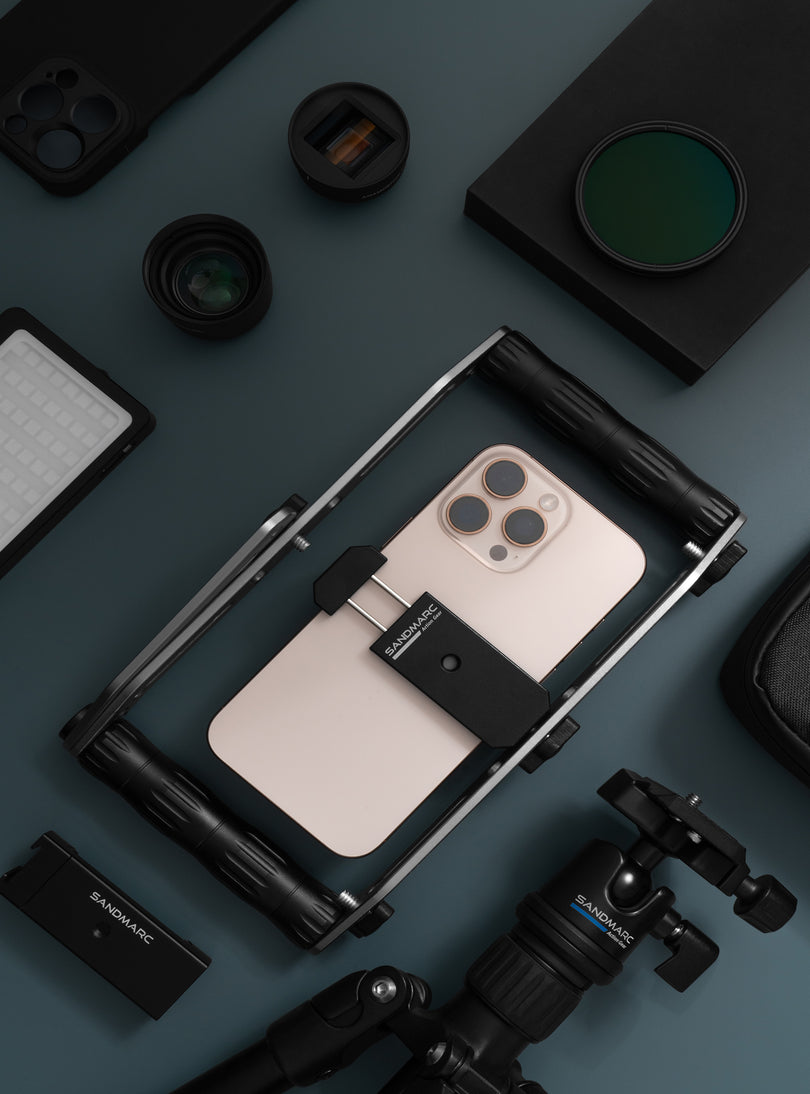
We took our SANDMARC gear to new heights, literally, to the skies above Los Angeles. For this photoshoot, we boarded a helicopter equipped with our Telephoto Lens and Creator Grip. We put both to the test as we flew across the city from daylight to golden hour. The Telephoto Lens delivered 2x optical zoom and crystal-clear detail, perfect for capturing breathtaking shots from above while the Creator Grip offered a more secure grip. In this blog we will go over what to expect when capturing photographs in a helicopter, tips on techniques and share our images.
What to Know Before Shooting from a Helicopter
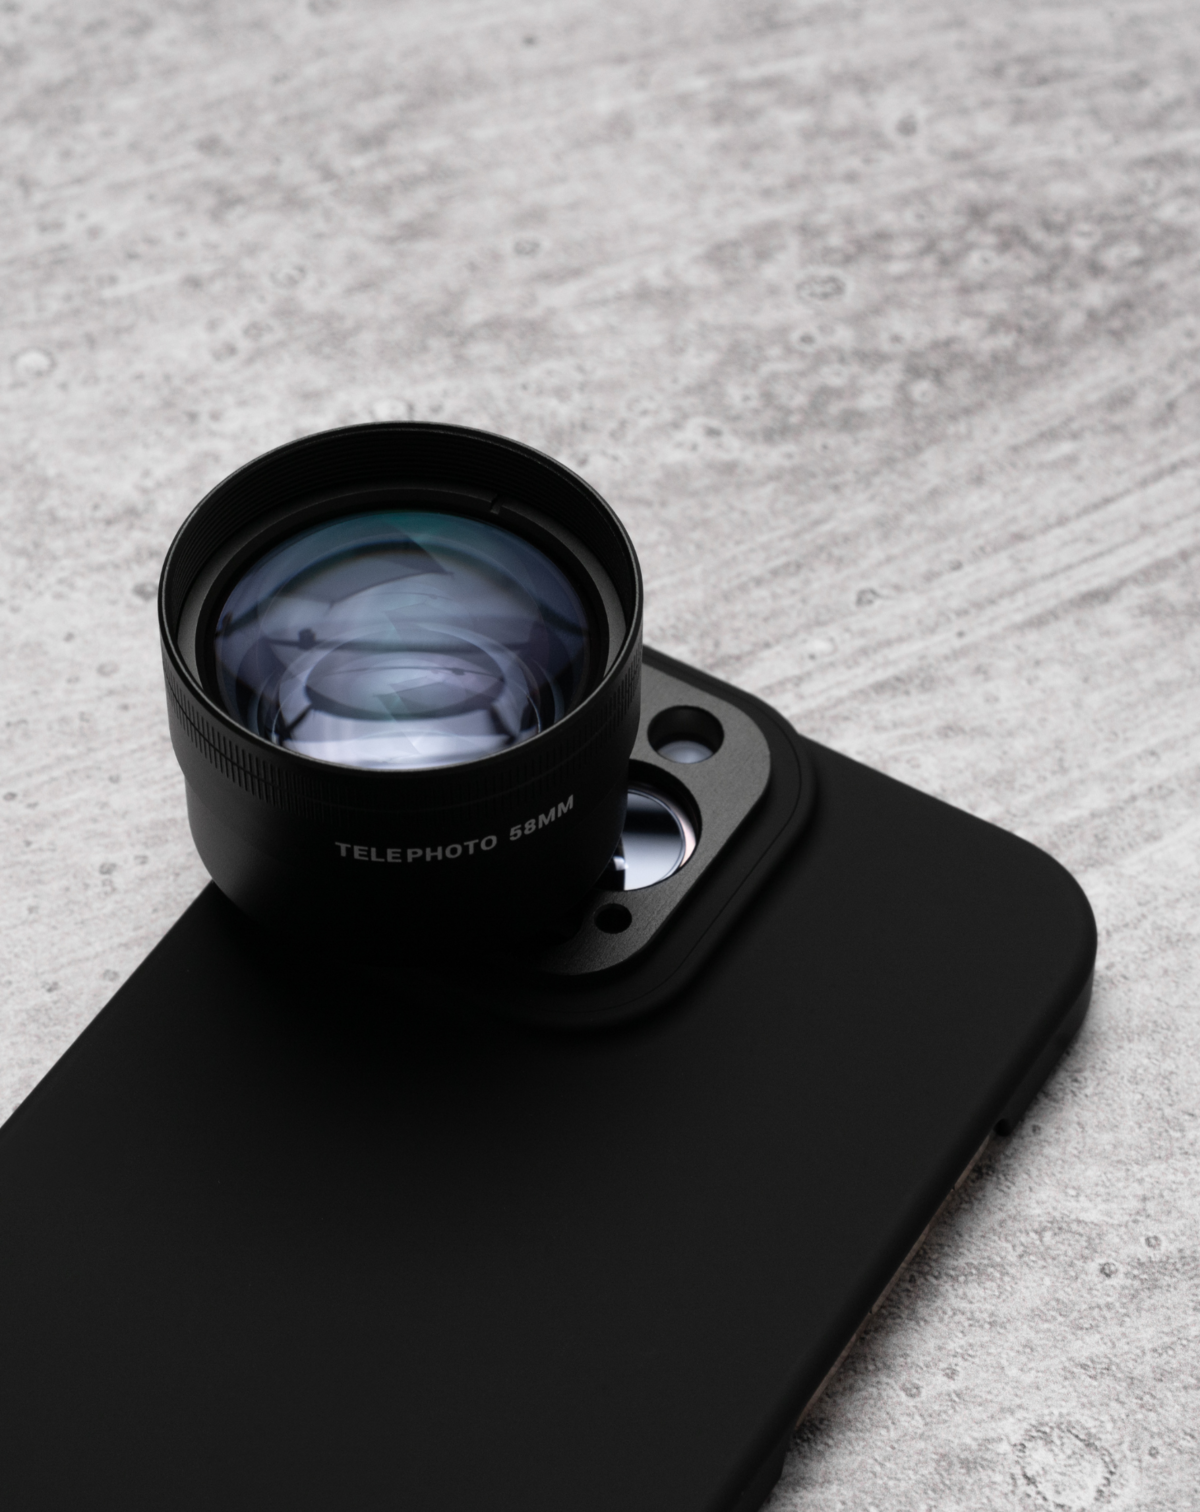
When shooting from a helicopter with your iPhone, the SANDMARC Telephoto Lens is your best friend. Since you're typically not allowed to hang far out of the window, wider lenses like the Fisheye or Wide can easily capture unwanted parts of the aircraft, like the rotor blades, distracting from your shot. The Telephoto keeps your frame clean and focused on distant subjects like coastlines, mountains, or cityscapes.
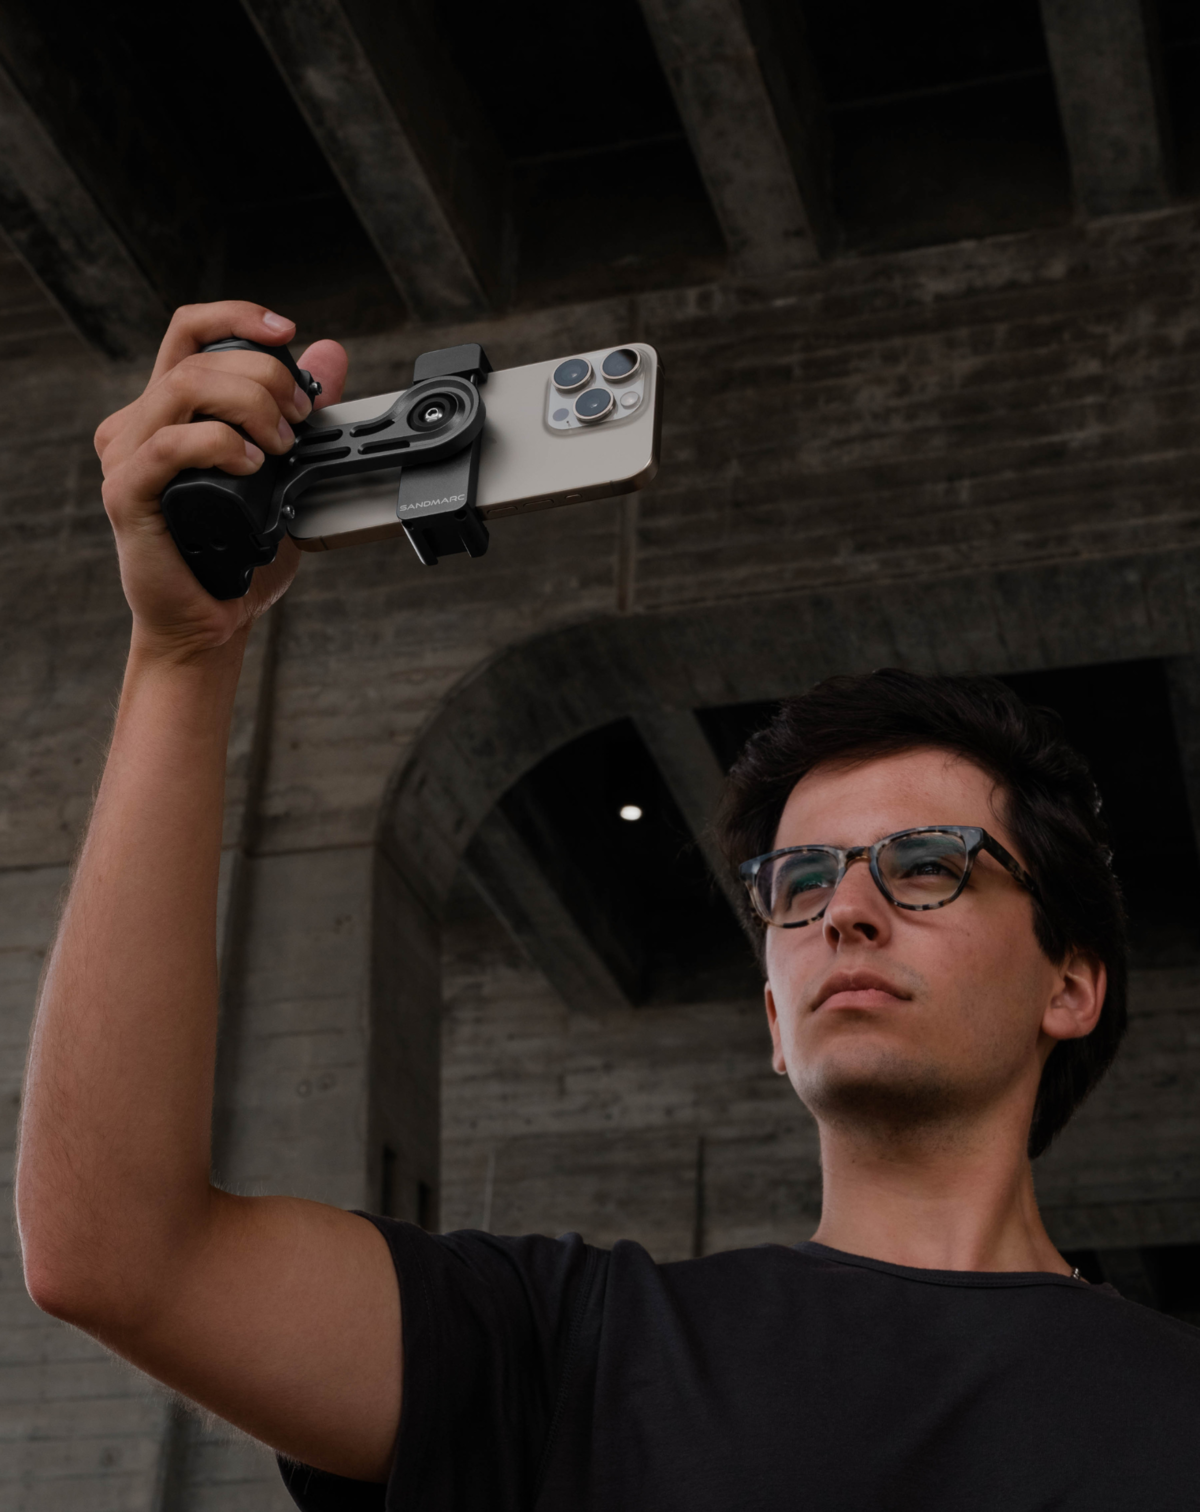
For safety and compliance, be sure to always use a grip, like the Creator Grip with a wrist strap, most helicopter tour companies require that your gear is attached to your body to prevent it from falling mid-flight. Brace your arms against the doorframe or your seat to steady your shot, and utilize burst mode to capture the moment through the subtle vibrations.
Lastly, be sure to wear dark clothing to reduce window reflections, because bright or light colors can show up in your photos and ruin an otherwise perfect shot.
The Shots: What We Captured with iPhone + SANDMARC Gear

Downtown Los Angeles
Shot on iPhone 16 Pro Max + Telephoto 2x Lens

6th Street Bridge
Shot on iPhone 16 Pro Max + Telephoto 2x Lens

The Queen Mary
Shot on iPhone 16 Pro Max + Telephoto 2x Lens

Crypto Arena
Shot on iPhone 16 Pro Max + Telephoto 2x Lens

The Port of Long Beach
Shot on iPhone 16 Pro Max + Telephoto 2x Lens
Aerial Photography Techniques with iPhone
Capturing compelling aerial shots with your iPhone requires a thoughtful approach to composition. Look for natural lines, especially diagonal ones like roads, shorelines, or treetops that lead the viewer’s eye through the frame and add a sense of movement. Placing your main subject in the center can create a strong focal point, especially when shooting from high above. Aerial scenes can often feel visually crowded, so minimal compositions tend to be the most impactful this is particularly true near bodies of water, where reflections and open space help simplify the scene and draw attention to your subject.
A private helicopter ride, whether over your hometown or a new travel destination, is a unique way to take in breathtaking views. Capturing those moments with your iPhone makes the experience even more special. With these tips and techniques, we hope you’ll snap photos you’re proud of while still taking the time to soak in the scenery around you.
Author's Bio
Born on the California coast, SANDMARC designs gear for those who live life in motion—travelers, photographers, and filmmakers. Every SANDMARC product is thoughtfully designed to elevate how you capture, carry, and experience the world. With a focus on quality and functionality, their blog offers tips, guides, and inspiration to enhance the creative journey.