

How to set up your Tripod
SANDMARC’s Tripod Guide
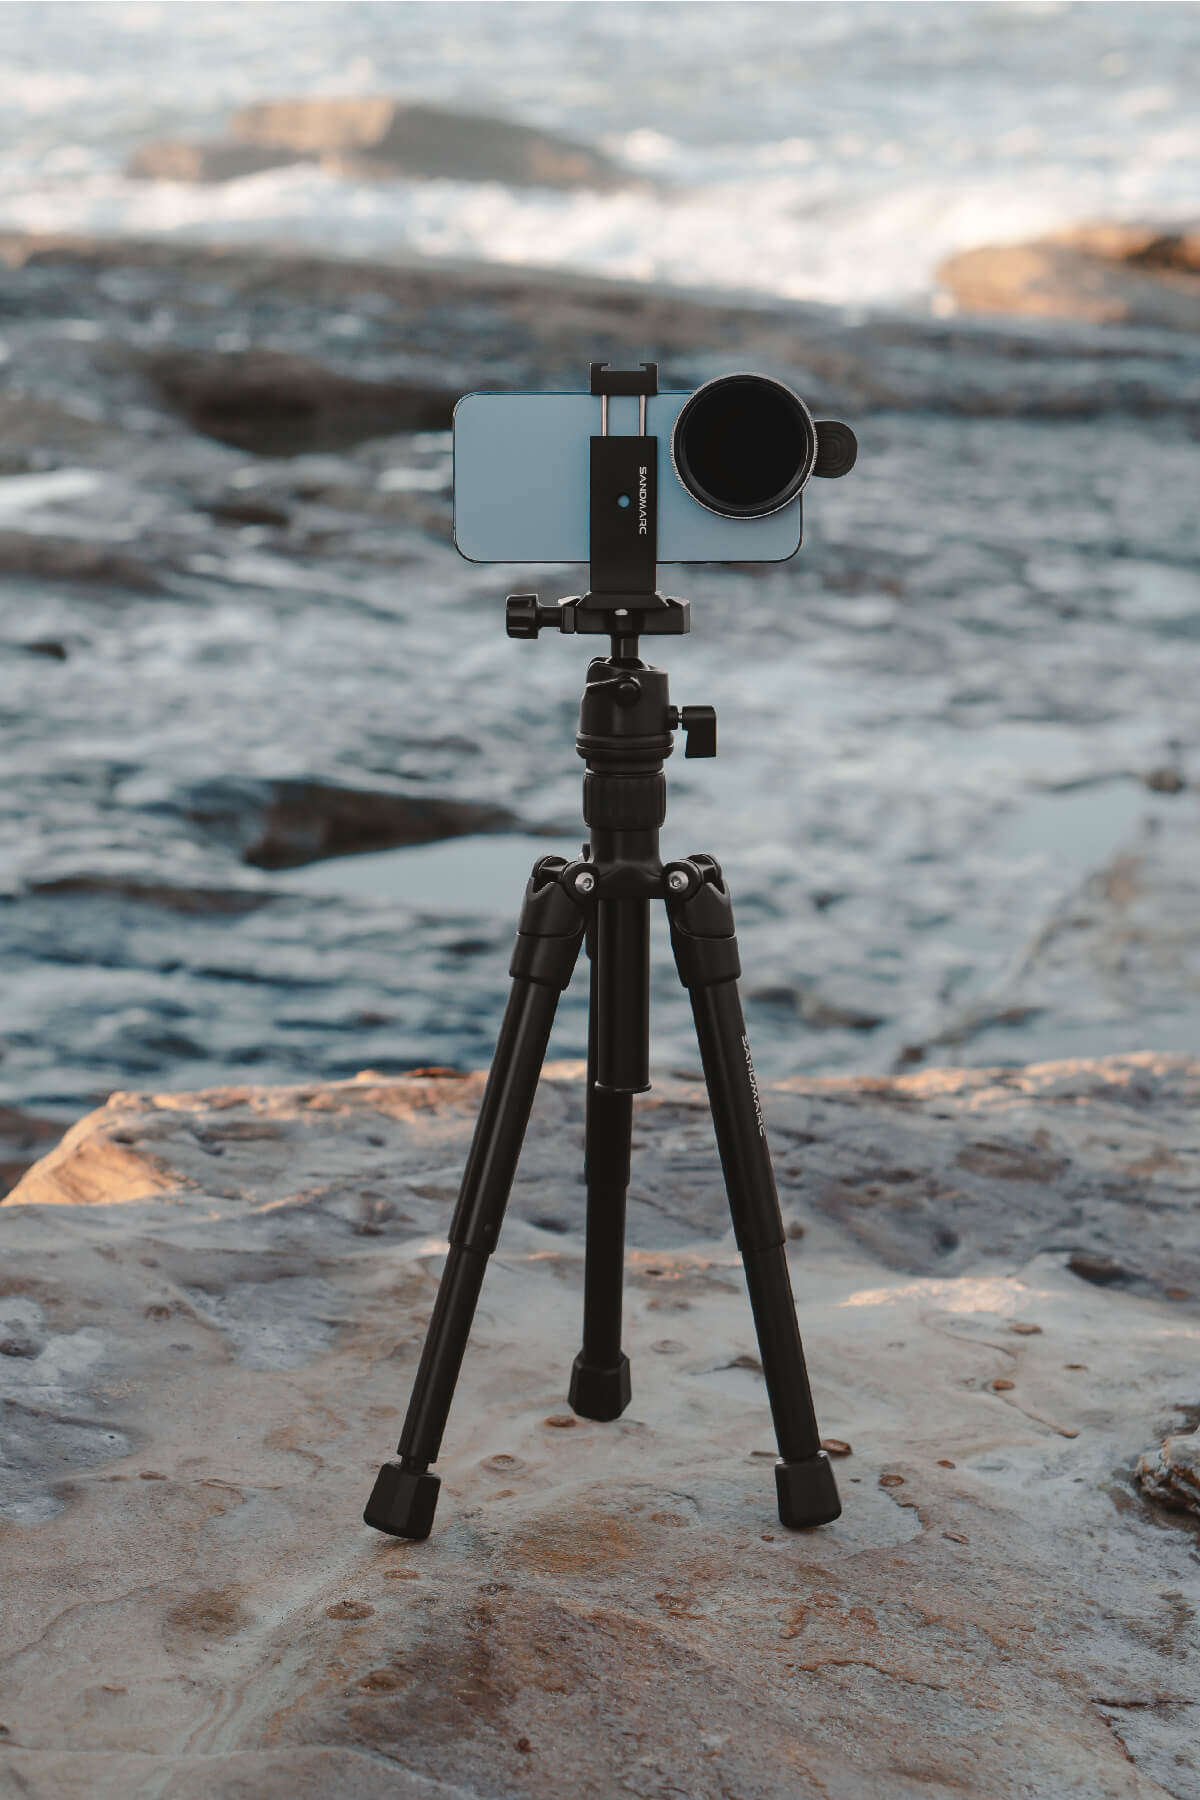
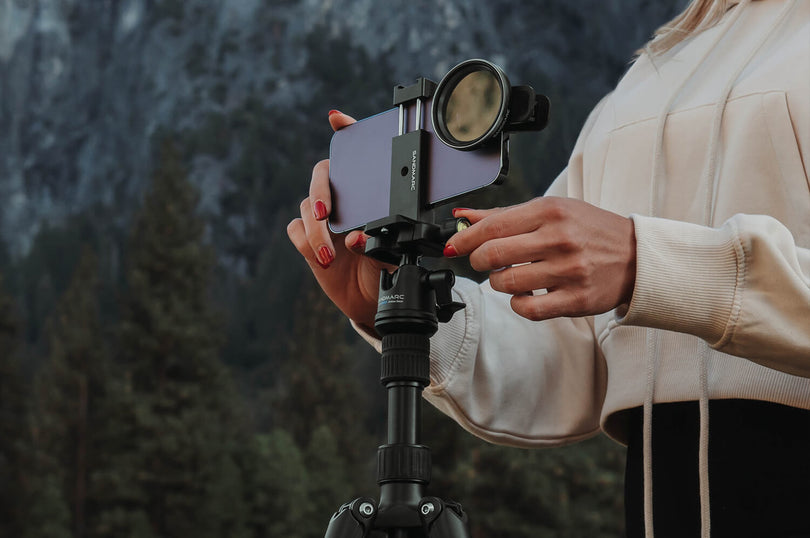
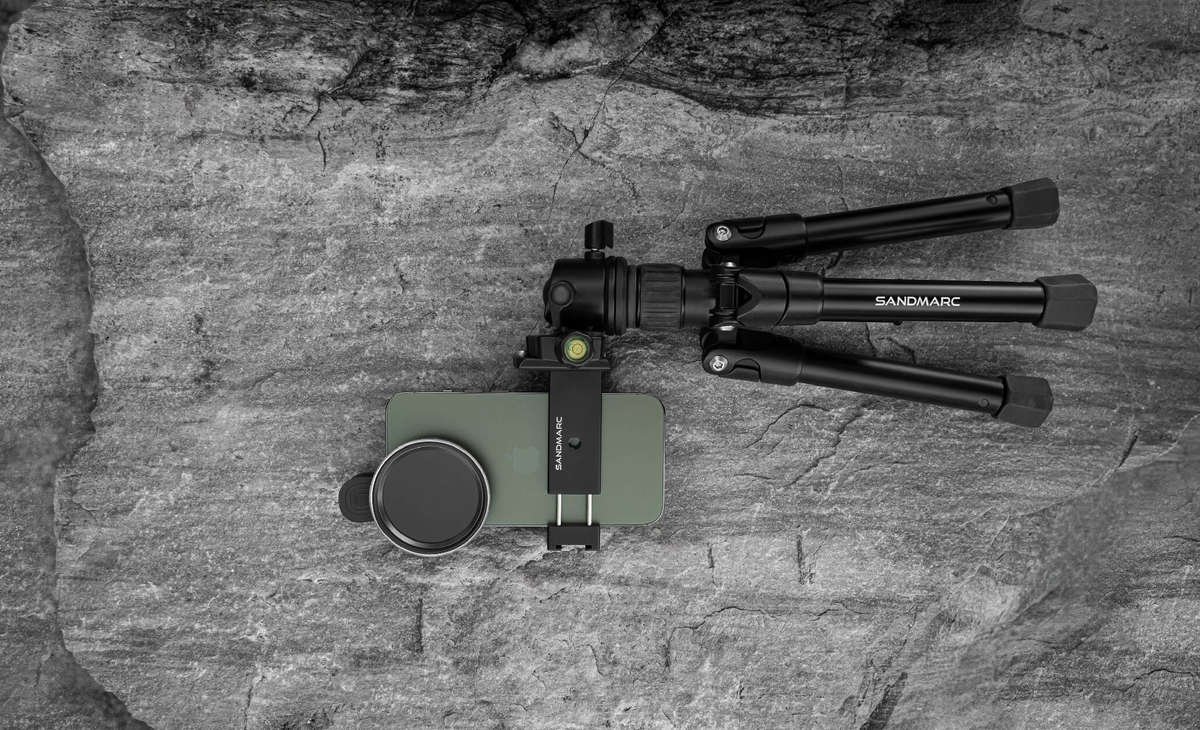
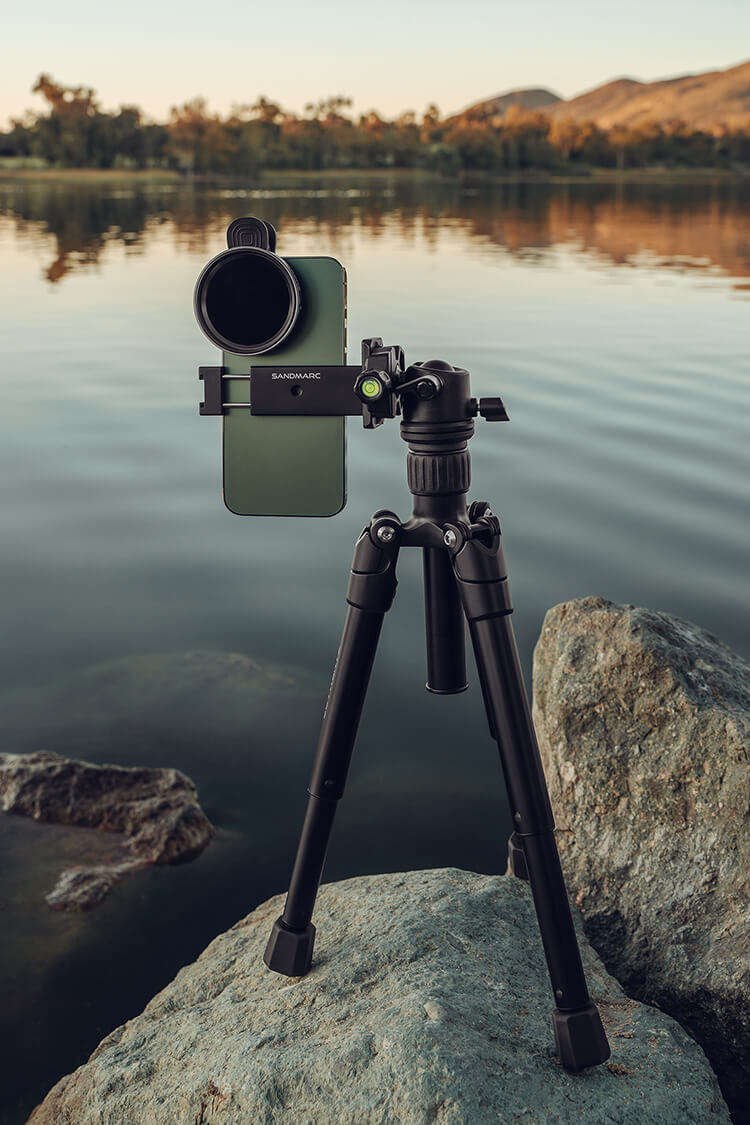
A lightweight & versatile Tripod perfect for on-the-go adventures.
Purchasing a new product is exciting! We’re here to make your purchase journey as simple as possible. Guiding you through the process of unboxing your product to creating with it.

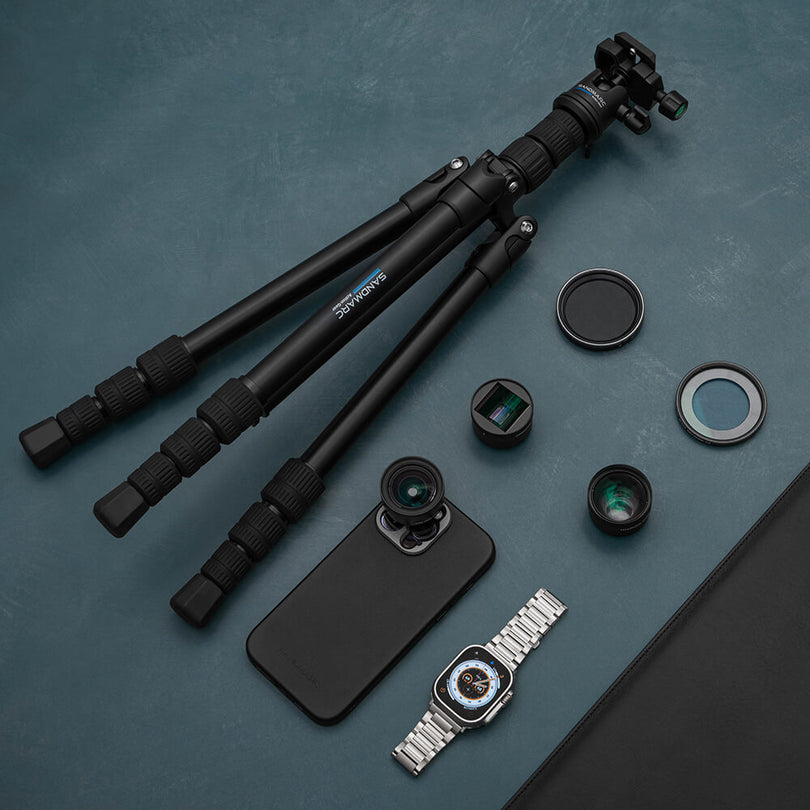
Unboxing
Grab your box and pull the sleeve off of it, then open your box by lifting the tab on the side. As you open your box you will find your tripod and the iPhone mount.
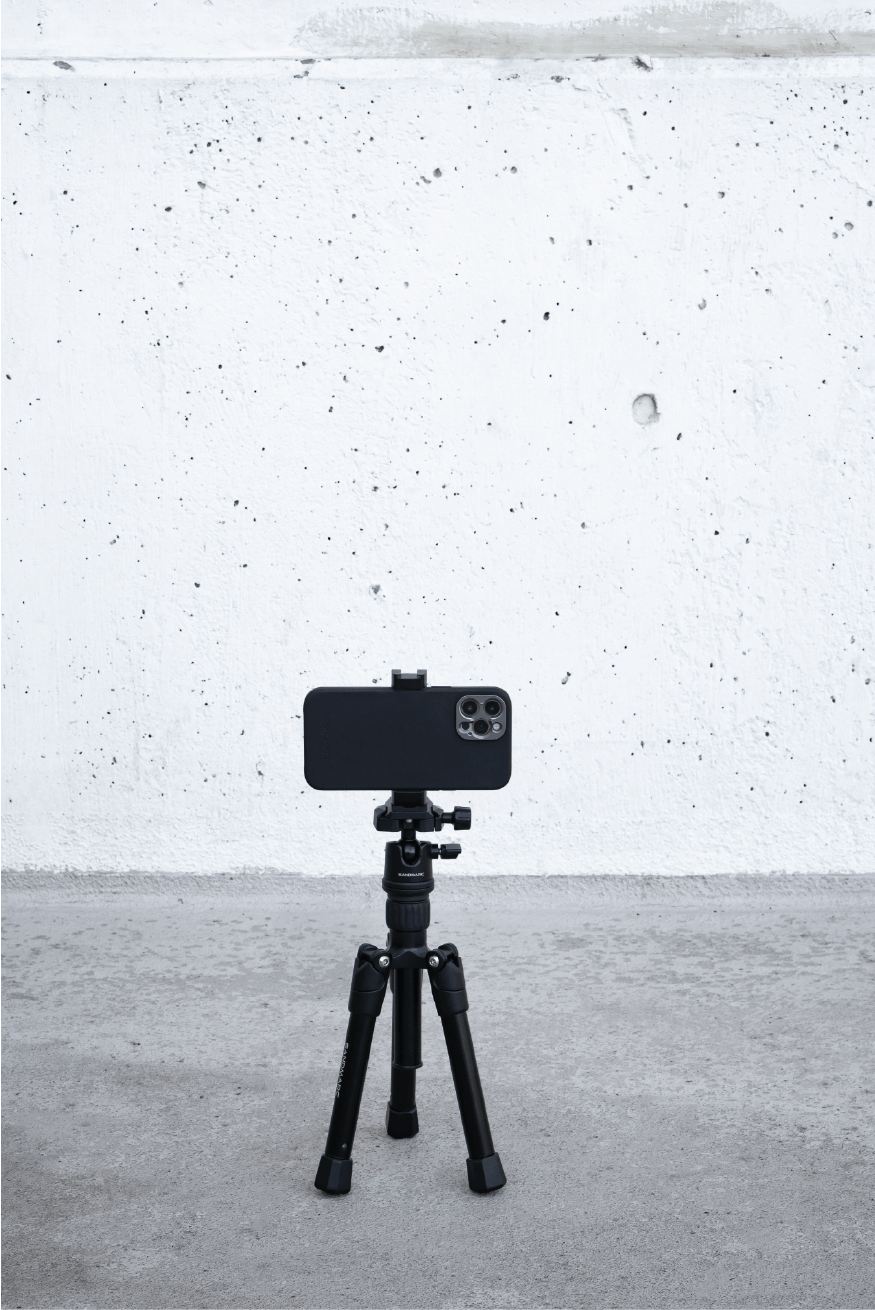
Grab your tripod and pull down the legs. To expand the legs, twist the bottom grip (to the left) and pull it down. Twist the bottom grip in the opposite direction (to the right) to lock the leg into place. You will hear a clicking sound as you unlock and lock the position.
Grab your tripod and pull down the legs. To expand the legs, twist the bottom grip (to the left) and pull it down. Twist the bottom grip in the opposite direction (to the right) to lock the leg into place. You will hear a clicking sound as you unlock and lock the position.
Mounting
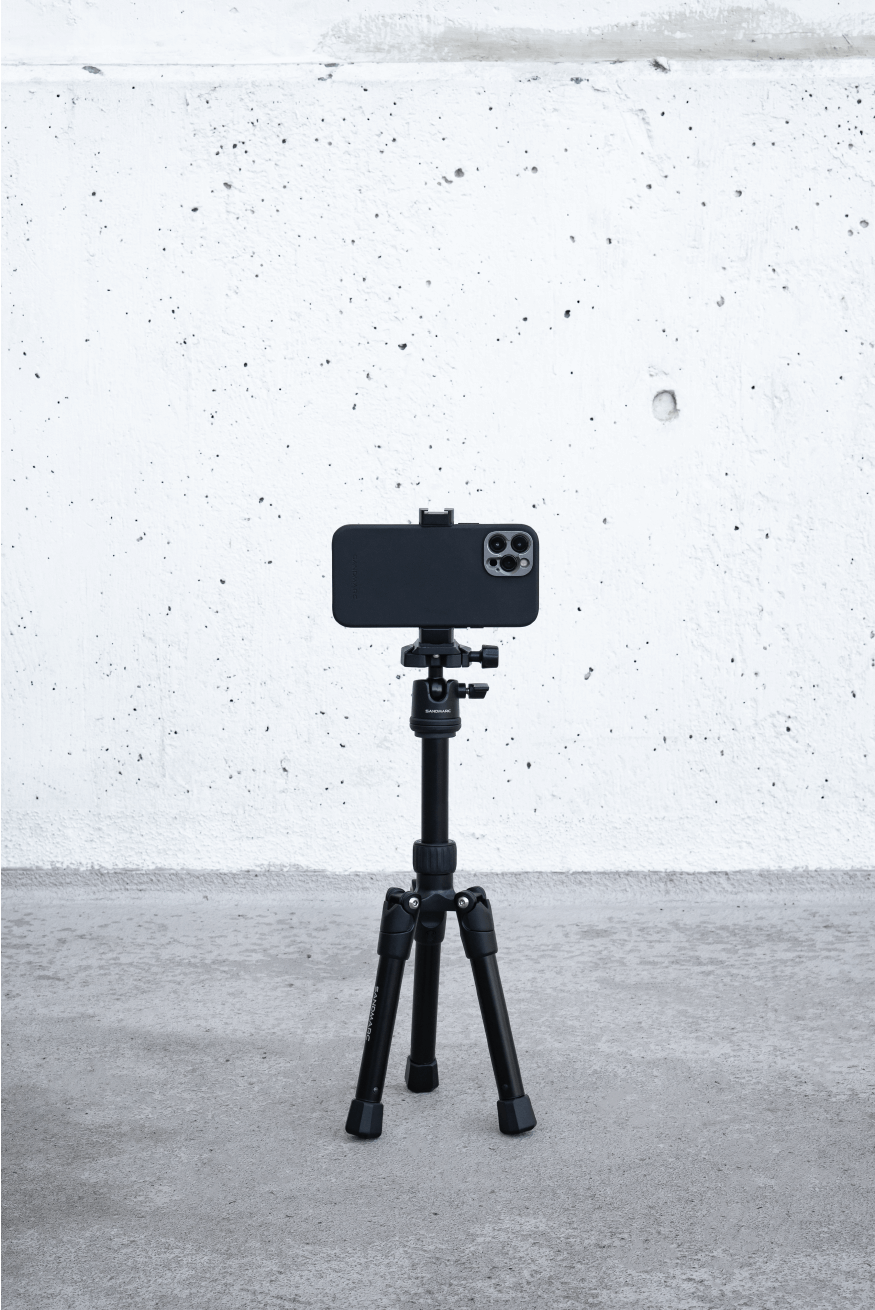
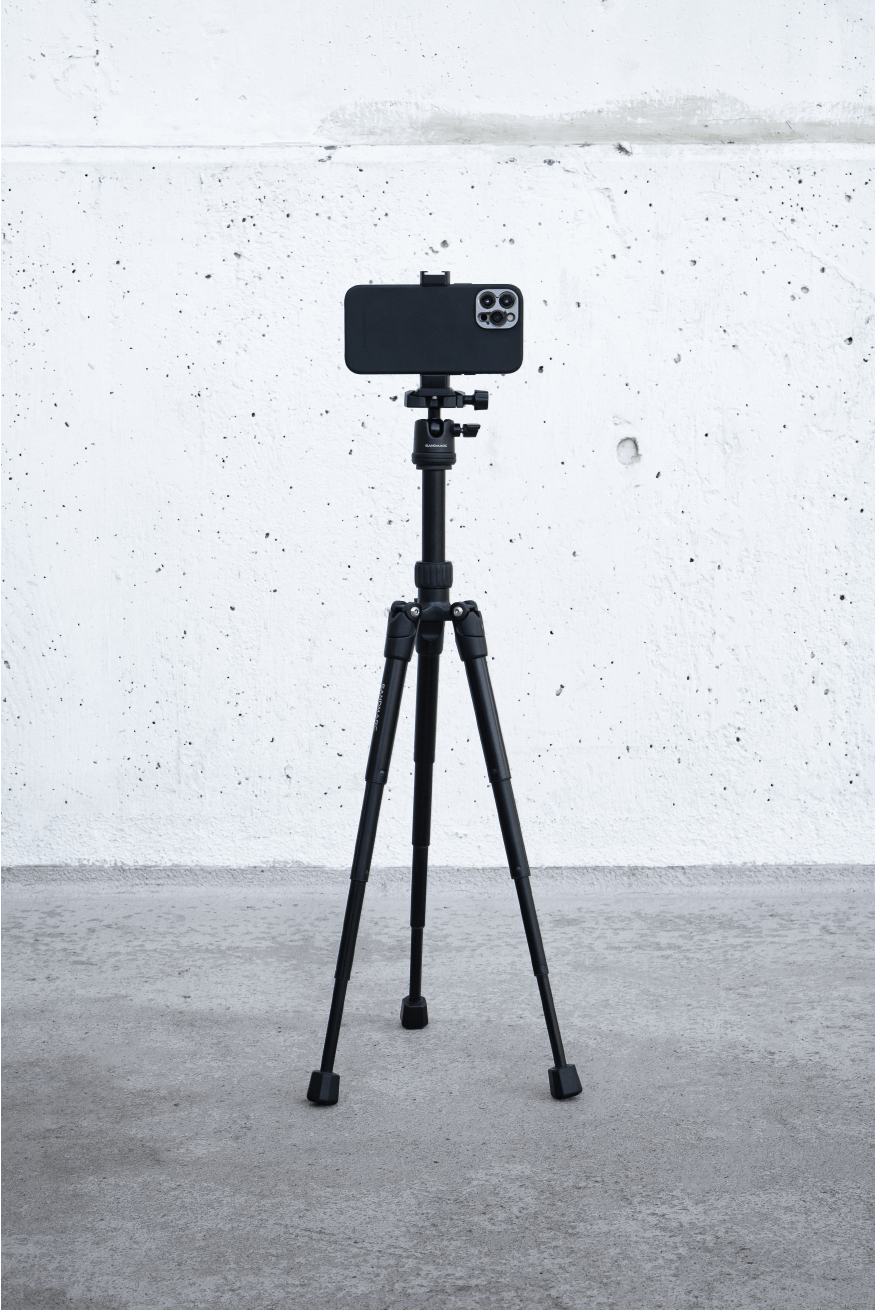
Once the legs are in ideal height position, twist the middle grip to adjust the height of your iPhone Mount. To unlock the grip simply twist it and pull it up or down. Once you found the perfect position twist the grip back in to lock the position.
Grab your iPhone mount from the box and place the side of the mount that doesn’t expand out, on the top plate of the Tripod. Use the knob at the top (green) to securely lock in the stand. Place your iPhone in the mount by having the back of your iPhone face the interior of the mount.
Pull the side of the mount and expand it outwards, place the side of your phone inside and slide it in the mount. Make sure the sides of the mount are lower than the iPhone lock and volume buttons.
The Tripod has a weight capacity of 6.5 pounds (3 kilos).
The Mechanics
The Tripod features quick adjustability, up to 25 inches of height, as well as going as close to the ground as possible, in between the tripod legs. The Tripod incorporates a ball head with a quick release plate to simply add or remove the iPhone mount. The iPhone mount contains a cold shoe mount at the top allowing you to mount on additional accessories like the SANDMARC Lights.
On the top part of your Tripod there are two black knobs one is lower than the other. The lowest knob controls the turn direction of the head of the Tripod, allowing you to lock in the desired direction. The other knob controls the angle of the iPhone mount on the ball head and allows you to lock in that ideal angle.
On the top part of your Tripod there are two black knobs one is lower than the other. The lowest knob controls the turn direction of the head of the Tripod, allowing you to lock in the desired direction. The other knob controls the angle of the iPhone mount on the ball head and allows you to lock in that ideal angle.
Positions
The Tripod allows you to have freedom with creating your shots through multiple positions. Landscape mode is how your tripod should look after setting it up. When the iPhone mount is oriented in a vertical position it is in landscape mode.
Portrait mode can easily be acquired by using the top knob to unlock and loosen the mount to move around. On the side of the ball head the mount can be moved lower and the orientation of the iPhone mount will shift horizontally. This is how you can capture portrait photography and footage on the Tripod.
Overhead Photography can be captured in Portrait mode. Using the top knob unlock the position and turn the iPhone mount to flip the iPhone in an overhead position and lock in the position.
Pro Tip: When trying to capture overhead photography, have the iPhone Mount at an angle to avoid capturing the tripod legs in your shot.